Content .. 1123 1124 1125 1126 ..
Nissan Frontier D40. Manual - part 1125
VTL-14
< ON-VEHICLE REPAIR >
EVAPORATOR
EVAPORATOR
Removal and Installation
INFOID:0000000005275975
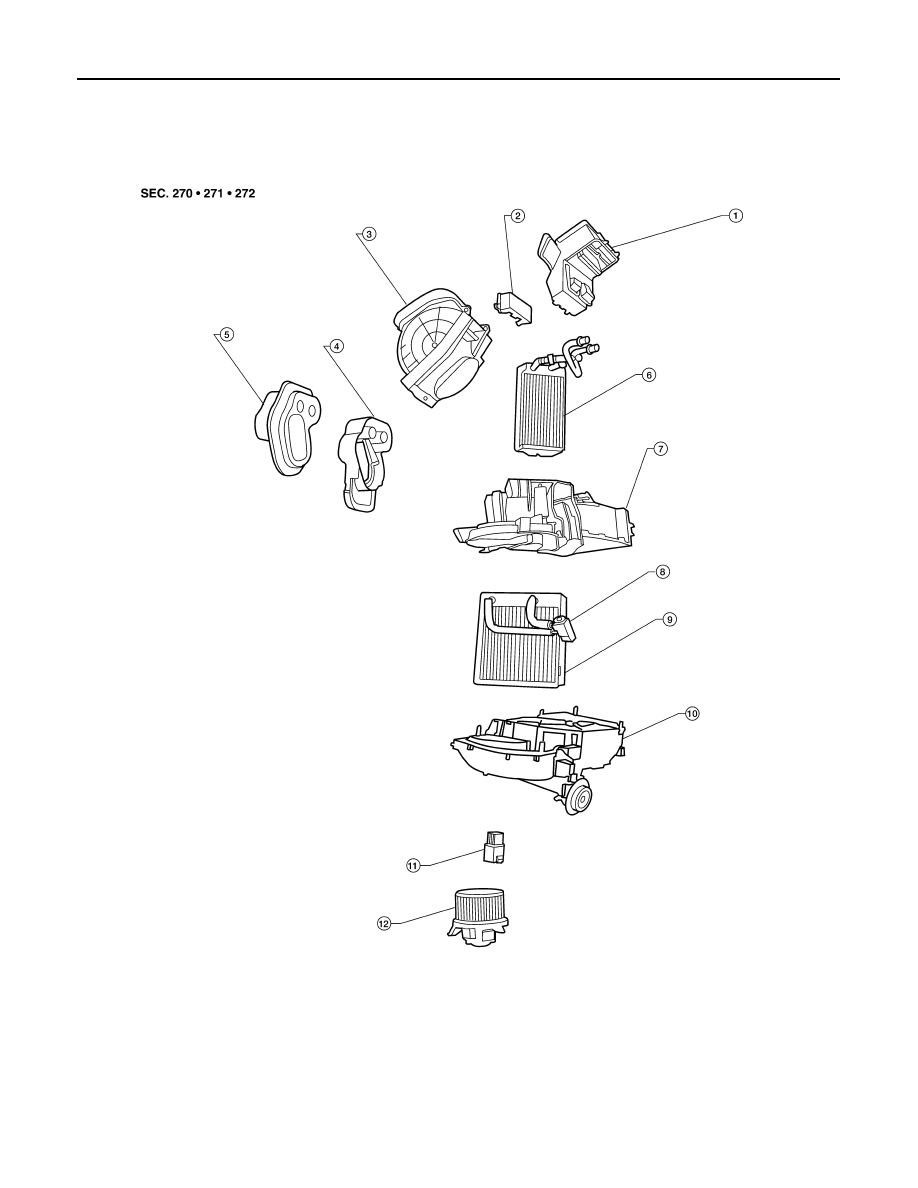
Heater and Cooling Unit Assembly
LJIA0178E
1.
Center ventilator connector duct
2.
Heater core cover
3.
Intake air case
4.
Heater core and evaporator pipes
bracket
5.
Heater core and evaporator pipes
grommet
6.
Heater core
7.
Upper heater and cooling unit case
8.
Expansion valve
9.
Evaporator
10. Lower heater and cooling unit case
11.
Variable blower control/Blower motor
resistor
12. Blower motor