Nissan Quest E52. Manual - part 818
INSTRUMENT PANEL ASSEMBLY
IP-21
< REMOVAL AND INSTALLATION >
C
D
E
F
G
H
I
K
L
M
A
B
IP
N
O
P
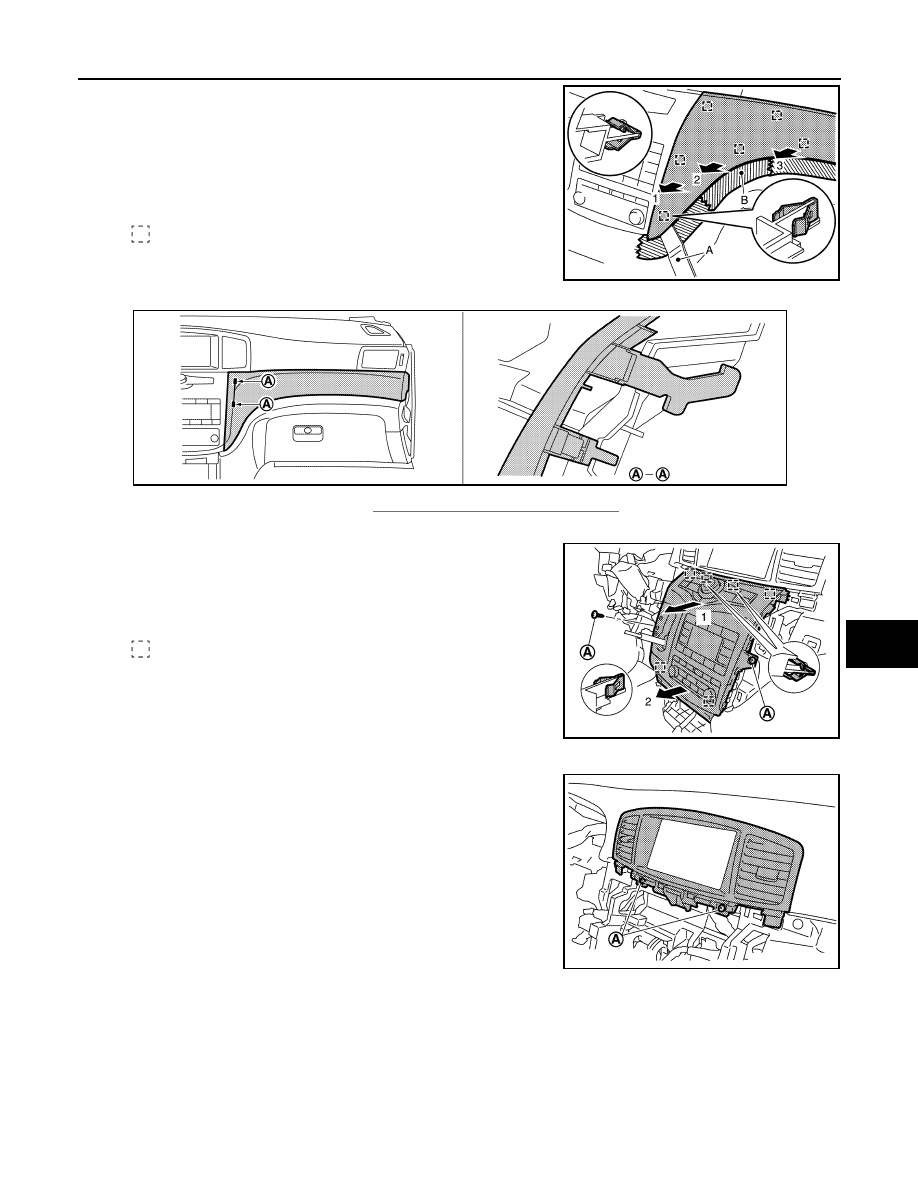
d.
Insert a remover tool (A) into lower left side, and then disengage
metal clips as shown in the figure.
CAUTION:
• Apply protective tape (B) on the part to protect it from
damage.
• Remove metal clips slowly so that they are not damaged.
• Never pull instrument finisher C forcefully.
e.
Bypassing hooks, pull back instrument finisher C.
33. Remove selector lever knob. Refer to
TM-154, "Removal and Installation"
.
34. Remove cluster lid C.
a.
Remove fixing screws (A).
b.
Hold both cluster lid C and pull it out towards vehicle rear, and
then disengage metal clips.
c.
Disconnect harness connectors and remove harness clip.
35. Remove cluster lid D.
a.
Remove fixing screws (A).
: Metal clip
JMJIA6148ZZ
JMJIA6149ZZ
: Metal clip
JMJIA6150ZZ
JMJIA6151ZZ