Nissan Quest E52. Manual - part 666
BACK DOOR MOLDING
EXT-39
< REMOVAL AND INSTALLATION >
C
D
E
F
G
H
I
J
L
M
A
B
EXT
N
O
P
BACK DOOR MOLDING
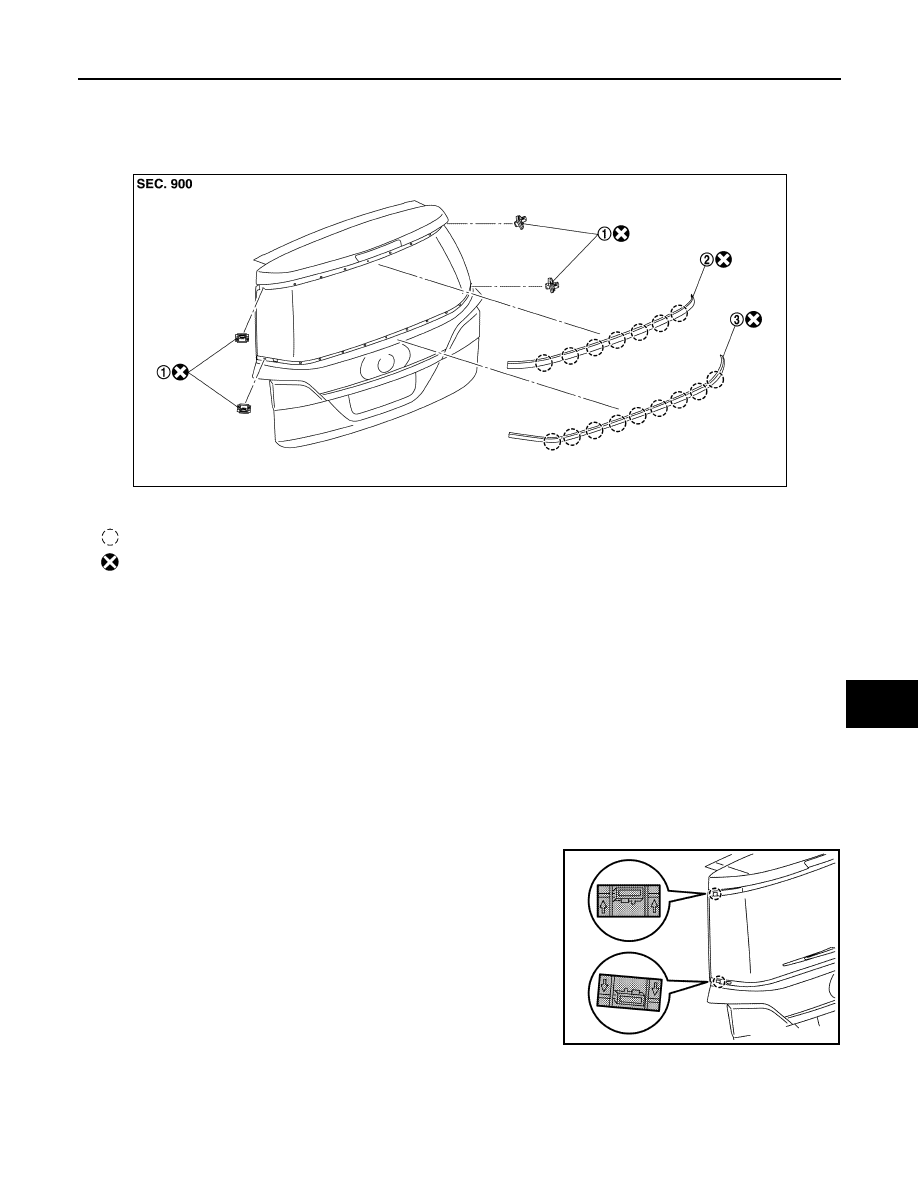
Exploded View
INFOID:0000000009650513
Removal and Installation
INFOID:0000000009650514
BACK DOOR UPPER MOLDING
Removal
1.
Insert a remover tool between back door upper molding and back door panel and remove mounting clips
of back door upper molding.
CAUTION:
Be careful not to damage glass with the remover tool.
2.
Remove back door upper molding.
Installation
Note the following items, and install in the reverse order of removal.
CAUTION:
• Never reuse back door upper molding and faster clip once they are removed.
• Be sure to install new fastener clips on back door.
• Install fastener clip so that arrow marks on fastener clip are
always facing up.
BACK DOOR LOWER MOLDING
Removal
1.
Insert a remover tool between back door lower molding and back door panel and remove mounting clips
of back door lower molding.
1.
Fastener clip
2.
Back door upper molding
3.
Back door lower molding
: Clip
: Always replace after every disassembly.
JMKIA8276ZZ
JMKIA8277ZZ