Nissan Quest E52. Manual - part 444
DLK-490
< REMOVAL AND INSTALLATION >
OUTSIDE KEY ANTENNA
OUTSIDE KEY ANTENNA
DRIVER SIDE
DRIVER SIDE : Removal and Installation
INFOID:0000000009649502
REMOVAL
Remove the driver side outside handle. Refer to
DLK-464, "OUTSIDE HANDLE : Removal and Installation"
.
INSTALLATION
Install in the reverse order of removal.
PASSENGER SIDE
PASSENGER SIDE : Removal and Installation
INFOID:0000000009649503
REMOVAL
Remove the passenger side outside handle. Refer to
DLK-464, "OUTSIDE HANDLE : Removal and Installa-
.
INSTALLATION
Install in the reverse order of removal.
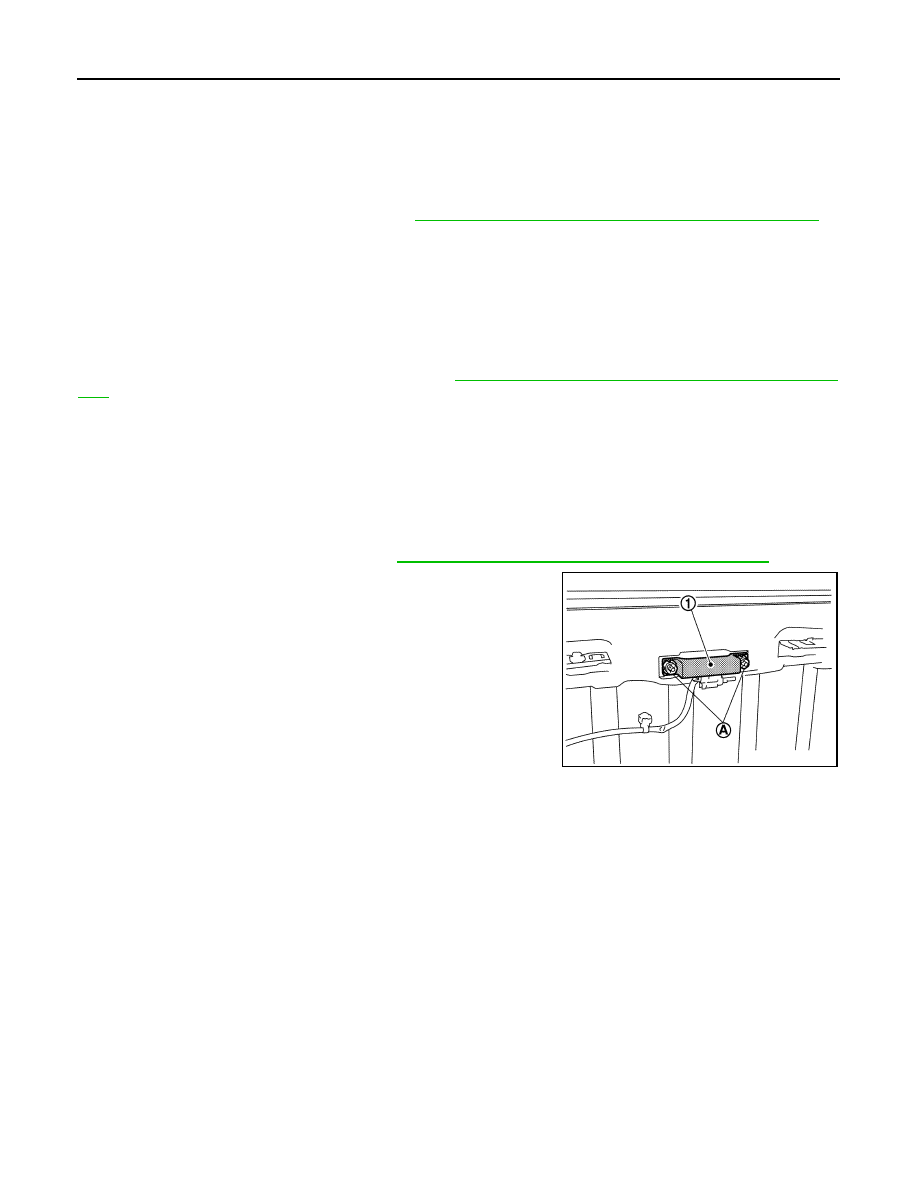
REAR BUMPER
REAR BUMPER : Removal and Installation
INFOID:0000000009649504
REMOVAL
1.
Remove the rear bumper fascia. Refer to
EXT-16, "REAR BUMPER : Removal and Installation"
.
2.
Remove the outside key antenna (rear bumper) mounting clip
(A), then remove outside key antenna (rear bumper) (1).
INSTALLATION
Install in the reverse order of removal.
JMKIA6043ZZ