Nissan Rogue. Manual - part 145
BR-50
< UNIT DISASSEMBLY AND ASSEMBLY >
FRONT DISC BRAKE
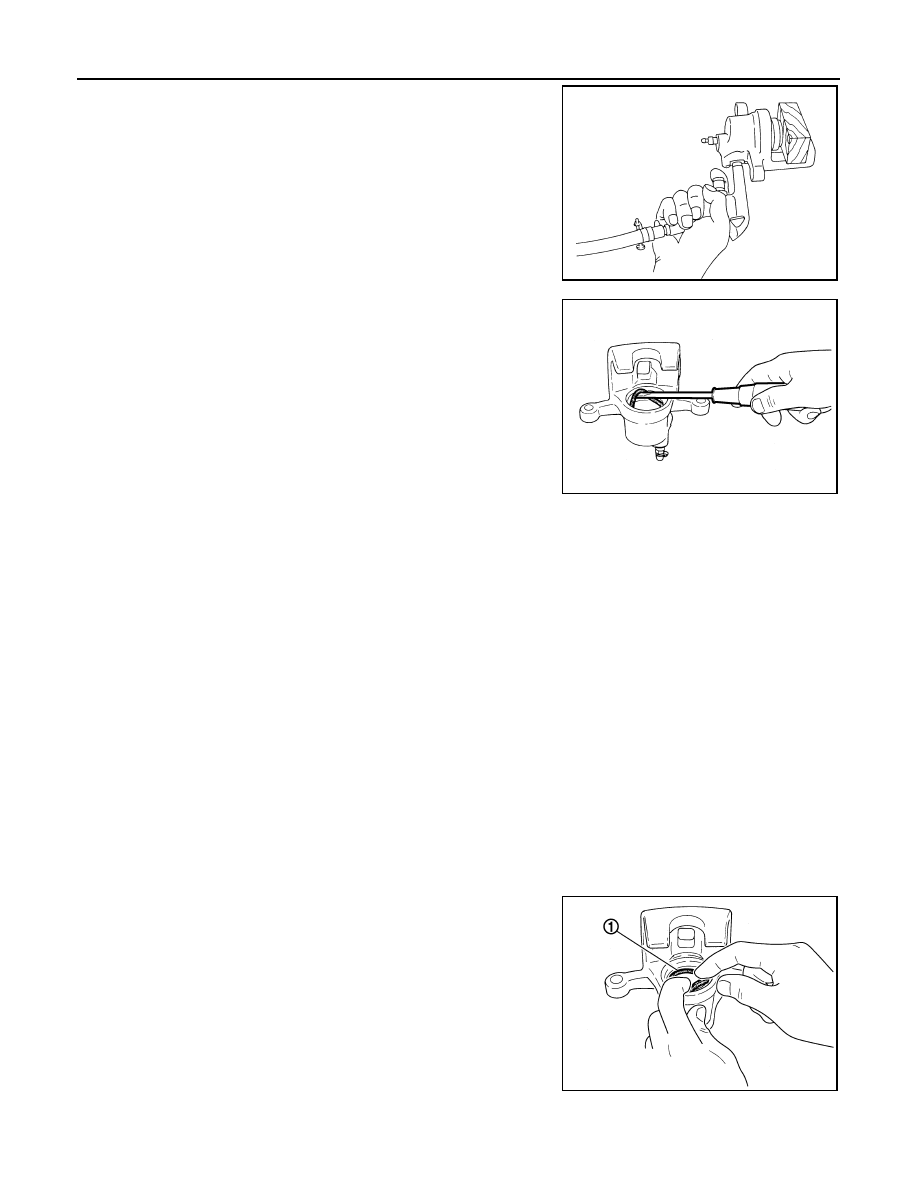
2. Place a wooden block in brake caliper body and blow air from
union bolt hole to remove piston and piston boots.
WARNING:
Do not get fingers caught between piston and brake caliper
body.
CAUTION:
Do not reuse piston boots.
3. Remove piston seals from brake caliper body using suitable tool.
CAUTION:
• Do not damage cylinder inner wall.
• Do not reuse piston seals.
4. Remove bleeder valve and cap.
INSPECTION AFTER DISASSEMBLY
Brake Caliper Body
Check the inner wall of the brake caliper body for rust, wear, cracks or damage. Replace the brake caliper if
any abnormal condition is detected.
CAUTION:
Always clean with new brake fluid. Do not clean with mineral oil such as gasoline and light oil.
Torque Member
Check the torque member for rust, wear, cracks or damage. Replace the brake caliper if any abnormal condi-
tion is detected.
Piston
Check the surface of the piston for rust, wear, cracks or damage. Replace the brake caliper if any abnormal
condition is detected.
CAUTION:
Piston sliding surface is plated. Do not polish with sandpaper.
Slide Pin and Slide Pin Boot
Check the slide pins and slide pin boots for rust, wear, cracks or damage. Replace the parts if any abnormal
condition is detected.
ASSEMBLY
1. Install bleeder valve and cap.
2. Apply rubber grease to each piston seal (1), and install them to
the brake caliper body.
CAUTION:
Do not reuse piston seal.
BRD0041D
JPFIA0038ZZ
JPFIA0039ZZ