Nissan Maxima. Manual - part 652
REAR BUMPER
EXT-17
< REMOVAL AND INSTALLATION >
C
D
E
F
G
H
I
J
L
M
A
B
EXT
N
O
P
REAR BUMPER
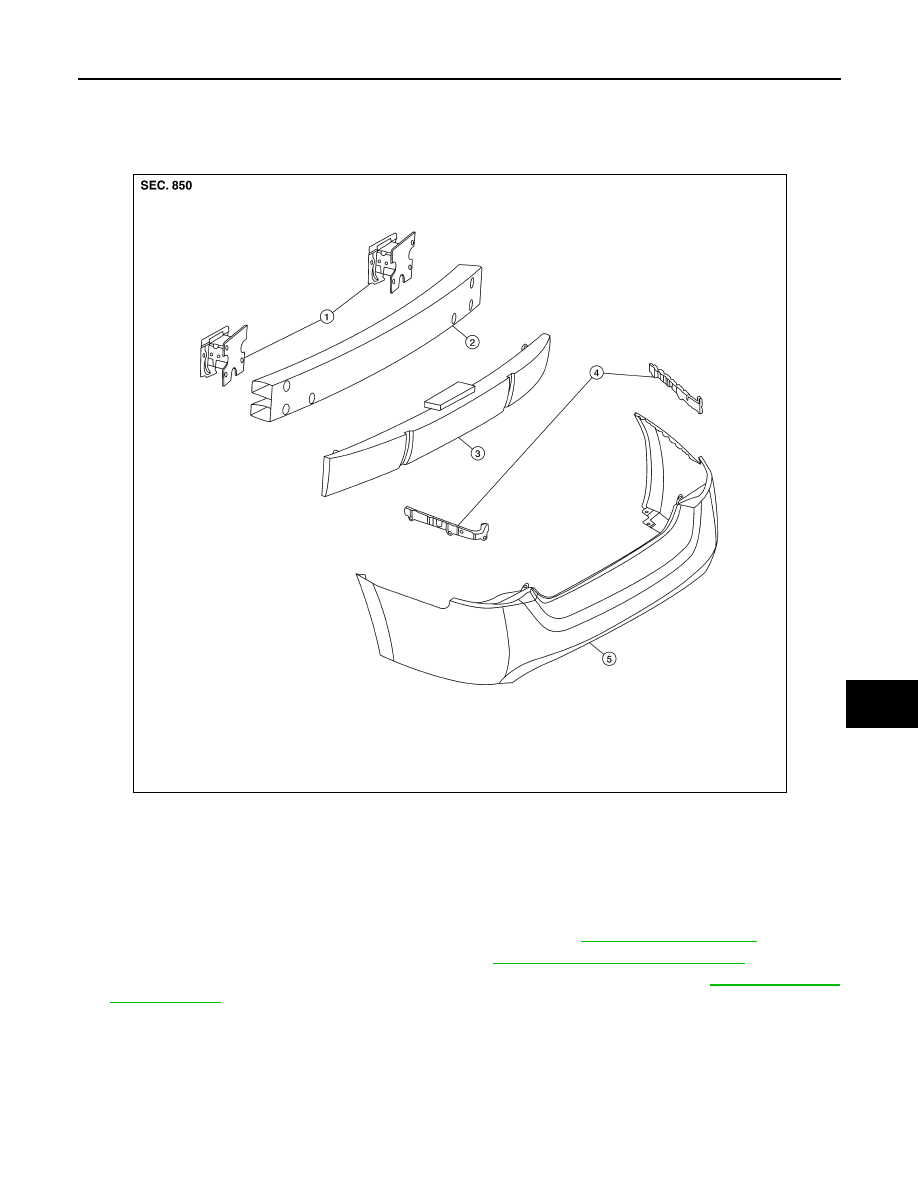
Exploded View
INFOID:0000000009465809
Removal and Installation
INFOID:0000000009465810
REMOVAL
1. Remove trunk floor carpet, side finishers, and rear finisher. Refer to
2. Remove the rear combination lamps (RH/LH). Refer to
EXL-162, "Removal and Installation"
.
3. Remove rear wheels (RH/LH), then remove rear fender protectors (RH/LH). Refer to
4. Remove rear bumper fascia clips and screws detach the rear bumper fascia from the side brackets (RH/
LH), then remove the rear bumper fascia.
5. Remove the rear energy absorber.
6. Remove the rear bumper reinforcement bolts, then remove rear bumper reinforcement.
7. Remove the rear bumper support bolts, then remove the rear bumper supports (RH/LH).
INSTALLATION
1.
Rear bumper supports (RH/LH)
2.
Rear bumper reinforcement
3.
Rear energy absorber
4.
Side bracket (RH/LH)
5.
Rear bumper fascia
ALKIA1581ZZ