Nissan Sentra. Manual - part 854


  Index      Nissan     Nissan Sentra (2014 year) - Service and Repair Manual


Search            


Content   ..  852  853  854  855   ..


Nissan Sentra. Manual - part 854


TM-52

< UNIT DISASSEMBLY AND ASSEMBLY >

[6MT: RS6F94R]

INPUT SHAFT AND GEAR

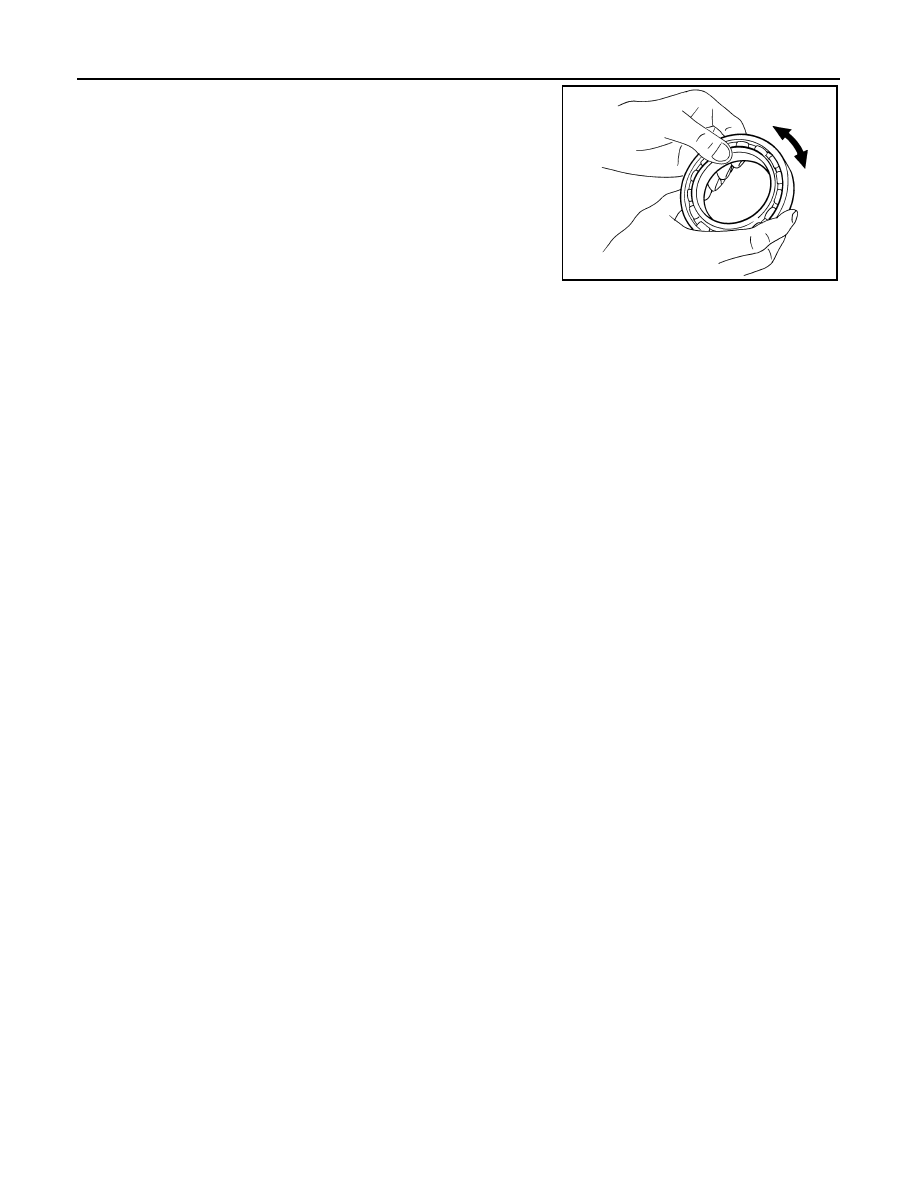
Check bearing for damage and uneven rotation. Replace if neces-

sary.

MTF0041D

MAINSHAFT AND GEAR

TM-53

< UNIT DISASSEMBLY AND ASSEMBLY >

[6MT: RS6F94R]

C

E

F

G

H

I

J

K

L

M

A

B

TM

N

O

P

MAINSHAFT AND GEAR

Exploded View

INFOID:0000000009759295

Disassembly

INFOID:0000000009759296

CAUTION:

• Fix mainshaft in a vise with back plate, and then remove gears and snap rings.

1.

Mainshaft front bearing outer race 2.

Mainshaft front bearing inner race

3.

Mainshaft

4.

1st main gear

5.

1st inner baulk ring

6.

1st synchronizer cone

7.

1st outer baulk ring

8.

1st-2nd coupling sleeve

9.

Insert key

10.

1st-2nd synchronizer hub

11.

2nd outer baulk ring

12. 2nd synchronizer cone

13.

2nd inner baulk ring

14.

2nd main gear

15. Bushing

16.

3rd main gear

17.

Mainshaft adjusting shim

18. 4th main gear

19.

5th main gear

20.

6th main gear

21. Mainshaft rear bearing inner race

22.

Mainshaft rear bearing outer race 23.

Snap ring

24. Mainshaft rear bearing adjusting shim

SFIA3293E

TM-54

< UNIT DISASSEMBLY AND ASSEMBLY >

[6MT: RS6F94R]

MAINSHAFT AND GEAR

• For removal of snap ring, set snap ring pliers and flat pliers at

both sides of snap ring. While expanding snap ring with snap

ring pliers, move snap ring with flat pliers.

• Disassemble gear components putting direction marks on the

parts that never affect any functions.

1. Remove snap ring (1).

CAUTION:

Do not reuse snap ring.

2. Remove 6th main gear (1) and mainshaft rear bearing inner race

(2), with the following procedure.

a. Set a suitable tool to 6th main gear.
b. Remove mainshaft rear bearing inner race and 6th main gear,

using Tool (A).

3. Remove 4th main gear (1) and 5th main gear (2) with the follow-

ing procedure.

a. Set a suitable tool to 4th main gear.
b. Remove 5th main gear and 4th main gear, using Tool (A).

4. Remove mainshaft adjusting shim.

SCIA1755J

PCIB1745E

Tool number : ST33052000 (

)

PCIB1744E

Tool number : ST33052000 (

)

PCIB1743E

MAINSHAFT AND GEAR

TM-55

< UNIT DISASSEMBLY AND ASSEMBLY >

[6MT: RS6F94R]

C

E

F

G

H

I

J

K

L

M

A

B

TM

N

O

P

5. Remove 1st main gear (1), 1st-2nd synchronizer hub assembly

(2), 2nd main gear (3), and 3rd main gear (4) with the following

procedure.

a. Set a suitable tool to 1st main gear.
b. Remove 3rd main gear, busing, 2nd main gear, 2nd inner baulk

ring, 2nd synchronizer cone, 2nd outer baulk ring, 1st-2nd syn-

chronizer hub assembly, 1st outer baulk ring, 1st synchronizer

cone, 1st inner baulk ring, and 1st main gear using Tool (A).

c. Remove insert keys and 1st-2nd coupling sleeve from 1st-2nd

synchronizer hub.

6. Remove mainshaft front bearing inner race (1) with the following

procedure.

a. Set a suitable tool to mainshaft front bearing inner race.
b. Remove mainshaft front bearing inner race using Tool (A).

Assembly

INFOID:0000000009759297

CAUTION:

• Select mainshaft rear bearing adjusting shim, as per the following procedure when replacing main-

shaft adjusting shim, 6th main gear, 5th main gear, or 4th main gear.

- Replace mainshaft adjusting shim.

• If new mainshaft adjusting shim is thinner than previous one, offset the thickness difference by

selecting thicker mainshaft rear bearing adjusting shim.

• If new mainshaft adjusting shim is thicker than previous one, offset the thickness difference by

selecting thinner mainshaft rear bearing adjusting shim.

- Replace 6th main gear, 5th main gear, or 4th main gear.

• Measure the thickness of the main gear used before and the new main gear

• Increase the thickness of the mainshaft rear bearing adjusting shim, if the difference is smaller than

0.025 mm (0.0010 in).

• Replace transaxle assembly when replacing mainshaft.

• For installation of snap ring, set snap ring pliers and flat pliers

at both sides of snap ring. While expanding snap ring with

snap ring pliers, move snap ring with flat pliers.

• Do not reuse snap ring.

Tool number

: ST33052000 (

)

Tool number : ST33052000 (

)

PCIB1742E

PCIB1741E

SCIA1755J


Content   ..  852  853  854  855   ..