Nissan Sentra. Manual - part 614
TRUNK LID TRIM
INT-45
< REMOVAL AND INSTALLATION >
C
D
E
F
G
H
I
K
L
M
A
B
INT
N
O
P
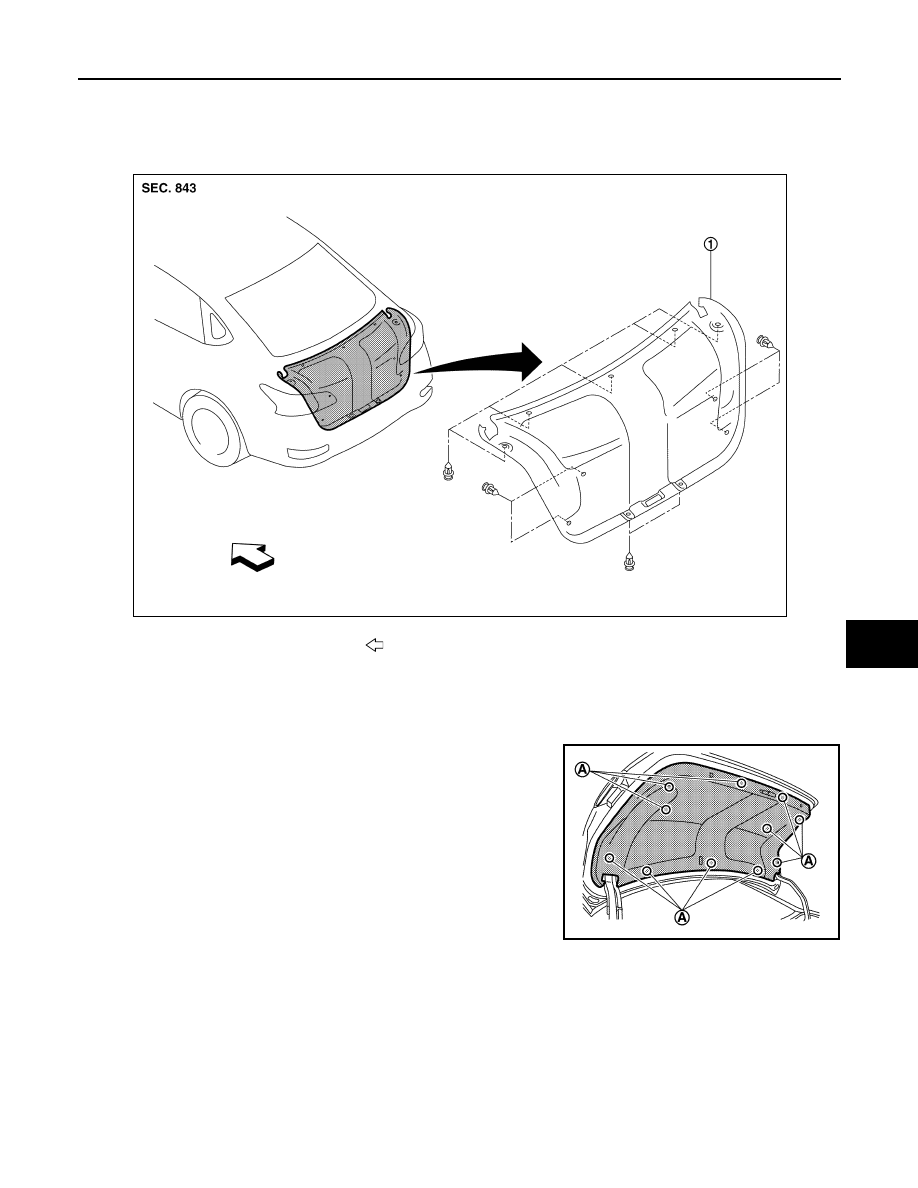
TRUNK LID TRIM
Exploded View
INFOID:0000000009756926
Removal and Installation
INFOID:0000000009756927
REMOVAL
Remove trunk lid finisher clips (A) and trunk lid finisher.
INSTALLATION
Installation is in the reverse order of removal.
1.
Trunk lid finisher
Front
JMJIA7794ZZ
JMJIA7808ZZ