Nissan Leaf. Manual - part 1264


  Index      Nissan     Nissan Leaf (2011-2014 year) - Service and Repair Manual


Search            


Content   ..  1262  1263  1264  1265   ..


Nissan Leaf. Manual - part 1264


VTL-6

< PRECAUTION >

PRECAUTIONS

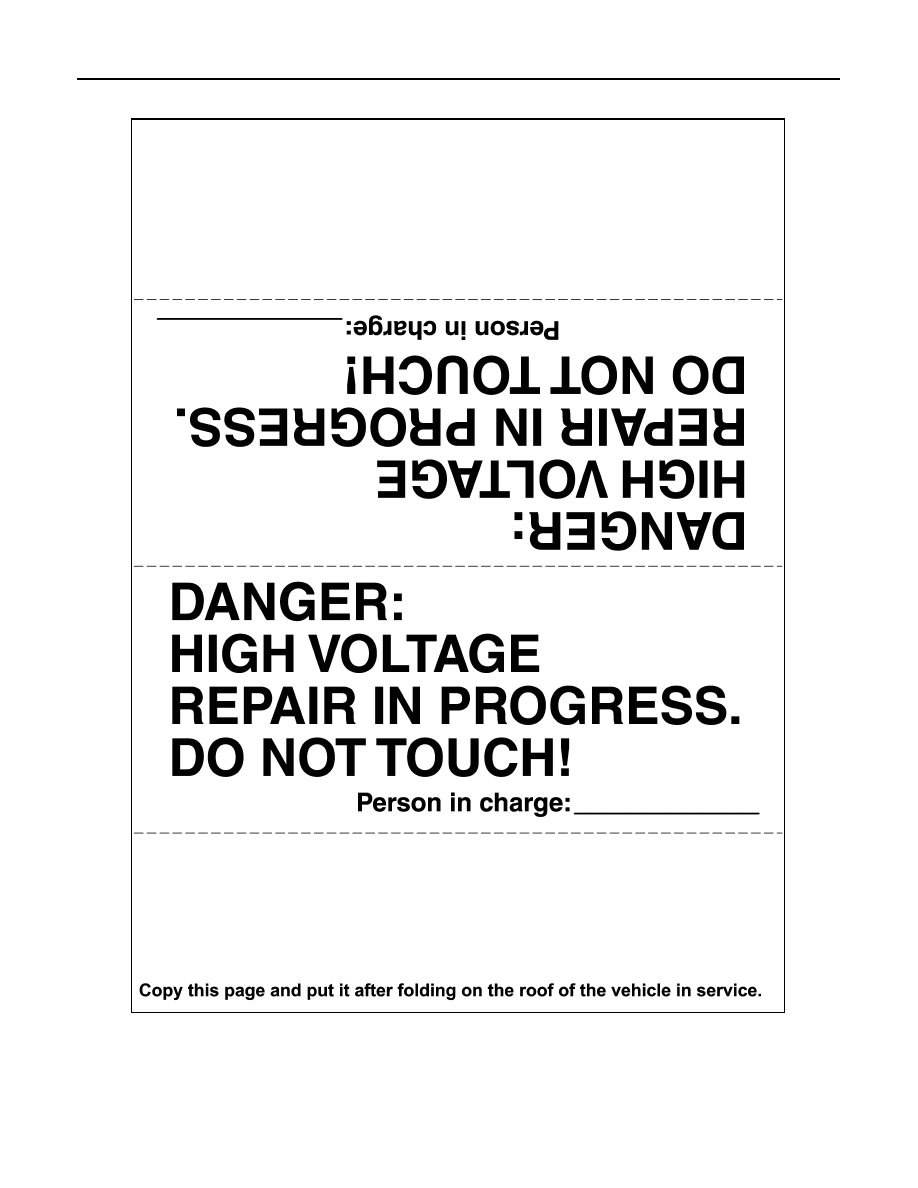
Indicate "HIGH VOLTAGE. DO NOT TOUCH" on the vehicle under repair/inspection to call attention to other

workers.

Precaution for Removing 12V Battery

INFOID:0000000010120482

1. Check that EVSE is not connected.

NOTE:

If EVSE is connected, the air conditioning system may be automatically activated by the timer A/C func-

tion.

2. Turn the power switch OFF 

→ ON → OFF. Get out of the vehicle. Close all doors (including back door).

JSAIA1600GB

PRECAUTIONS

VTL-7

< PRECAUTION >

C

D

E

F

G

H

J

K

L

M

A

B

VTL

N

O

P

3. Check that the charge status indicator lamp does not blink and wait for 5 minutes or more.

NOTE:

 If the battery is removed within 5 minutes after the power switch is turned OFF, plural DTCs may be

detected.

4. Remove 12V battery within 1 hour after turning the power switch OFF 

→ ON → OFF.

NOTE:

•  The 12V battery automatic charge control may start automatically even when the power switch is in

OFF state.

•  Once the power switch is turned ON 

→ OFF, the 12V battery automatic charge control does not start for

approximately 1 hour.

CAUTION:

•  After all doors (including back door) are closed, if a door (including back door) is opened before

battery terminals are disconnected, start over from Step 1.

•  After turning the power switch OFF, if “Remote A/C” is activated by user operation, stop the air

conditioner and start over from Step 1.

Precaution for Work

INFOID:0000000010120483

• When removing or disassembling each component, be careful not to damage or deform it. If a component

may be subject to interference, be sure to protect it with a shop cloth.

• When removing (disengaging) components with a screwdriver or similar tool, be sure to wrap the component

with a shop cloth or vinyl tape to protect it.

• Protect the removed parts with a shop cloth and prevent them from being dropped.

• Replace a deformed or damaged clip.

• If a part is specified as a non-reusable part, always replace it with a new one.

• Be sure to tighten bolts and nuts securely to the specified torque.

• After installation is complete, be sure to check that each part works properly.

• Follow the steps below to clean components:

- Water soluble dirt:

• Dip a soft cloth into lukewarm water, wring the water out of the cloth and wipe the dirty area.

• Then rub with a soft, dry cloth.

- Oily  dirt:

• Dip a soft cloth into lukewarm water with mild detergent (concentration: within 2 to 3%) and wipe the dirty

area.

• Then dip a cloth into fresh water, wring the water out of the cloth and wipe the detergent off.

• Then rub with a soft, dry cloth.

- Do not use organic solvent such as thinner, benzene, alcohol or gasoline.

- For genuine leather seats, use a genuine leather seat cleaner.

VTL-8

< PREPARATION >

PREPARATION

PREPARATION

PREPARATION

Special Service Tool

INFOID:0000000010120484

The actual shape of the tools may differ from those illustrated here.

Commercial Service Tool

INFOID:0000000010120485

Tool number
(TechMate No.)
Tool name

Description

 —

(J-46534)
Trim Tool Set

Removing trim components 

AWJIA0483ZZ

(TechMate No.)
Tool name

Description

( — )
Power tool

Loosening nuts, screws and bolts

PIIB1407E

IN-CABIN MICROFILTER

VTL-9

< PERIODIC MAINTENANCE >

C

D

E

F

G

H

J

K

L

M

A

B

VTL

N

O

P

PERIODIC MAINTENANCE

IN-CABIN MICROFILTER

Exploded View

INFOID:0000000010120486

Removal and Installation

INFOID:0000000010120487

REMOVAL

NOTE:

When removing in-cabin microfilter, visually check the operation through glove box mask opening.
1. Remove instrument under cover RH. Refer to 

IP-16, "Exploded View"

.

2. Remove instrument lower cover RH. Refer to 

IP-16, "Exploded View"

3. Open glove box lid.
4. Disengage pawls, and then remove glove box mask (1).

5. Disengage pawl, and then remove filter cover (1) from heating

and cooling unit assembly.

1.

Heating and cooling unit assembly

2.

In-cabin microfilter

3.

Filter cover

JPIIA1807ZZ

: Pawl

JPIIA1844ZZ

: Pawl

JPIIA1845ZZ


Content   ..  1262  1263  1264  1265   ..