Nissan March K13. Manual - part 174


  Index      Nissan     Nissan March K13 - Service and Repair Manual)


Search            


Content   ..  172  173  174  175   ..


Nissan March K13. Manual - part 174


P0133 A/F SENSOR 1

EC-157

< DTC/CIRCUIT DIAGNOSIS >

[HR12DE (TYPE 1)]

C

D

E

F

G

H

I

J

K

L

M

A

EC

N

P

O

4.

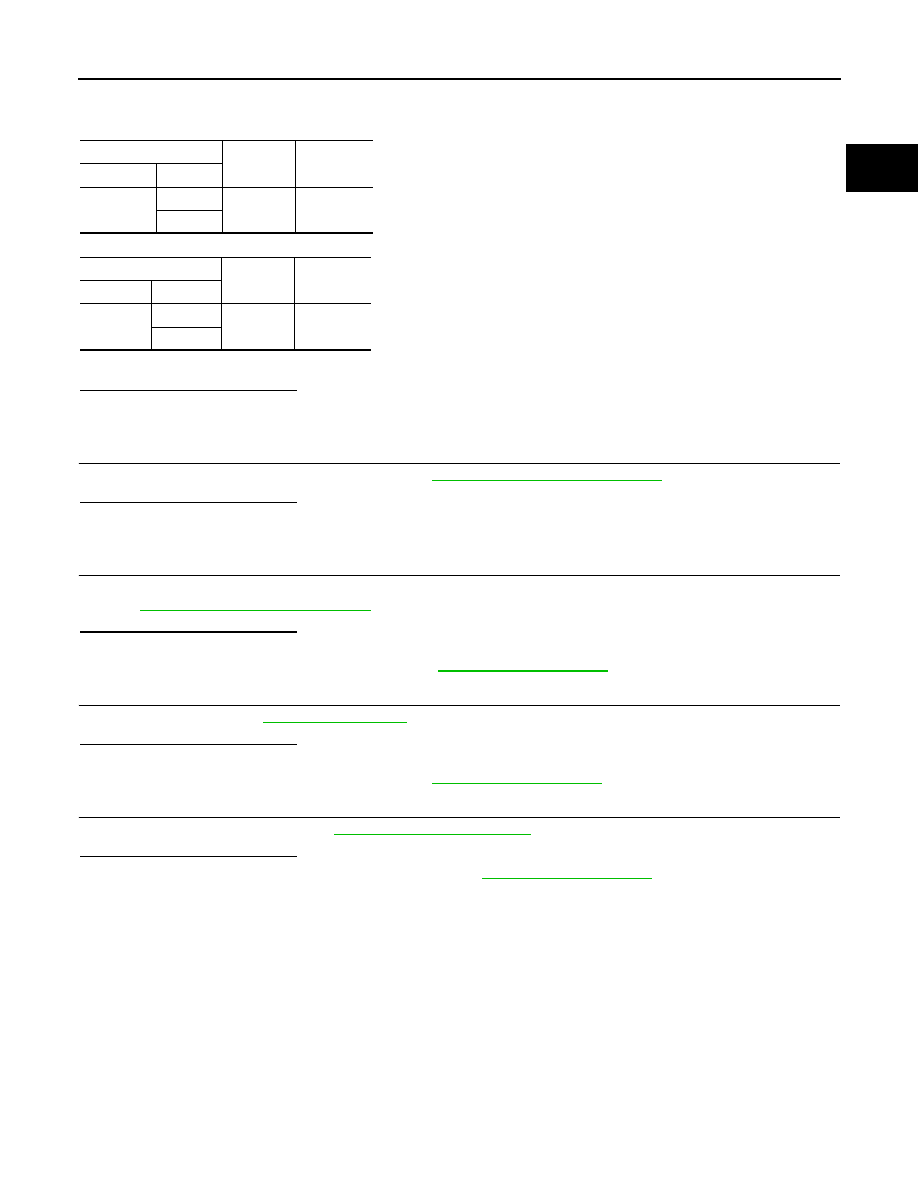
Check the continuity between A/F sensor 1 harness connector and ground or ECM harness connector
and ground.

5.

Also check harness for short to power.

Is the inspection result normal?

YES

>> GO TO 8.

NO

>> Repair open circuit, short to ground or short to power in harness or connectors.

8.

CHECK AIR FUEL RATIO (A/F) SENSOR 1 HEATER

Check air fuel ratio (A/F) sensor 1 heater. Refer to 

EC-132, "Component Inspection"

.

Is the inspection result normal?

YES

>> GO TO 9.

NO

>> GO TO 12.

9.

CHECK MASS AIR FLOW SENSOR

Check both mass air flow sensor.
Refer to 

EC-139, "Component Inspection"

.

Is the inspection result normal?

YES

>> GO TO 10. 

NO

>> Replace mass air flow sensor. Refer to 

EM-24, "Exploded View"

.

10.

CHECK PCV VALVE

Check pcv valve. Refer to 

EC-311, "Inspection"

.

Is the inspection result normal?

YES

>> GO TO 11.

NO

>> Repair or replace PCV valve. Refer to 

EM-41, "Exploded View"

.

11.

CHECK INTERMITTENT INCIDENT

Check intermittent incident. Refer to 

GI-33, "Intermittent Incident"

.

Is the inspection result normal?

YES

>> Replace air fuel ratio (A/F) sensor 1. Refer to 

EM-32, "Exploded View"

.

NO

>> Repair or replace.

A/F sensor 1

Ground

Continuity

Connector

Terminal

F50

1

Ground

Not existed

2

ECM

Ground

Continuity

Connector

Terminal

F16

49

Ground

Not existed

53

EC-158

< DTC/CIRCUIT DIAGNOSIS >

[HR12DE (TYPE 1)]

P0137 HO2S2

P0137 HO2S2

DTC Logic

INFOID:0000000005989264

DTC DETECTION LOGIC

The heated oxygen sensor 2 has a much longer switching time
between rich and lean than the air fuel ratio (A/F) sensor 1. The oxy-
gen storage capacity of the three way catalyst 1 causes the longer
switching time. To judge the malfunctions of heated oxygen sensor
2, ECM monitors whether the maximum voltage of the sensor is suf-
ficiently high during various driving conditions such as fuel-cut.

DTC CONFIRMATION PROCEDURE

1.

INSPECTION START

Do you have CONSULT-III?

YES

>> GO TO 2.

NO

>> GO TO 11.

2.

PRECONDITIONING

• If DTC confirmation Procedure has been previously conducted, always turn ignition switch OFF and wait at

least 10 seconds before conducting the next test.

• “COMPLETED” will appear on CONSULT-III screen when all tests “COND1”, “COND2” and “COND3” are

completed.

TESTING CONDITION:
• For the best results, perform “DTC WORK SUPPORT” at a temperature of 0 to 30 

°

C (32 to 86 

°

F).

• Never stop engine during this procedure. If the engine is stopped, retry procedure from PERFORM

PROCEDURE FOR COND1-II.

>> GO TO 3.

3.

PERFORM PROCEDURE FOR COND1-I

Start engine and warm it up to the normal operating temperature.

>> GO TO 4.

4.

PERFORM PROCEDURE FOR COND1-II

Turn ignition switch OFF and wait at least 10 seconds.

>> GO TO 5.

5.

PERFORM PROCEDURE FOR COND1-III

1.

Start engine and keep the engine speed between 3,500 and 4,000 rpm for at least 1 minute under no load.

SEF259VA

DTC No.

Trouble diagnosis name

DTC detecting condition

Possible cause

P0137

Heated oxygen sensor 2 
circuit low voltage

The maximum voltage from the sensor does not 
reach the specified voltage.

• Harness or connectors

(The sensor circuit is open or shorted)

• Heated oxygen sensor 2
• Fuel pressure
• Fuel injector
• Intake air leaks

P0137 HO2S2

EC-159

< DTC/CIRCUIT DIAGNOSIS >

[HR12DE (TYPE 1)]

C

D

E

F

G

H

I

J

K

L

M

A

EC

N

P

O

2.

Let engine idle for 1 minute.

3.

Select “ENGINE” using CONSULT-III.

4.

Select “HO2S2 (B1) P1147” (for DTC P0137) of “HO2S2” in “DTC WORK SUPPORT” mode.

5.

Touch “START”.

6.

Let engine idle for at least 30 seconds.

7.

Rev engine up to 2,000 rpm two or three times quickly under no load.

Is “COMPLETED” appears on CONSULT-III screen?

YES

>> GO TO 9.

NO

>> GO TO 6.

6.

PERFORM PROCEDURE FOR COND1-IV

When the following conditions are met, “TESTING” will be displayed at “COND1” on the CONSULT-III screen.
Maintain the conditions continuously until “TESTING” changes to “COMPLETED”

CAUTION:

Always drive vehicle at a safe speed.

Which displayed on CONSULT-III screen?

“COND1: OUT OF CONDITION”>>GO TO 4.
“COND1: COMPLETED”, “COND2: INCOMPLETE”>>GO TO 7.
“COND1: COMPLETED”, “COND2: COMPLETED”>>GO TO 8.

7.

PERFORM PROCEDURE FOR COND2

While driving, release accelerator pedal completed from the above condition (PERFORM PROCEDURE FOR
COND1-III) until “INCOMPLETE” at “COND2” on CONSULT-III screen has turned to “COMPLETED” (It will
take approximately 4 seconds).

CAUTION:

Always drive vehicle at a safe speed.
Which displayed on CONSULT-III screen?

“COND2: COMPLETED”, “COND3: INCOMPLETE”>>GO TO 8.
“COND2: COMPLETED”, “COND3: COMPLETED”>>GO TO 9.

8.

PERFORM PROCEDURE FOR COND3-I

Stop vehicle and let it idle until “INCOMPLETE” of “COND3” on CONSULT-III screen has turned to “COM-
PLETED”

>> GO TO 9.

9.

PERFORM PROCEDURE FOR COND3-II

Touch SELF-DIAG RESULTS”.

Which displayed on CONSULT-III screen?

“OK”

>> INSPECTION END.

“NG”

>> Go to 

EC-161, "Diagnosis Procedure"

.

“CAN NOT BE DIAGNOSED”>>GO TO 10.

10.

PERFORM PROCEDURE FOR COND3-III

1.

Turn ignition switch OFF and leave the vehicle in a cool place (soak the vehicle).

2.

Turn ignition switch ON and select “ENGINE” using CONSULT-III.

3.

Select “COOLAN TEMP/S” in “DATA MONITOR” mode.

4.

Start engine and warm it up while monitoring “COOLAN TEMP/S” indication on CONSULT-III.

5.

When “COOLAN TEMP/S” indication reaches 70

°

C (158

°

F).

>> GO TO 5.

ENG SPEED

More than 1,000 rpm

B/FUEL SCHDL

More than 1.0 msec

COOLAN TEMP/S

70 - 105

°

C

Selector lever

Suitable position

EC-160

< DTC/CIRCUIT DIAGNOSIS >

[HR12DE (TYPE 1)]

P0137 HO2S2

11.

PERFORM COMPONENT FUNCTION CHECK

Perform component function check. Refer to 

EC-160, "Component Function Check"

.

NOTE:
Use component function check the overall function of the heated oxygen sensor 2 circuit. During this
check, a 1st trip DTC might not be confirmed.
Is the inspection result normal?

YES

>> INSPECTION END.

NO

>> Go to 

EC-161, "Diagnosis Procedure"

.

Component Function Check

INFOID:0000000005989265

1.

PERFORM COMPONENT FUNCTION CHECK-I

Without CONSULT-III

1.

Start engine and warm it up to the normal operating temperature.

2.

Turn ignition switch OFF and wait at least 10 seconds.

3.

Restart engine and keep the engine speed between 3,500 and 4,000 rpm for at least 1 minute under no
load.

4.

Let engine idle for 1 minute.

5.

Check the voltage between ECM harness connector terminals under the following condition.

Is the inspection result normal?

YES

>> INSPECTION END

NO

>> GO TO 2.

2.

PERFORM COMPONENT FUNCTION CHECK-II

Check the voltage between ECM harness connector terminals under the following condition.

Is the inspection result normal?

YES

>> INSPECTION END

NO

>> GO TO 3.

3.

PERFORM COMPONENT FUNCTION CHECK-III

Check the voltage between ECM harness connector terminals under the following condition.

Is the inspection result normal?

YES

>> INSPECTION END

NO

>> Refer to 

EC-161, "Diagnosis Procedure"

.

ECM

Condition

Voltage

Connector

+

Terminal

Terminal

F16

50

(HO2S2)

59

Revving up to 4,000 rpm under no load at 
least 10 times

The voltage should be above 0.68 V at 
least once during this procedure.

ECM

Condition

Voltage

Connector

+

Terminal

Terminal

F16

50

(HO2S2)

59

Keeping engine at idle for 10 minutes

The voltage should be above 0.68 V at 
least once during this procedure.

ECM

Condition

Voltage

Connector

+

Terminal

Terminal

F16

50

(HO2S2)

59

Coasting from 80 km/h (50 MPH) in 4th 
gear position

The voltage should be above 0.68 V at 
least once during this procedure.


Content   ..  172  173  174  175   ..