содержание .. 176 177 178 179 ..
Nissan GT-R. Manual - part 178
INT-14
< REMOVAL AND INSTALLATION >
DOOR FINISHER
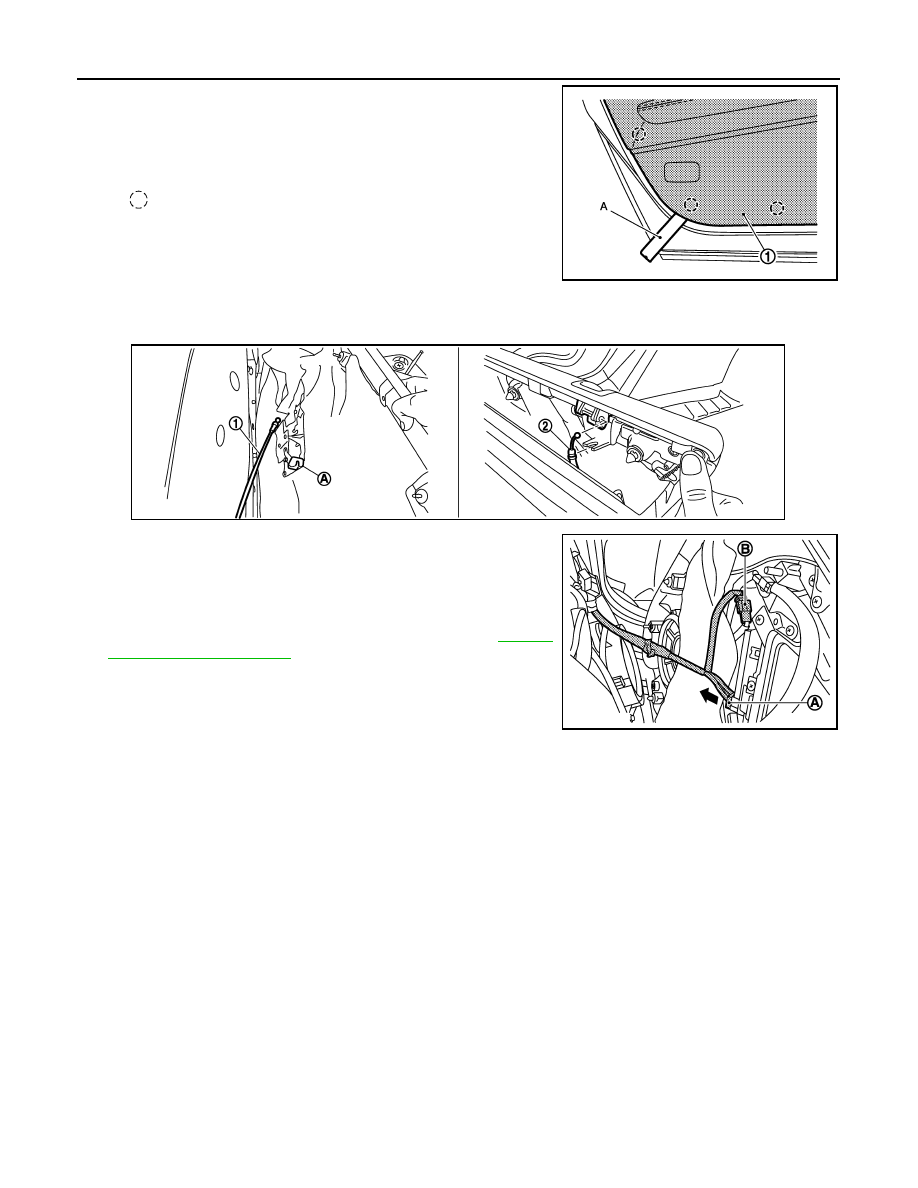
7.
Disengage the clips from the door finisher (1) rear side using a
remover tool (A).
CAUTION:
Insert the remover tool between door panel and clip, and
then disengage the clip.
8.
Remove the door finisher rear side lock knob cable (2) and the inside handle cable (1) from the inside
handle (A).
9.
Lift up the door finisher and pull it out toward the passenger
room. Disconnect the connectors (A) and (B) from the door fin-
isher rear side.
10. Remove the door finisher.
11. Remove the front door squawker (BOSE AUDIO WITH NAVIGA-
TION) after removing the door finisher. Refer to
INSTALLATION
Note the following, and install in the reverse order of removal.
CAUTION:
When installing the door finisher, check that the clips are securely fitted in panel holes, and then press
them in.
: Clip
JMJIA2159ZZ
JMJIA2160ZZ
JMJIA2161ZZ