Nissan Teana J32. Manual - part 956
RF-90
< ON-VEHICLE REPAIR >
SUNROOF UNIT ASSEMBLY
2.
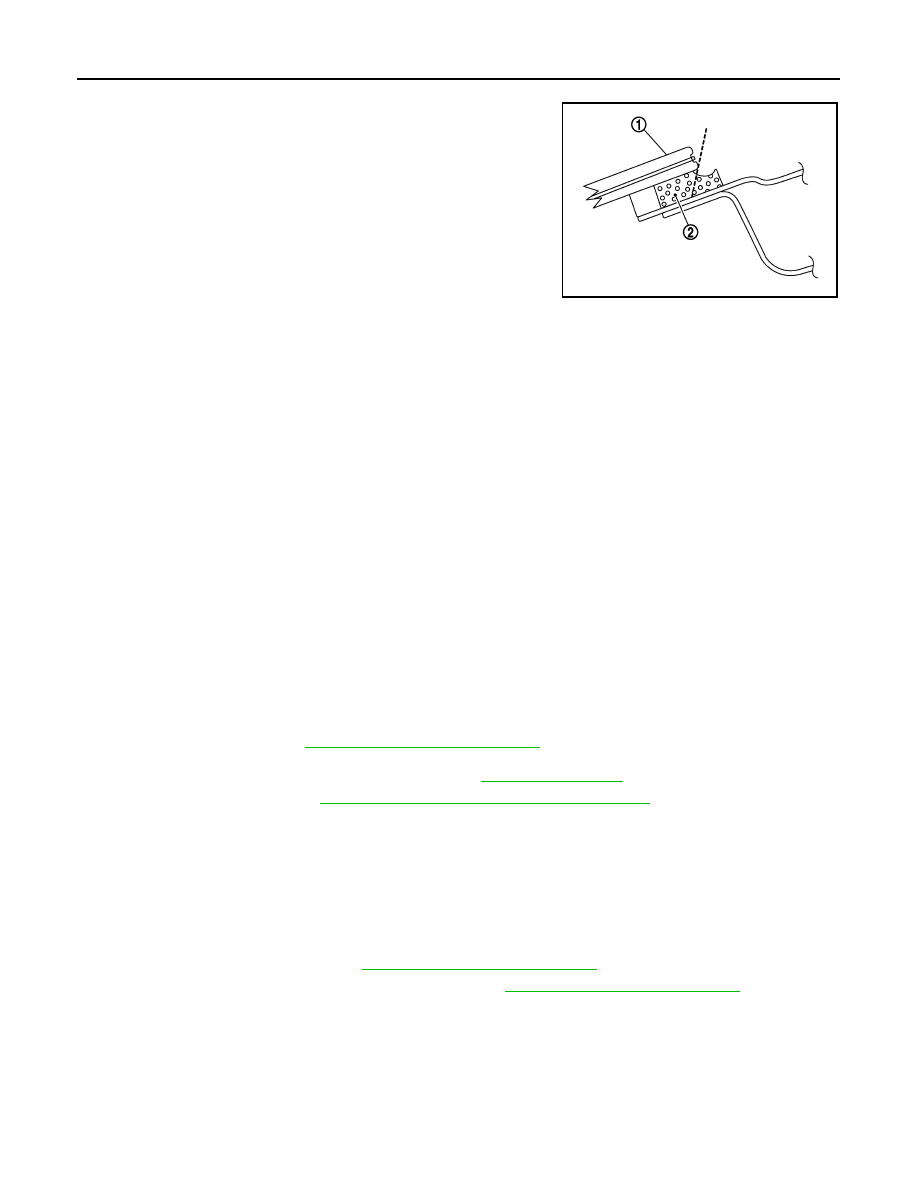
Install the windshield molding.
• Cut off the adhesive (2) of the windshield glass (1) top side as
shown in the figure.
• Apply paint primer to adhesive contact surface of the windshield molding.
• Apply the groove with adhesive, and stick windshield molding.
3.
Clean bonded area on sunroof frame and roof panel with white gasoline.
4.
Apply paint primer along the entire circumference of sunroof frame.
CAUTION:
There are 2 types of primer. Never confuse the application methods.
Paint primer: for painted surfaces
Glass primer: for glass
5.
Apply paint primer on areas where adhesive contacts on the side of vehicle body.
CAUTION:
If paint primer adheres to a painted surface other than bonding area, or if it overflows, quickly
remove it with white gasoline.
6.
After applying primers, apply the adhesive along the entire circumference of the sunroof unit assembly as
shown in the figure, and within the time specified in the instructions for the adhesive.
Open adhesive by cutting off the nozzle tip and set it in a sealant gun.
7.
Align matching marks on body and sunroof unit assembly. Install sunroof unit assembly to the body.
8.
Press entire surface of glass lightly to fit it completely.
9.
Using a spatula, repair any adhesive overflow or shortage to make the surface smooth.
10. Remove protective tape.
11. Temporarily tighten the mounting bolts and nuts to the sunroof unit assembly.
12. Tighten the installation points diagonally around the roof opening.
13. Install the glass lid. Refer to
RF-80, "Removal and Installation"
.
NOTE:
After installation, carry out fitting adjustment. Refer to
.
14. Install the headlining. Refer to
INT-54, "SUNROOF : Removal and Installation"
.
15. Check for water leaks.
NOTE:
• Perform the water leakage check more than 2 hours after sunroof unit assembly installation.
• After glass lid fitting adjustment, carry out water leakage check by spreading water on the whole roof.
Disassembly and Assembly
INFOID:0000000003812893
DISASSEMBLY
1.
Remove the wind deflector. Refer to
RF-97, "Removal and Installation"
.
2.
Remove the front sunshade and rear sunshade. Refer to
RF-99, "Removal and Installation"
.
3.
Remove the weather-strip.
ASSEMBLY
Assemble in the reverse order of disassembly.
JMKIA2552ZZ