Nissan Teana J32. Manual - part 955
RF-86
< ON-VEHICLE REPAIR >
SUNROOF UNIT ASSEMBLY
SUNROOF UNIT ASSEMBLY
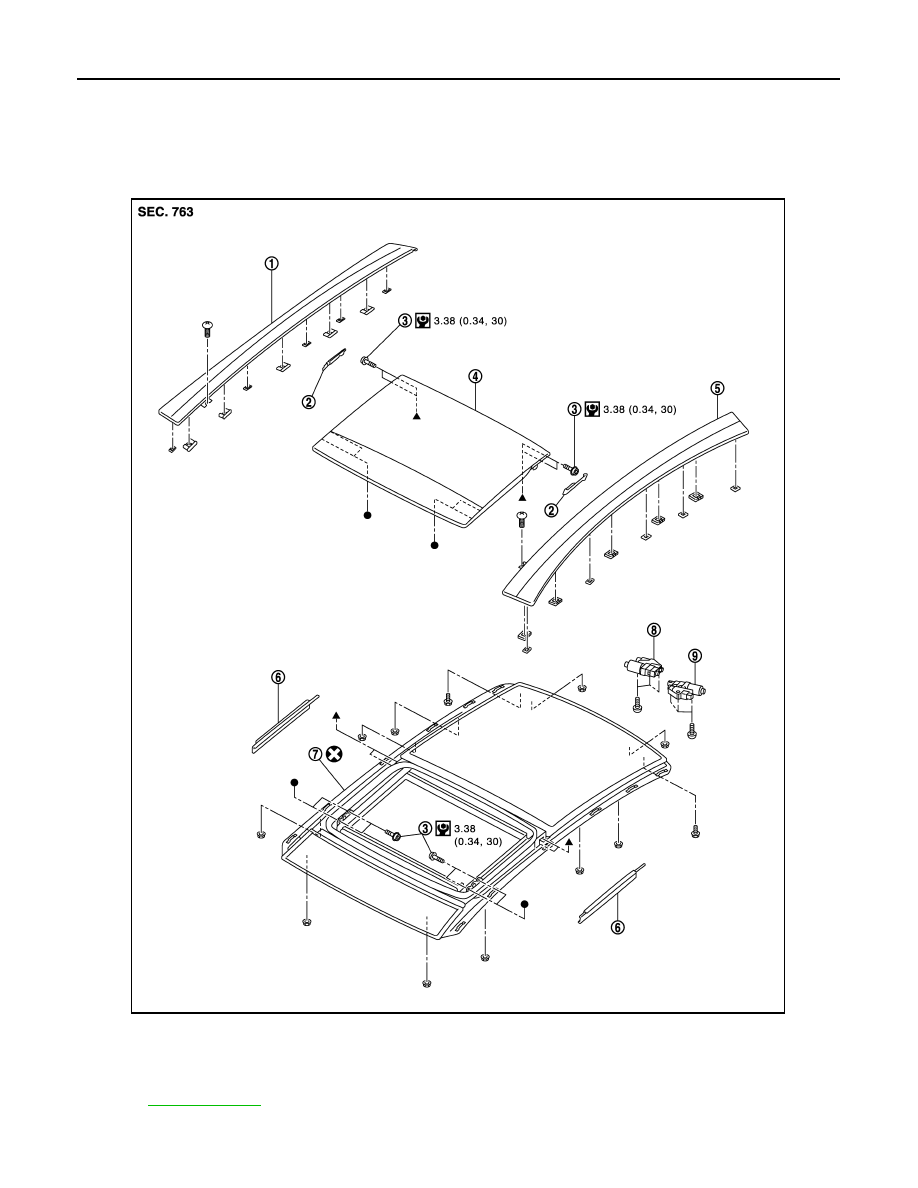
Exploded View
INFOID:0000000003812891
REMOVAL
1.
Roof side finisher RH
2.
Rear link cover
3.
TORX bolt
4.
Glass lid
5.
Roof side finisher LH
6.
Inner blind
7.
Sunroof unit assembly
8.
Sunroof motor assembly
9.
Sunshade motor assembly
Refer to
for symbols in the figure.
JMKIA2488GB