Nissan Teana J32. Manual - part 280
CHG
ALTERNATOR
CHG-21
< ON-VEHICLE REPAIR >
C
D
E
F
G
H
I
J
K
L
B
A
O
P
N
ON-VEHICLE REPAIR
ALTERNATOR
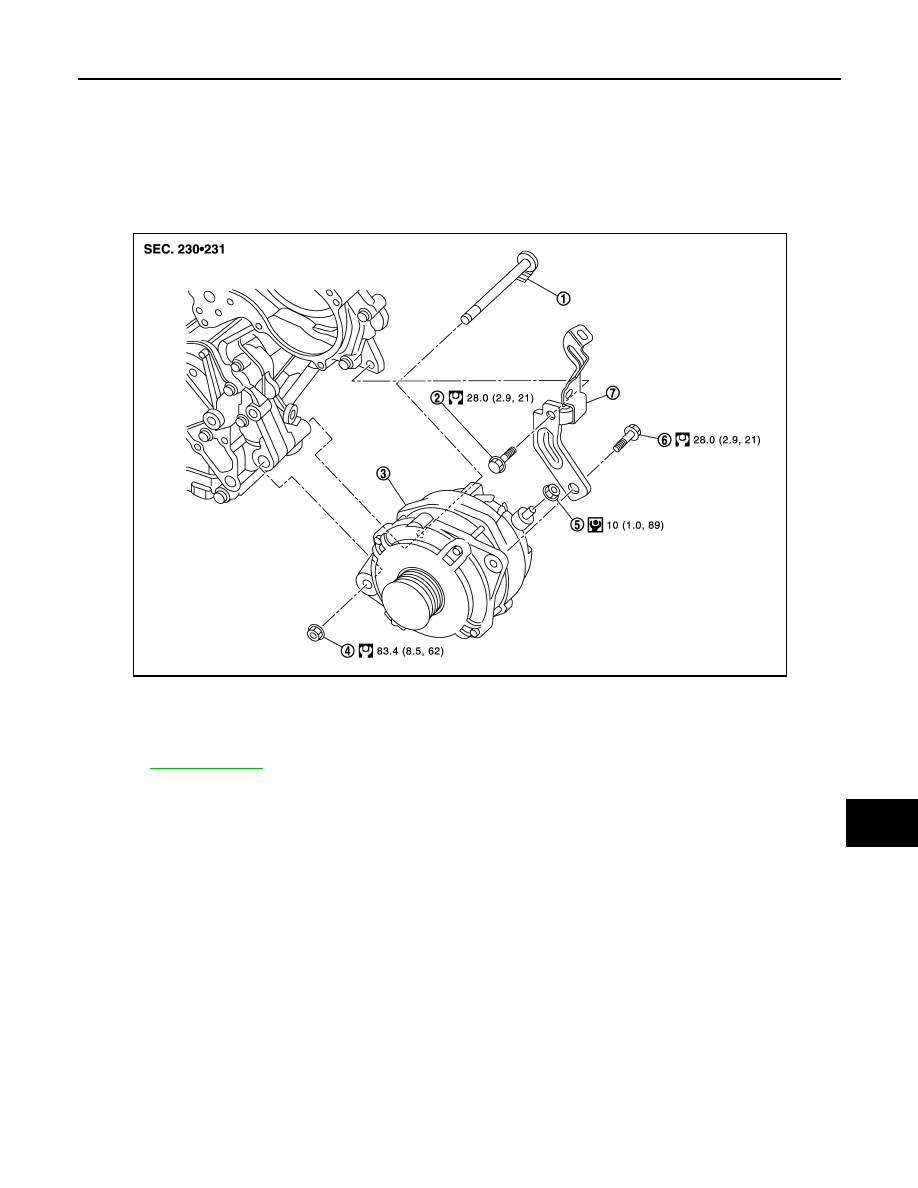
Exploded View
INFOID:0000000003860538
REMOVAL
DISASSEMBLY
1.
Alternator mounting bolt
2.
Alternator stay mounting bolt
3.
Alternator
4.
Alternator mounting nut
5.
“B” terminal nut
6.
Alternator stay mounting bolt
7.
Alternator bracket
Refer to
JPMIA1133GB