Content .. 1214 1215 1216 1217 ..
Nissan Teana J32. Manual - part 1216
VTL-50
< ON-VEHICLE REPAIR >
[WITHOUT 7 INCH DISPLAY]
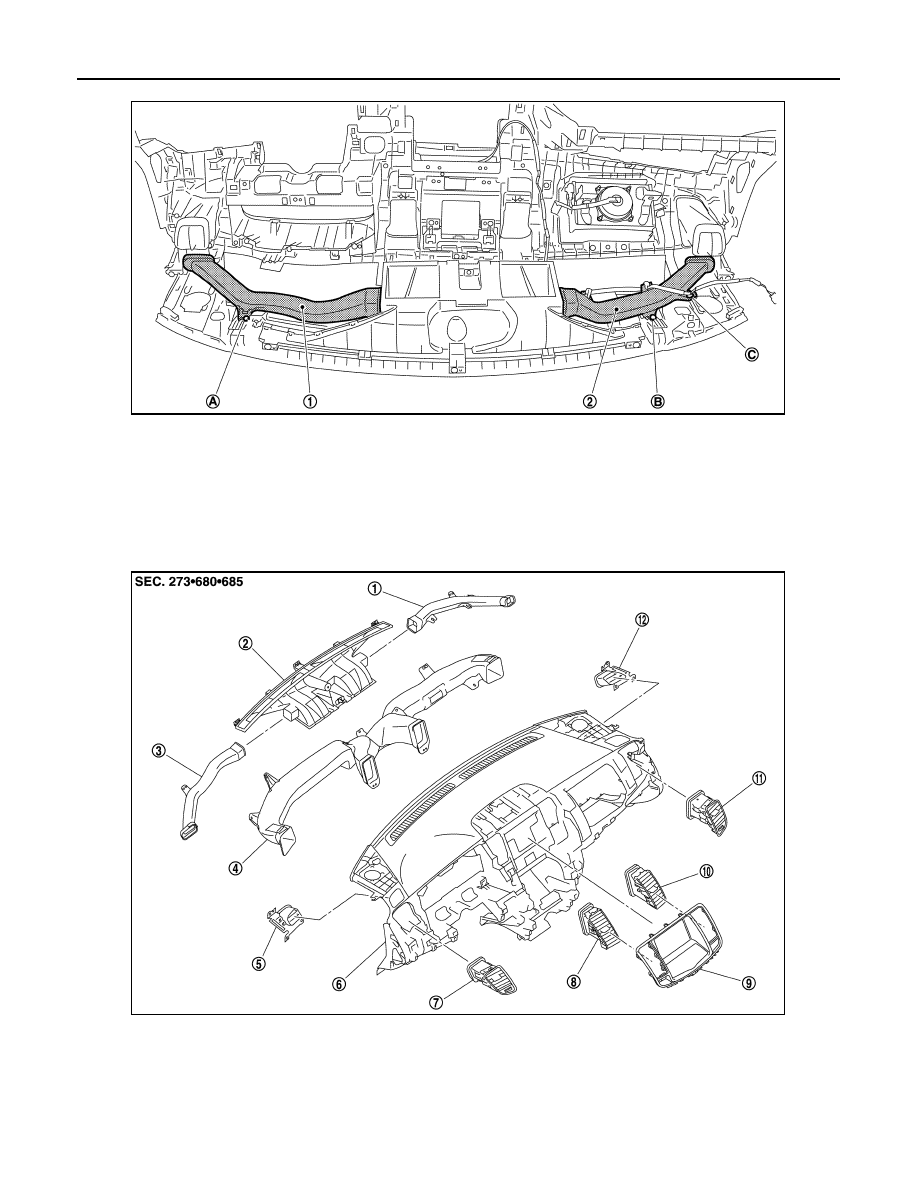
DUCT AND GRILLE
2.
Remove mounting screws (A), and then remove side defroster nozzle (left) (1).
3.
Remove mounting screw (B) and harness clip (C), and then remove side defroster nozzle (right) (2).
INSTALLATION
Installation is basically the reverse order of removal.
DEFROSTER NOZZLE
DEFROSTER NOZZLE : Exploded View
INFOID:0000000003821401
JPIIA0933ZZ
1.
Side defroster nozzle (right)
2.
Defroster nozzle
3.
Side defroster nozzle (left)
4.
Ventilator duct
5.
Side defroster grille (left)
6.
Instrument panel assembly
7.
Side ventilator grille (left)
8.
Center ventilator grille (left)
9.
Cluster lid D
10. Center ventilator grille (right)
11. Side ventilator grille (right)
12. Side defroster grille (right)
JPIIA0928ZZ