содержание .. 911 912 913 914 ..
Nissan Murano. Manual - part 913
HEADLINING
INT-29
< REMOVAL AND INSTALLATION >
C
D
E
F
G
H
I
K
L
M
A
B
INT
N
O
P
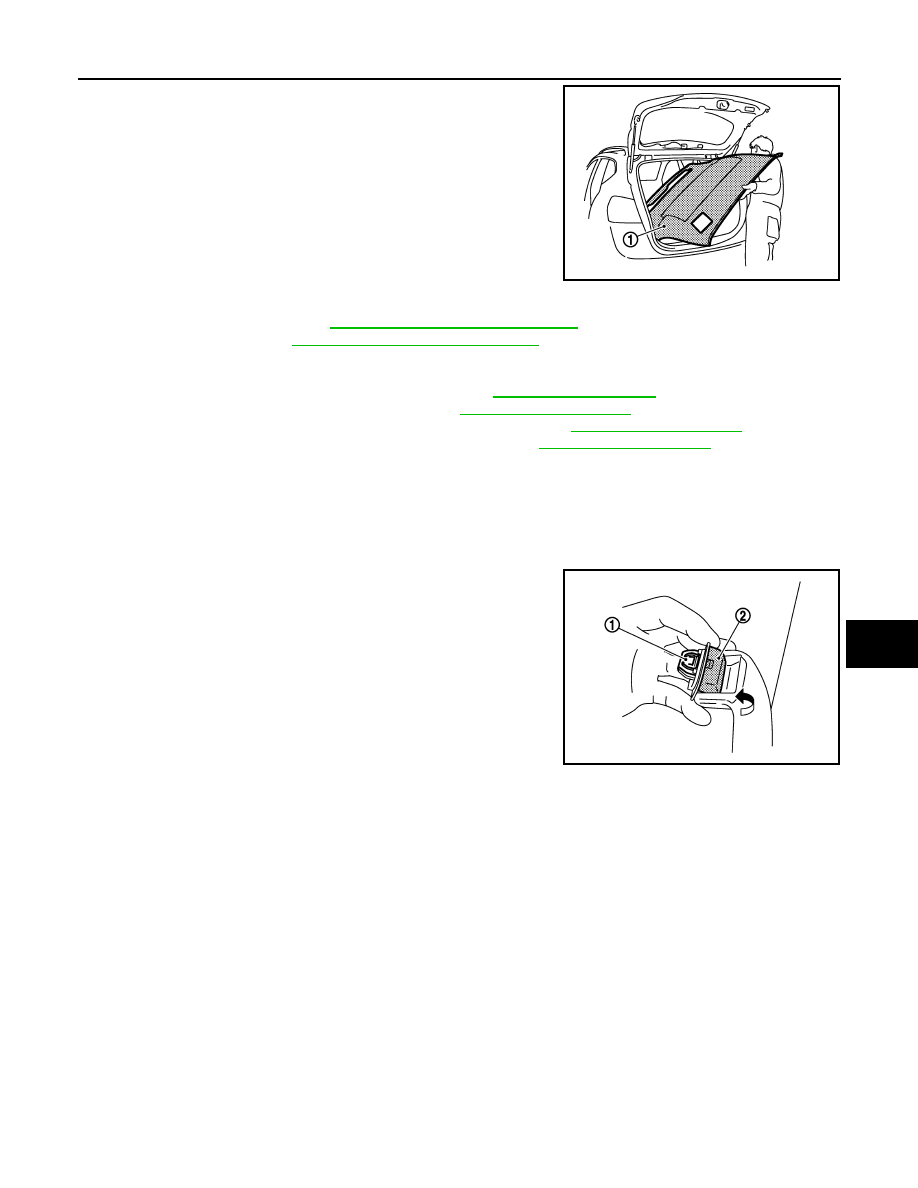
14. Remove headlining (1) from back door.
CAUTION:
• When removing headlining, two workers are required.
• Never bend headlining when removing.
• Be careful not to scratch or damage any part of the body
while taking out the headlining.
15. Remove the following parts after removing headlining.
• Map lamp assembly. Refer to
INL-124, "Removal and Installation"
• Personal lamp. Refer to
INL-132, "Removal and Installation"
.
• Roof harness assembly.
• Antenna feeder harness assembly. Refer to the following.
- BASE AUDIO WITHOUT COLOR DISPLAY. Refer to
- BASE AUDIO WITH COLOR DISPLAY. Refer to
.
- BASE AUDIO WITHOUT NAVIGATION LHD MODELS. Refer to
.
- BOSE AUDIO WITH NAVIGATION LHD MODELS. Refer to
INSTALLATION
Note the following items, and then install in the reverse order of removal.
CAUTION:
• As for guide, first install the sun-visor holder (LH and RH) and then the rear hidden clips at the back
side of headlining.
• Be careful not to bend the headlining when installing.
• When installing assist grip, install metal clip (1) to assist grip
clip (2), and then install to the vehicle body.
SUNROOF
JMJIA1010ZZ
JMJIA3623ZZ