содержание .. 744 745 746 747 ..
Nissan Murano. Manual - part 746
EXT-22
< REMOVAL AND INSTALLATION >
FRONT GRILLE
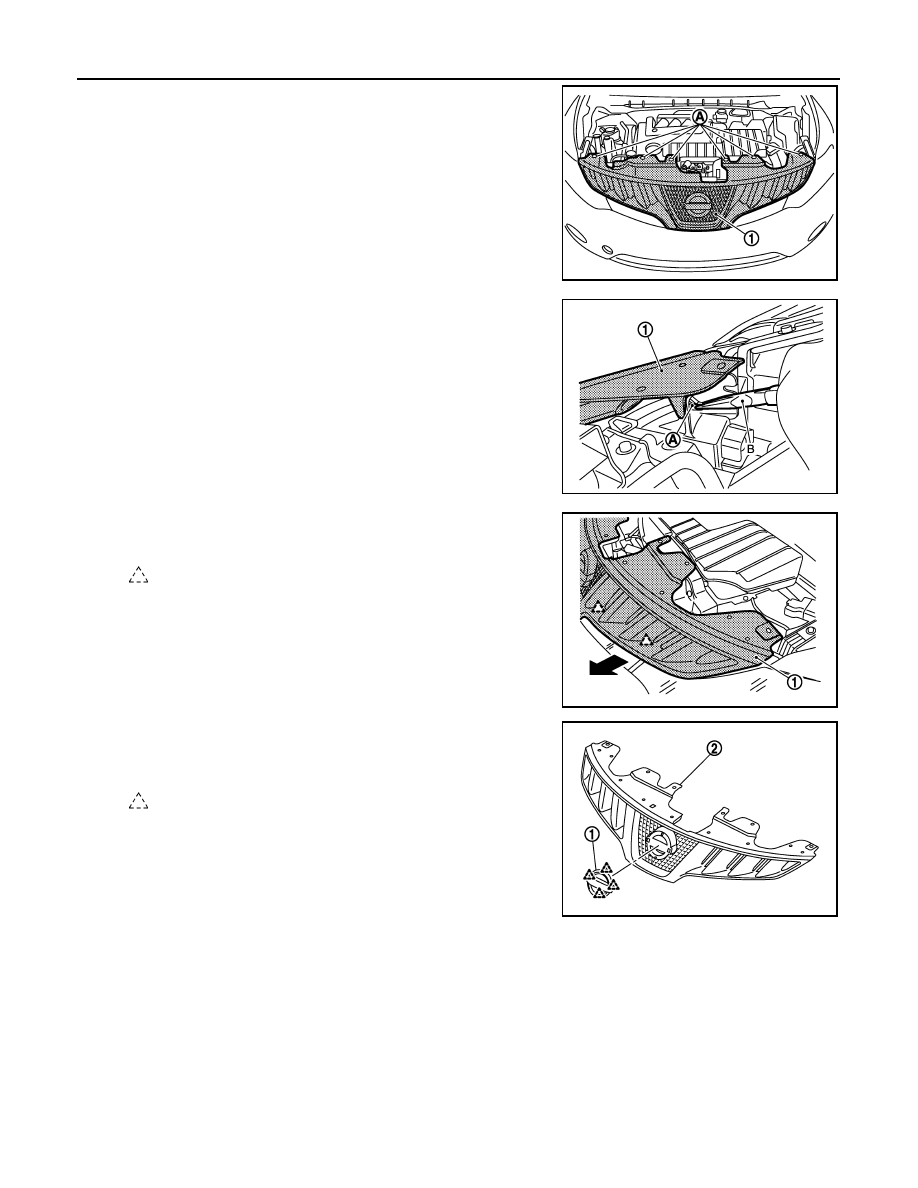
4.
Remove front grille (1) fixing clips (A).
5.
Disengage fastener (A) of fixing front grille (1) with plier (B).
6.
Pull front grille (1) horizontally toward vehicle front, and then
remove front grille.
7.
Remove the front emblem after removing front grille.
• Remove emblem (1) fixing pawls.
• Remove emblem from front grille (2).
INSTALLATION
Install in the reverse order of removal.
JMKIA1977ZZ
JMKIA1978ZZ
: Pawl
JMKIA1979ZZ
: Pawl
JMKIA1980ZZ