содержание .. 2037 2038 2039 2040 ..
Nissan X-Trail 32. Manual - part 2039
TM-114
< REMOVAL AND INSTALLATION >
[6MT: RS6F52A]
BACK-UP LAMP SWITCH
BACK-UP LAMP SWITCH
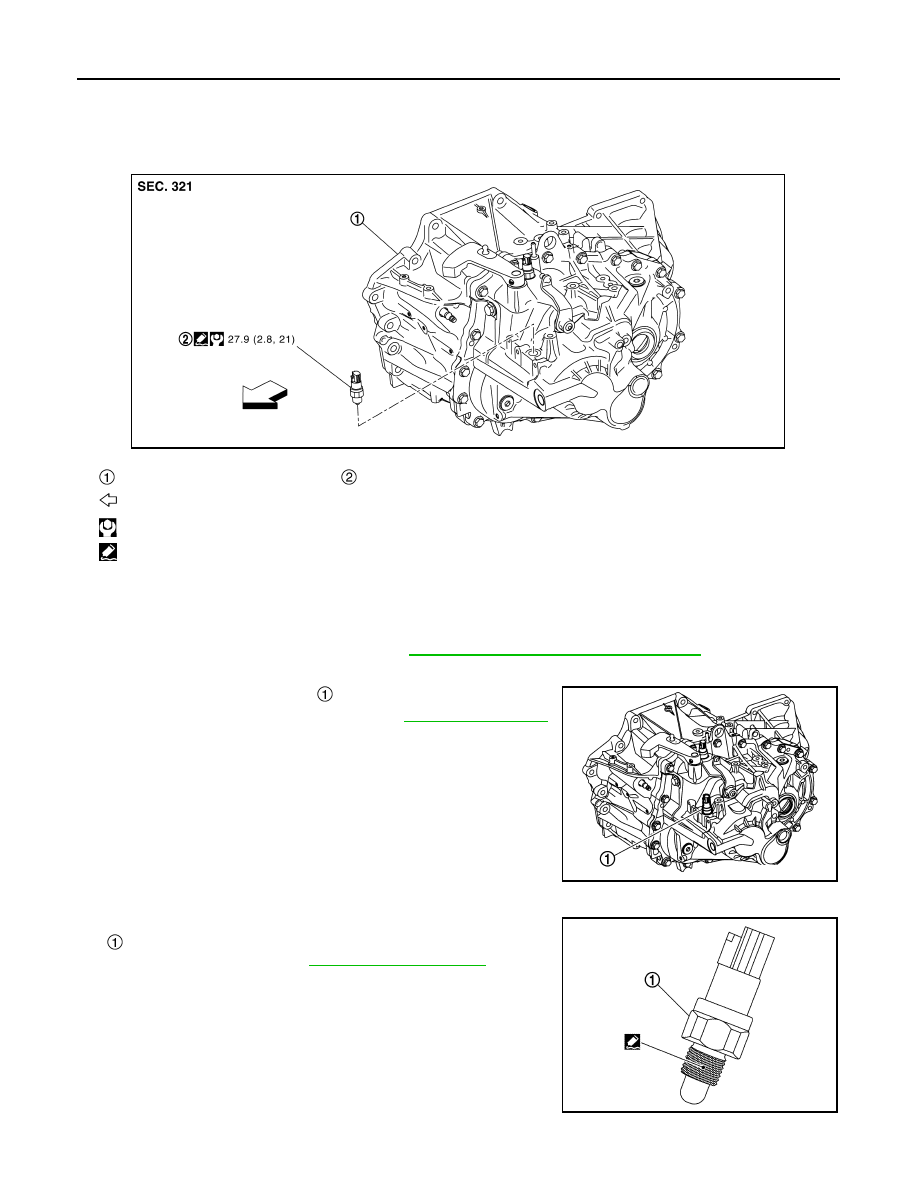
Exploded View
INFOID:0000000010921089
Removal and Installation
INFOID:0000000010921090
REMOVAL
1.
Remove battery and battery trays. Refer to
PG-143, "R9M : Removal and Installation"
.
2.
Disconnect back-up lamp switch harness connector.
3.
Remove back-up lamp switch
.
4.
Perform inspection after removal. Refer to
.
INSTALLATION
1.
Apply recommended sealant to threads of back-up lamp switch
.
• For sealant to use, refer to
CAUTION:
Remove old sealant and oil adhering to threads.
Transaxle assembly
Back-up lamp switch
: Vehicle front
: N·m (kg-m, ft-lb)
: Apply Genuine Liquid Gasket, Three Bond 1215 or equivalent.
JSDIA6266GB
JSDIA6267ZZ
JSDIA6268ZZ