содержание .. 1805 1806 1807 1808 ..
Nissan X-Trail 32. Manual - part 1807
SE-76
< REMOVAL AND INSTALLATION >
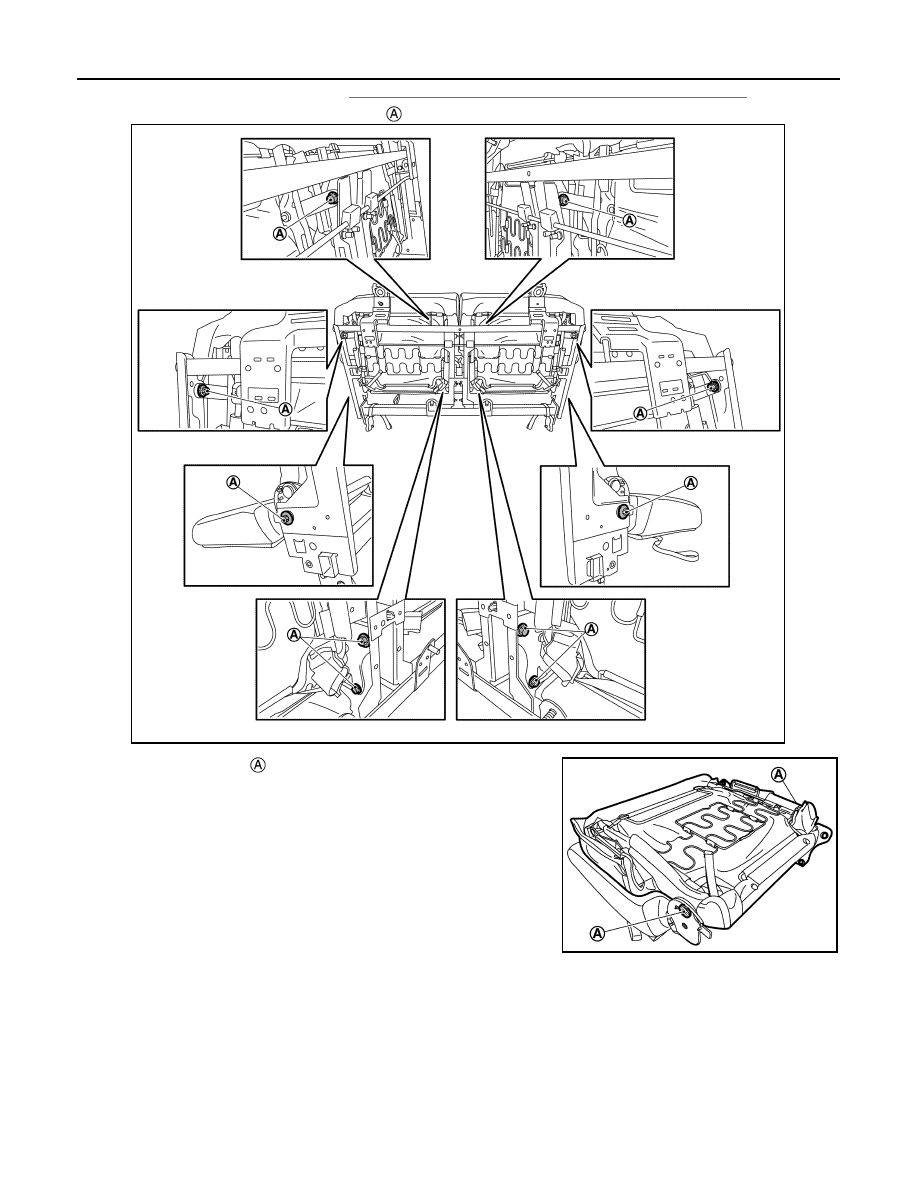
THIRD SEAT
4.
Remove seat belt buckle. Refer to
SB-23, "SEAT BELT BUCKLE : Removal and Installation"
5.
Remove seat cushion frame fixing bolts
, and then remove seat cushion and seatback as a set.
6.
Remove hinge bolts
, and then remove seat cushion.
JMJIA9730ZZ
JMJIA9731ZZ