Qashqai J11. Exterior Lighting system - part 18
EXL-274
< DTC/CIRCUIT DIAGNOSIS >
[HALOGEN HEADLAMP]
HEADLAMP (HI) CIRCUIT
Is the inspection result normal?
YES
>> GO TO 4.
NO
>> Repair or replace harness.
4.
CHECK HEADLAMP (HI) BULB
Check the applicable headlamp (HI) bulb.
Is the inspection result normal?
YES
>> Check the corresponding headlamp (HI) bulb socket. Repair or replace if necessary.
NO
>> Replace the corresponding headlamp (HI) bulb. Refer to
.
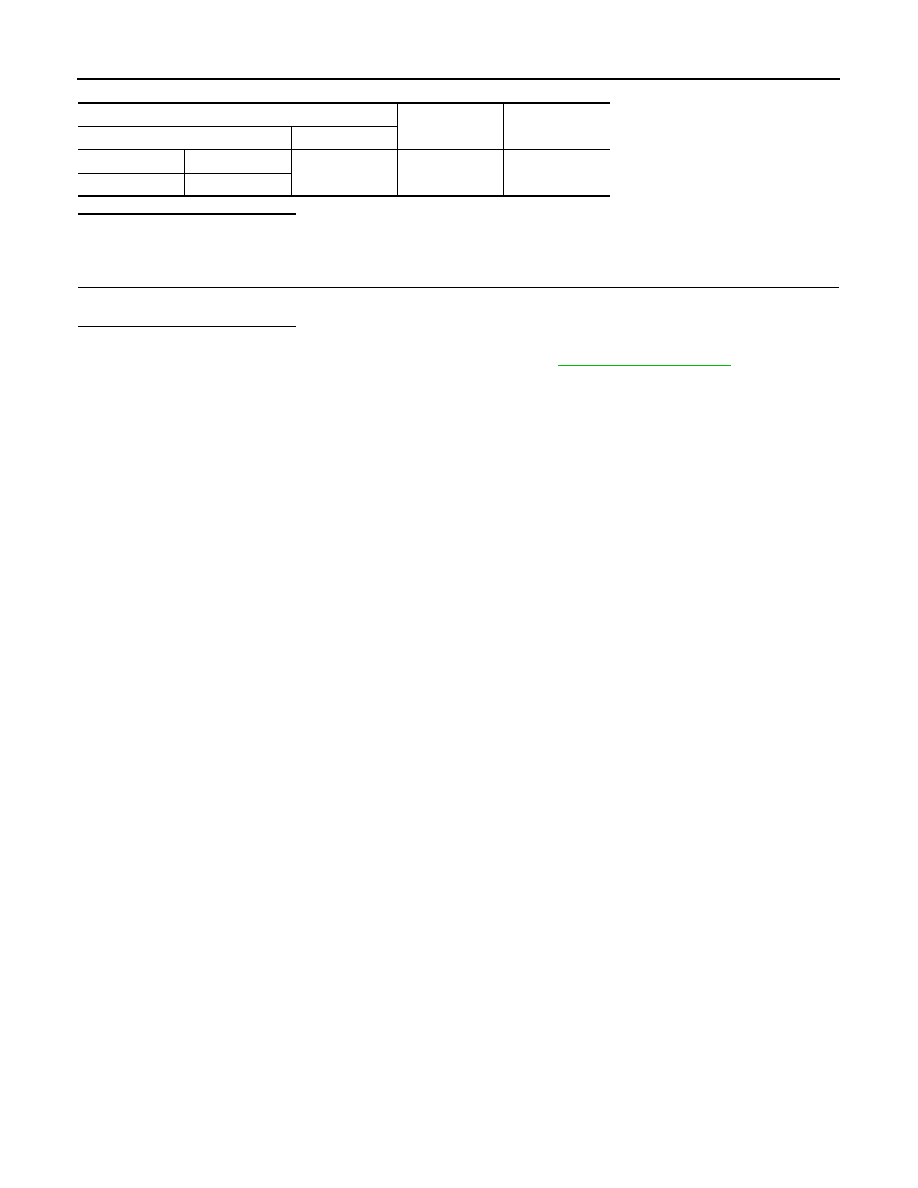
Front combination lamp
—
Continuity
Connector
Terminal
RH
E92
1
Ground
Existed
LH
E90