Nissan Qashqai J11. Manual - part 763
AIR BREATHER HOSE
TM-627
< REMOVAL AND INSTALLATION >
[CVT: RE0F10G]
C
E
F
G
H
I
J
K
L
M
A
B
TM
N
O
P
AIR BREATHER HOSE
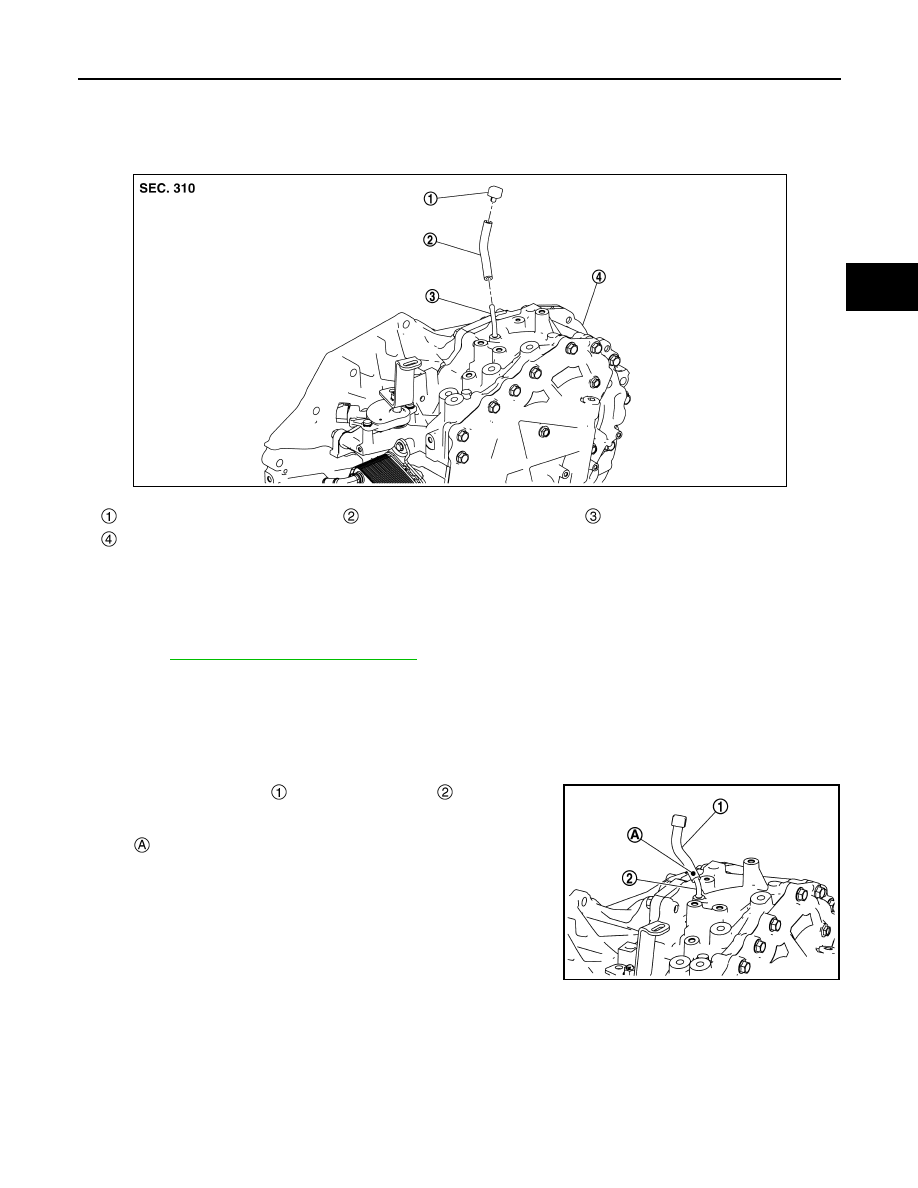
Exploded View
INFOID:0000000010245685
Removal and Installation
INFOID:0000000010245686
REMOVAL
1.
Remove the air duct (inlet), air cleaner cases assembly with mass air flow sensor, and air duct assembly.
Refer to
EM-380, "Removal and Installation"
2.
Remove air breather hose.
INSTALLATION
Installation is in the reverse order of removal.
CAUTION:
• Never bend the air breather hose to prevent damage to the hose.
• Insert air breather hose to the end of air breather.
• Insert air breather hose
to air breather tube
all the way to
the curve of the tube.
• Insert air breather hose to air breather tube so that the paint
mark
is facing upward.
Air breather hose cap
Air breather hose
Breather tube
Transaxle assembly
JSDIA5220ZZ
JSDIA5387ZZ