Nissan Qashqai J11. Manual - part 117


  Index      Nissan     Nissan Qashqai J11 - Service and Repair Manual


Search            


Content   ..  115  116  117  118   ..


Nissan Qashqai J11. Manual - part 117


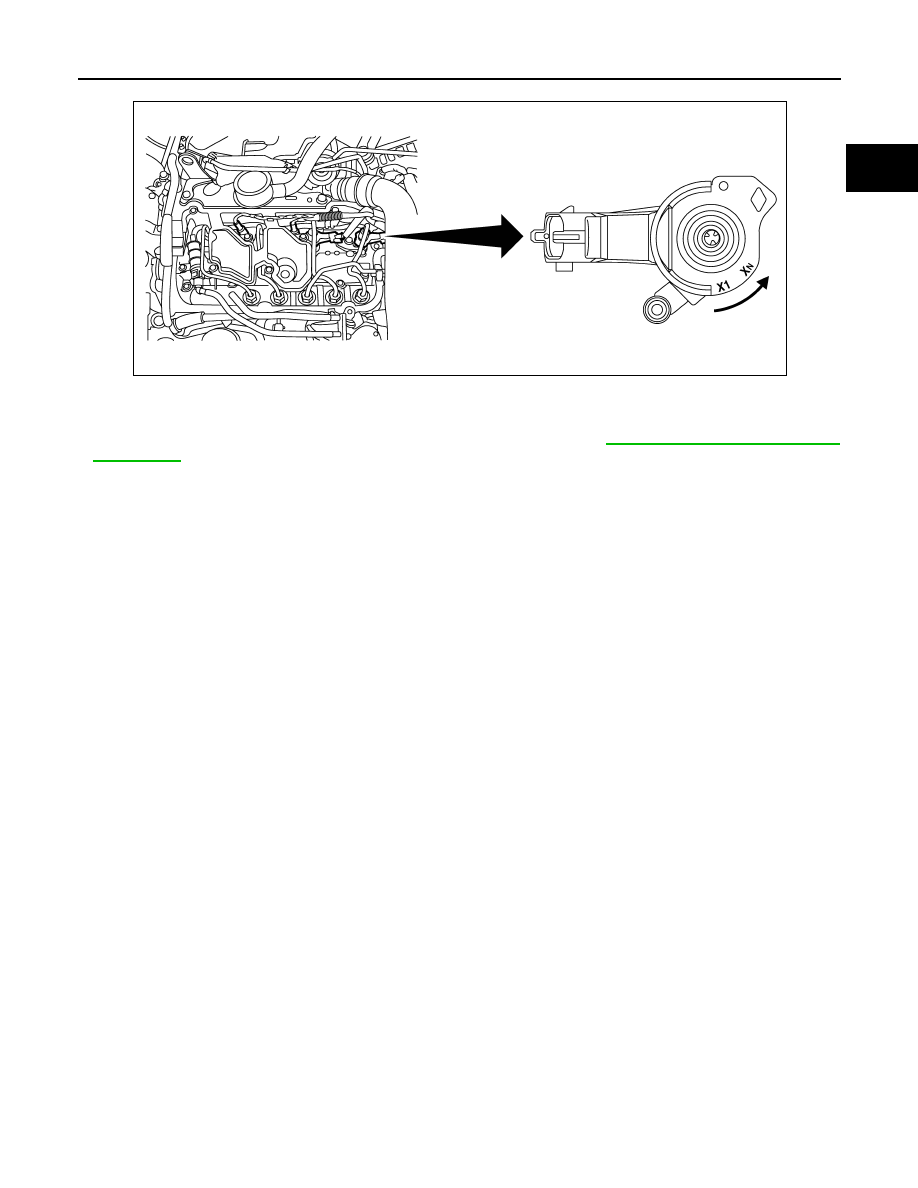
INJECTION TUBE AND FUEL INJECTOR

EM-407

< REMOVAL AND INSTALLATION >

[R9M]

C

D

E

F

G

H

I

J

K

L

M

A

EM

N

P

O

• Start the engine and check for fuel leak for one minute after starting.

CAUTION:

After any operation, check that there are no diesel leaks. Refer to 

EM-364, "Precaution for Diesel

Equipment"

.

E1BIA0649ZZ

EM-408

< REMOVAL AND INSTALLATION >

[R9M]

FUEL PUMP

FUEL PUMP

Exploded View

INFOID:0000000010282000

Removal and Installation

INFOID:0000000010282001

REMOVAL

CAUTION:

• Be sure to read “Precautions for Diesel Equipment”. Refer to 

EM-364, "Precaution for Diesel Equip-

ment"

.

• Wait until the fuel temperature drops before carrying out any work.
• Order the special high pressure injection circuit plug kit.
• Never disassemble or adjust the fuel pump body.

1.

Remove the battery. Refer to 

PG-155, "Removal and Installation"

.

2.

Remove fuel injection cover. 

3.

Remove air duct assembly and air cleaner case. Refer to 

EM-380, "Exploded View"

.

4.

Remove fuel collector. Refer to 

EM-408, "Exploded View"

.

5.

Disconnect fuel hoses from fuel pump. Refer to 

EM-404, "Exploded View"

 and 

EM-404, "Exploded View"

.

6.

Remove the injection tube (center). Refer to 

EM-404, "Exploded View"

.

7.

Plug all the holes of the injection circuit.

8.

Remove the fuel pump.

1.

Fuel pump nut

2.

Fuel pump sprocket

3.

Fuel pump gasket

4.

Fuel collector

5. 

Gasket

6.

Fuel pump

7.

Fuel pump

A.

To fuel tank

B.

To fuel filter

C.

To injection tube (center)

Refer to 

GI-4, "Components"

 for symbols in the figure.

E1BIA0445GB

FUEL PUMP

EM-409

< REMOVAL AND INSTALLATION >

[R9M]

C

D

E

F

G

H

I

J

K

L

M

A

EM

N

P

O

• Loosen mounting bolts in the reverse order as shown in the

figure.

9.

In case of replacement of the fuel pump you need to install the old fuel pump sprocket on the new fuel
pump. Refer to 

EM-410, "Removal and Installation"

.

INSTALLATION

1.

Install fuel pump.

CAUTION:

Be sure to check that the fuel pump is in contact with the cylinder head before tightening the
mounting bolts.
• Tighten mounting bolts in two steps separately in numerical

order as shown in the figure.

2.

Install the injection tube (center). Refer to 

EM-404, "Exploded View"

.

• Finger tighten until contact the injection tube nuts.

3.

Install in the reverse order of removal, for the rest of parts.

4.

Perform "Fuel pump learning value clearing". Refer to 

EC9-158, "Description"

. when replacing fuel pump.

5.

When replacing or removing fuel pump, this procedure must be performed. Refer to 

EC9-143, "Special

Repair Requirement List"

.

Inspection

INFOID:0000000010282002

INSPECTION AFTER INSTALLATION

• Start the engine and check for fuel leak for one minute after starting.

CAUTION:

After any operation, check that there are no diesel leaks. Refer to 

EM-364, "Precaution for Diesel

Equipment"

.

E1BIA0609ZZ

 25.0 N·m (2.6 kg-m, 18 ft-lb)

E1BIA0609ZZ

EM-410

< REMOVAL AND INSTALLATION >

[R9M]

FUEL PUMP SPROCKET

FUEL PUMP SPROCKET

Removal and Installation

INFOID:0000000010282003

REMOVAL

1.

Lock the high pressure fuel pump sprocket on the work-bench in
a vice with protective jaws.

2.

Using the tool [SST (Mot.1906)] (1), lock the high pressure fuel
pump sprocket.

Remove the high pressure fuel pump sprocket nut (2).

3.

Fit a separator (1) from the puller kit under the high pressure
fuel pump sprocket (2).

E1BIA0606ZZ

E1BIA0607ZZ

E1BIA0608ZZ

E1BIA0220ZZ


Content   ..  115  116  117  118   ..