Nissan Juke F15. Manual - part 898
MAP LAMP
INL-47
< REMOVAL AND INSTALLATION >
C
D
E
F
G
H
I
J
K
M
A
B
INL
N
O
P
INSTALLATION
Install in the reverse order of removal.
Replacement
INFOID:0000000012197024
CAUTION:
• Disconnect the battery negative terminal or remove power circuit fuse when performing the opera-
tion for preventing electric leakage.
• Never touch the glass surface of the bulb with bare hands or allow oil or grease to get on it for pre-
venting damage to the bulb.
• The surface of the bulb is very hot just after the lamp is turned OFF. Never touch the glass surface of
the bulb with bare hands for preventing burns.
• Leaving the bulb removed from housing for a long period of time can deteriorate performance of the
lens and reflector (due to dirt or clouding). Always prepare a new bulb and have it on hand when
replacing the bulb.
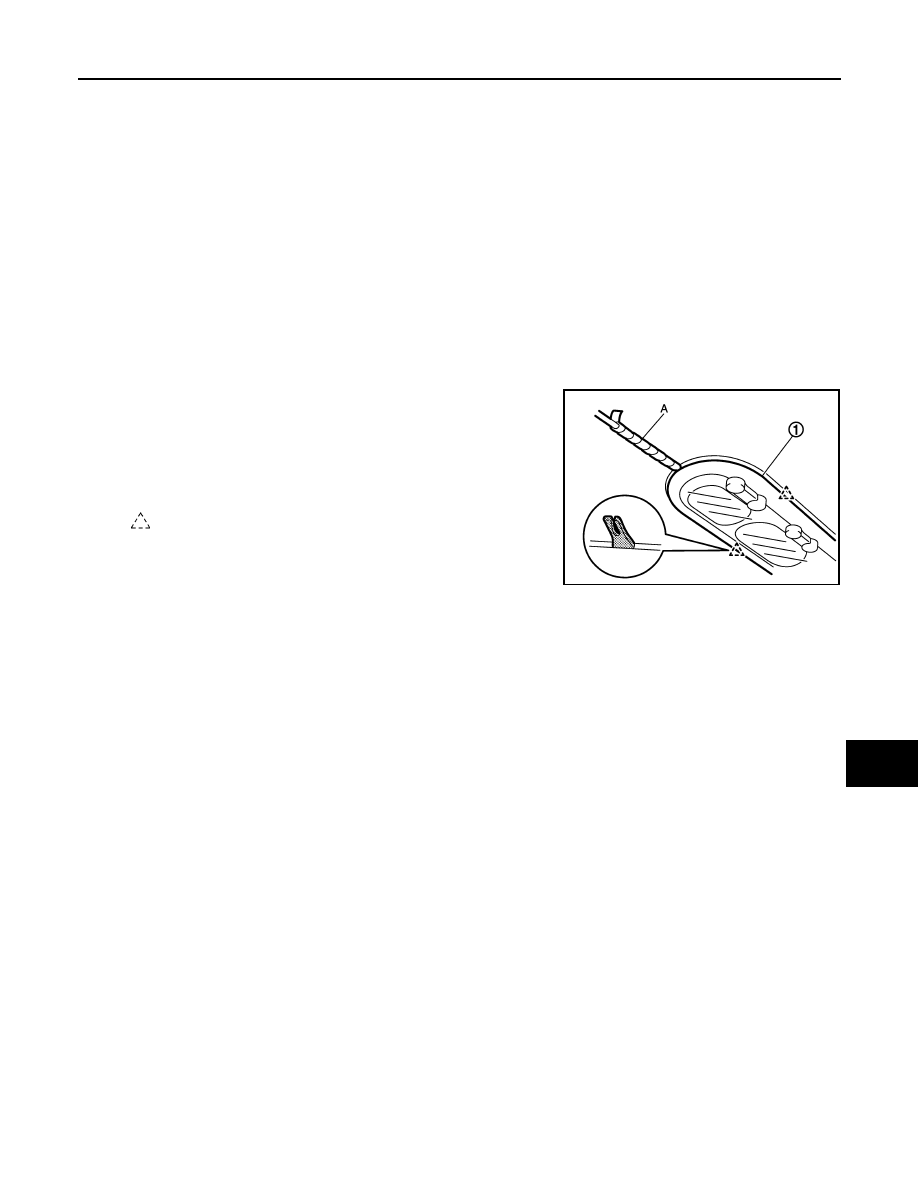
MAP LAMP BULB
1. Disengage lens fixing pawls using a remover tool (A), and then
remove lens (1).
CAUTION:
• Use a remover tool wrapped in tape.
• Insert a remover tool into the gap between bulb housing
and lens.
2. Remove bulb.
: Pawl
JMLIA1063ZZ