Nissan Juke F15. Manual - part 240
DLK-140
< REMOVAL AND INSTALLATION >
[WITH INTELLIGENT KEY SYSTEM]
REAR DOOR
REAR DOOR
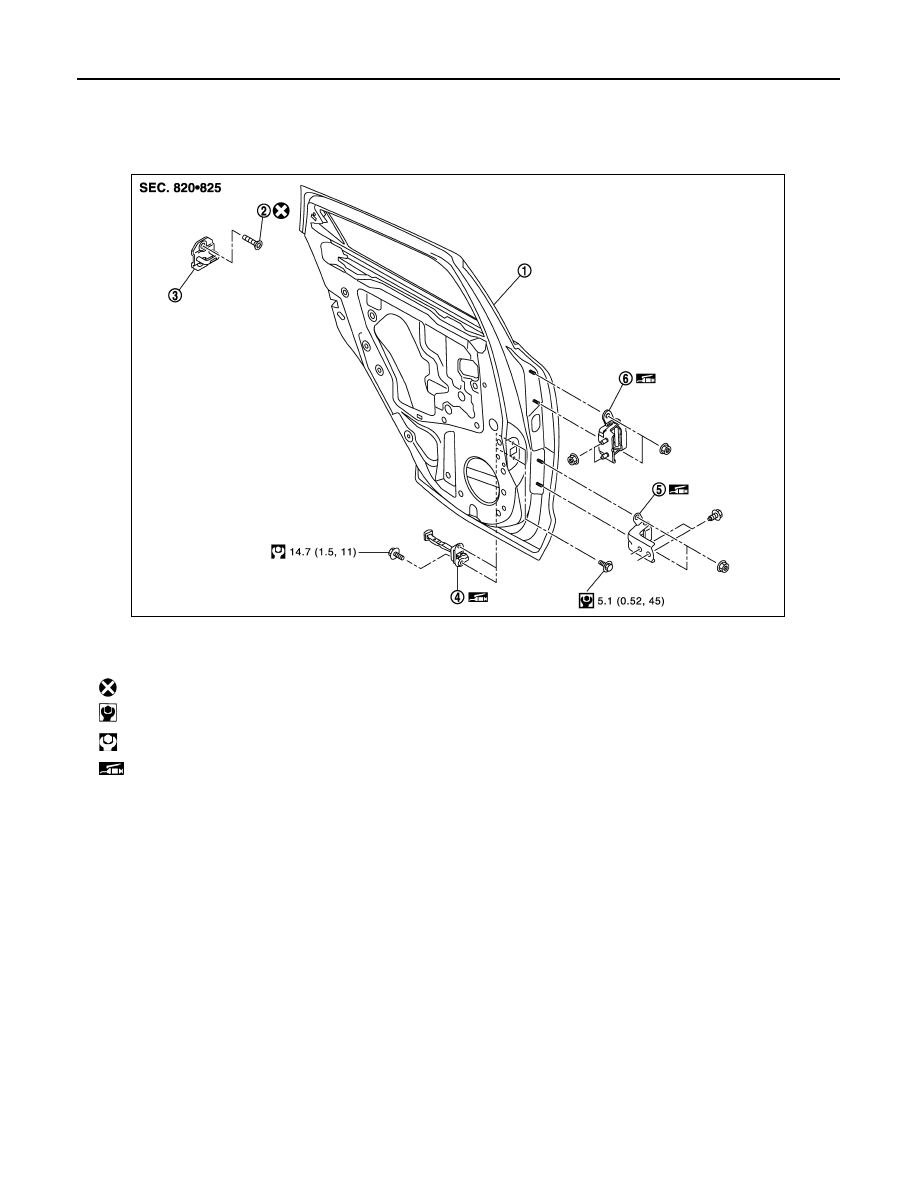
Exploded View
INFOID:0000000012196716
DOOR ASSEMBLY
DOOR ASSEMBLY : Removal and Installation
INFOID:0000000012196717
CAUTION:
• Perform work with 2 workers, because of it’s heavy weight.
• When removing and installing rear door assembly, support door with a jack and shop cloth to pro-
tect door and body.
REMOVAL
1.
Rear door panel
2.
TORX bolt
3.
Door striker
4.
Door check link
5.
Door hinge (lower)
6.
Door hinge (upper)
: Always replace after every disassembly.
: N·m (kg-m, in-lb)
: N·m (kg-m, ft-lb)
: Body grease
JMKIA5880GB