содержание .. 818 819 820 821 ..
Nissan Tiida C11. Manual - part 820
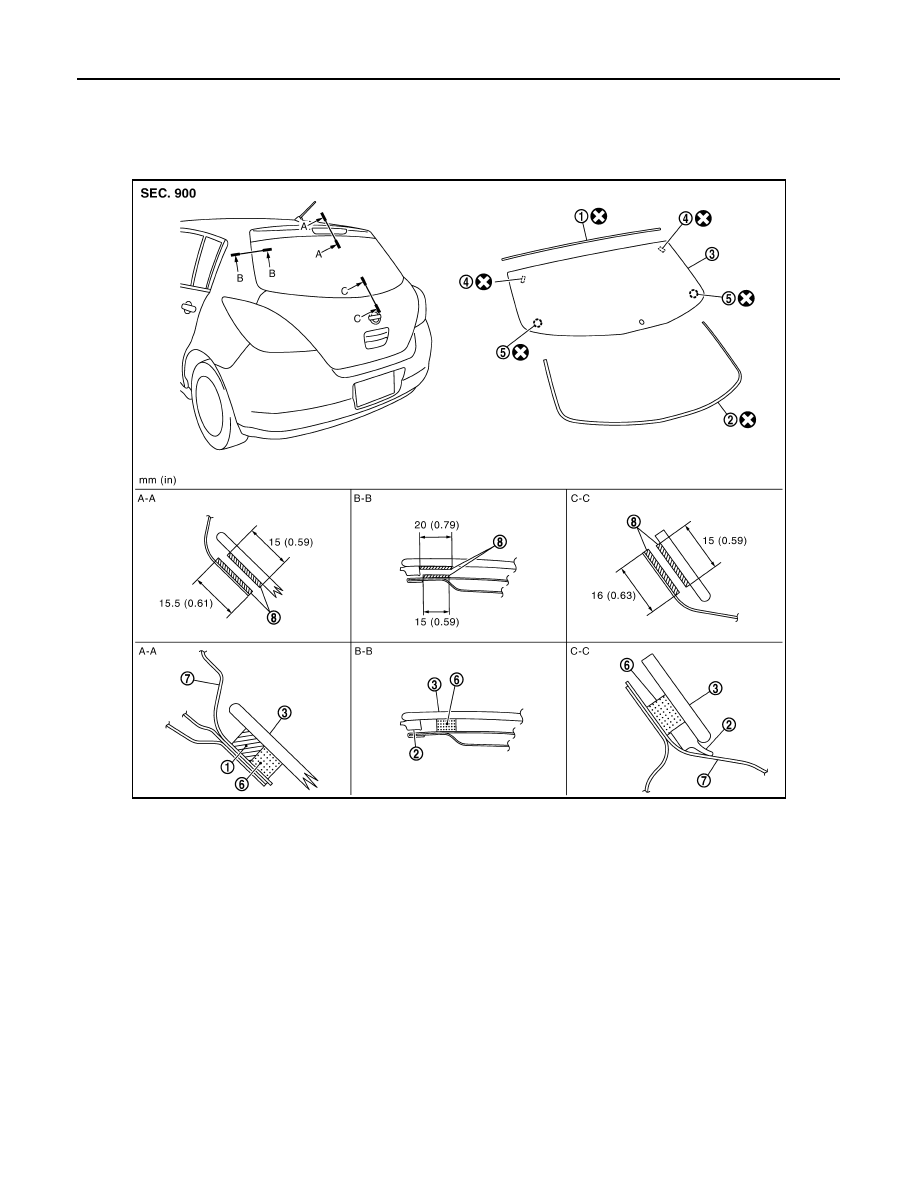
GW-18
< ON-VEHICLE REPAIR >
REAR WINDOW GLASS AND MOLDING
REAR WINDOW GLASS AND MOLDING
Removal and Installation
INFOID:0000000001716820
Hatchback
LIIA2924E
1.
Dam rubber
2.
Back door window molding (Lower)
3.
Back door window glass
4.
Clip (Upper)
5.
Clip (Lower)
6.
Adhesive
7.
Back door outer panel
8.
Primer