Nissan Tiida C11. Manual - part 764


  Главная      Nissan     Nissan Tiida C11 - Service Manual


поиск по сайту            


содержание   ..  762  763  764  765   ..


Nissan Tiida C11. Manual - part 764


EXL-54

< COMPONENT DIAGNOSIS >

TURN SIGNAL LAMP CIRCUIT

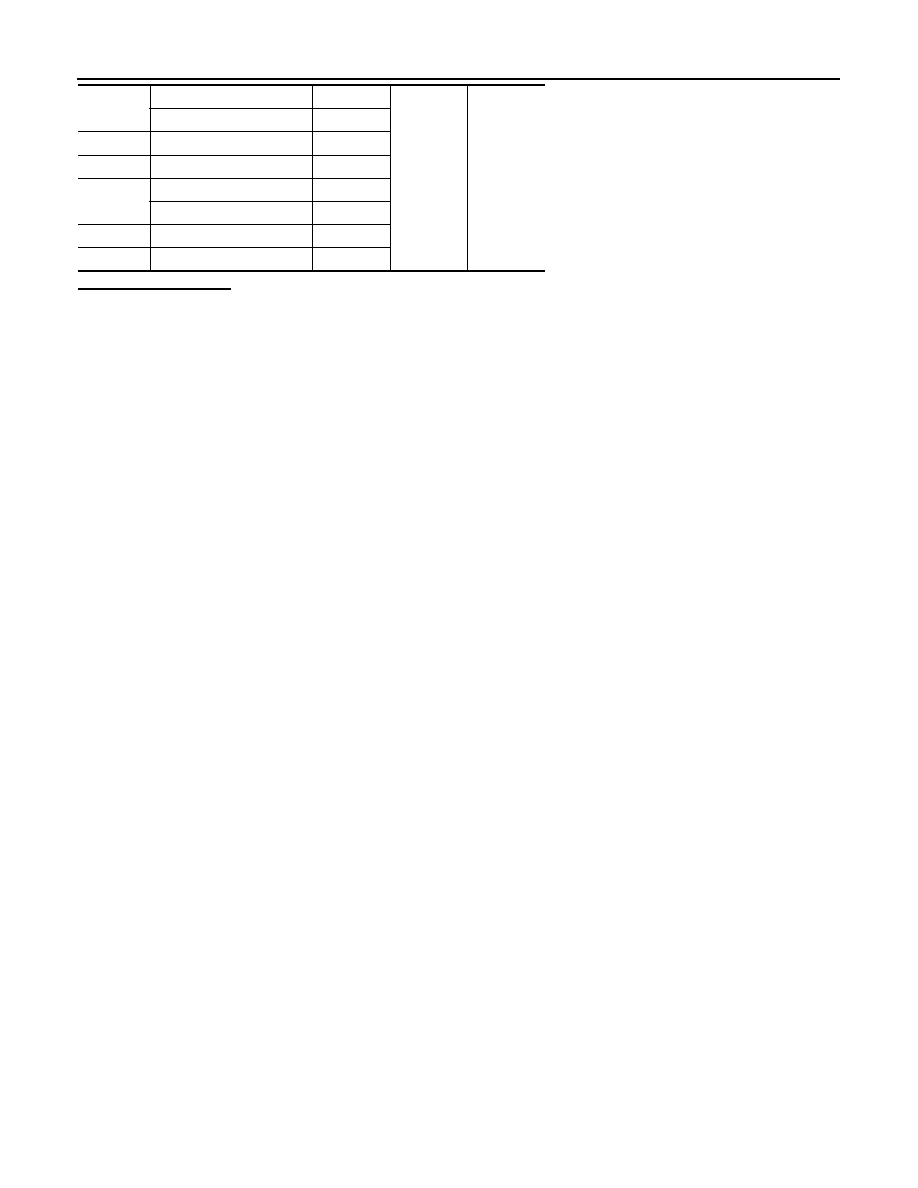
Does continuity exist?

YES

>> Replace the front combination lamp, side turn signal lamp or the rear combination lamp.

NO

>> Repair the harnesses or connectors.

Front LH

E29 (halogen headlamps)

5

Ground

Yes

E25 (xenon headlamps)

2

Rear LH

B80

1

Side LH

E56

2

Front RH

E30 (halogen headlamps)

5

E26 (xenon headlamps)

2

Rear RH

B59

1

Side RH

E57

2

LIGHT & RAIN SENSOR

EXL-55

< COMPONENT DIAGNOSIS >

C

D

E

F

G

H

I

J

K

M

A

B

EXL

N

O

P

LIGHT & RAIN SENSOR

Description

INFOID:0000000001523274

The light and rain sensor converts outside light (lux) to voltage and transmits the light and rain sensor signal to
the BCM.

Component Function Check

INFOID:0000000001523275

1.

CHECK LIGHT AND RAIN SENSOR SIGNAL BY CONSULT-III

CONSULT-III

1.

Turn the ignition switch ON.

2.

Select "LIT-SEN FAIL" of BCM (HEAD LAMP) DATA MONITOR item.

3.

Check the monitor status. 

Is the item status OK?

YES

>> Light and rain sensor is OK.

NO

>> Refer to 

EXL-55, "Diagnosis Procedure"

.

Diagnosis Procedure

INFOID:0000000001523276

1.

CHECK LIGHT AND RAIN SENSOR POWER SUPPLY 

1.

Turn the ignition switch ON.

2.

Check the voltage between the light and rain sensor harness connector and ground.

Is the voltage as specified?

YES

>> GO TO 2

NO

>> GO TO 4

2.

CHECK LIGHT AND RAIN SENSOR GROUND CIRCUIT

Check the voltage between the light and rain sensor harness connector R11 terminal 3 and ground.

Is the voltage as specified?

YES

>> GO TO 3

NO

>> Repair the harness or connector.

3.

CHECK LIGHT AND RAIN SENSOR SIGNAL FOR OPEN OR SHORT CIRCUIT

1.

Turn the ignition switch OFF.

2.

Disconnect the light and rain sensor connector R11 and BCM connector M19. 

3.

Check continuity between the light and rain sensor harness connector R11 (A) terminal 2 and the BCM
harness connector M19 (B) terminal 63.

Monitor item

Condition

LIT-SEN FAIL

OK

NOT OK

(+)

(

)

Voltage

Connector

Terminal

R11

1

Ground

12V

(+)

(

)

Voltage

Connector

Terminal

R11

3

Ground

 Less than 0.2 V

EXL-56

< COMPONENT DIAGNOSIS >

LIGHT & RAIN SENSOR

4.

Check continuity between the light and rain sensor harness connector R11 (A) terminal 2 and ground.

Are the continuity check results as specified?

YES

>> Replace the light and rain sensor.

NO

>> Repair harness or connector.

4.

CHECK LIGHT AND RAIN SENSOR POWER SUPPLY FOR OPEN CIRCUIT

1.

Turn the ignition switch OFF.

2.

Disconnect the light and rain sensor connector R11 and BCM connector M20.

3.

Check continuity between the light and rain sensor harness connector R11 (A) terminal 1 and the BCM
harness connector M20 (B) terminal 73.

jAre continuity check results as specified?

YES

>> Replace the BCM.

NO

>> Repair the harnesses or connectors.

A

B

Continuity

Connector

Terminal

Connector

Terminal

R11

2

M19

63

Yes

A

Continuity

Connector

Terminal

R11

2

Ground

No

A

B

Continuity

Connector

Terminal

Connector

Terminal

R11

1

M20

73

Yes

HEADLAMP AIMER SWITCH

EXL-57

< COMPONENT DIAGNOSIS >

C

D

E

F

G

H

I

J

K

M

A

B

EXL

N

O

P

HEADLAMP AIMER SWITCH

Description

INFOID:0000000001532097

The manual headlamp aiming system uses a headlamp aimer switch to adjust the axis of the headlamp aiming
motor.  The headlamp aimer switch has four settings, each with a different resistance value.  The headlamp
aiming motor adjusts to the proper axis based off the position of the headlamp aiming switch. 

Diagnosis Procedure

INFOID:0000000001532099

1.

CHECK HEADLAMP AIMER SWITCH SIGNAL FOR OPEN OR SHORT CIRCUIT

1.

Turn ignition switch OFF.

2.

Disconnect headlamp aimer switch connector M56, headlamp aimer motor LH connector E36 and head-
lamp aimer motor RH connector E37. 

3.

Check continuity between the headlamp aimer switch connector M56 (A) terminal 1 and headlamp aimer
motor LH E37 and RH E36 (B) terminal 2.

4.

Check continuity between the headlamp aimer switch connector M56 (A) terminal 1 and ground.

Are the continuity test results as specified?

YES

>> GO TO 2

NO

>> Repair the harness or connector.

2.

CHECK HEADLAMP AIMER SWITCH

1.

Check continuity between the headlamp aimer switch terminals 1 and 2 in each switch position.

Are the continuity check results as specified?

YES

>> GO TO 3

NO

>> Replace the headlamp aimer switch.

3.

CHECK HEADLAMP AIMER SWITCH GROUND CIRCUIT 

1.

Turn the ignition switch OFF.

2.

Disconnect headlamp aimer switch connector M56.

3.

Check continuity between headlamp aimer switch connector M56 terminal 2 and ground.

Is continuity as specified?

YES

>> Inspect headlamp aimer motors.

NO

>> Repair harness or connector. 

A

B

Continuity

Connector

Terminal

M56

1

Ground

 Yes

A

Continuity

Connector

Terminal

M56

1

Ground

 No

Component

Terminal

Switch Position

Continuity

Headlamp 

aimer 

switch

1

2

0

604 ohms

1

324 ohms

2

191 ohms

3

130 ohms

Connector

Terminal

Continuity

M56

2

Ground

Yes


содержание   ..  762  763  764  765   ..