содержание .. 1420 1421 1422 1423 ..
Nissan Tiida C11. Manual - part 1422
VTL-24
< ON-VEHICLE REPAIR >
[AUTOMATIC AIR CONDITIONER]
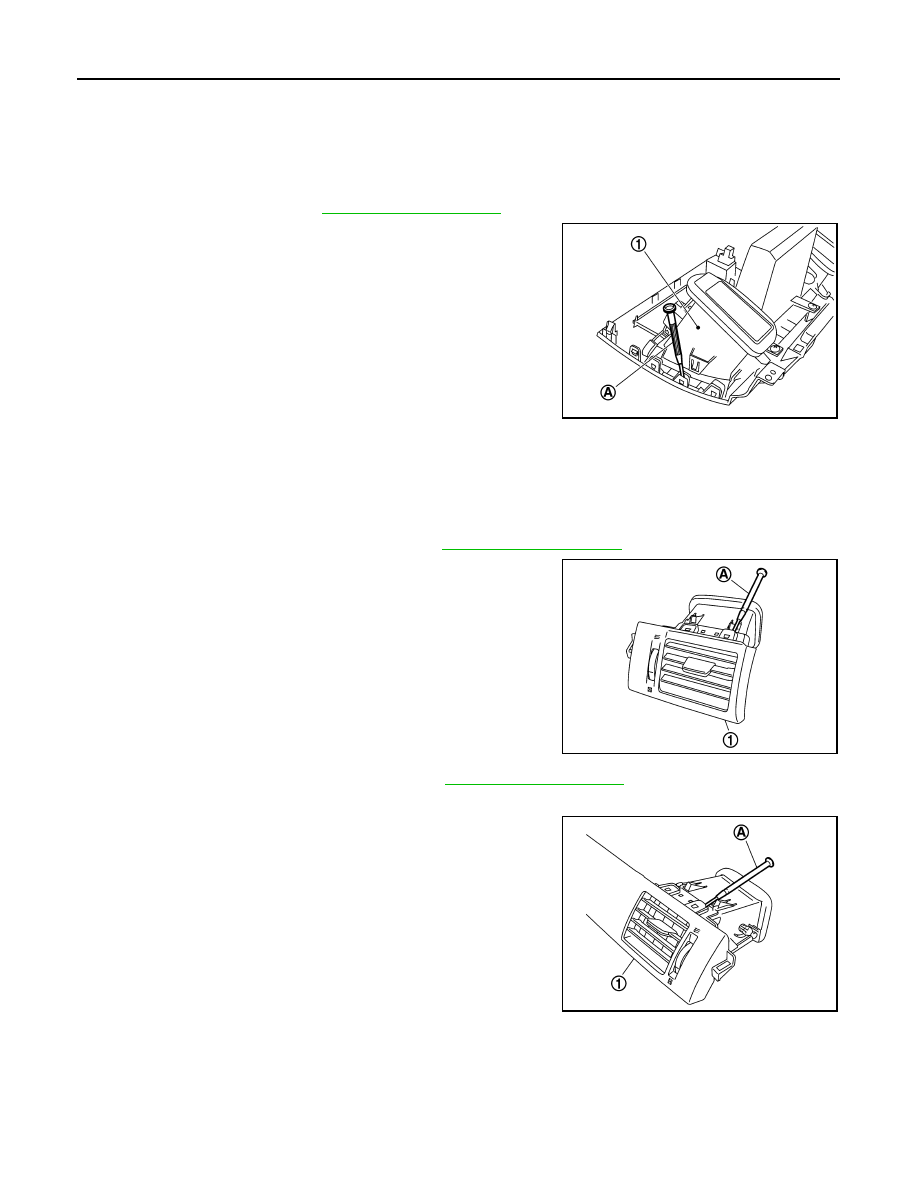
DUCTS AND GRILLES
CENTER VENTILATOR GRILLES
Removal
1.
Remove cluster lid C. Refer to
.
2.
Remove center ventilator grills (1) from cluster lid C using suit-
able tool (A).
Installation
Installation is in the reverse order of removal.
SIDE VENTILATOR GRILLES (LH/RH)
Removal
1.
Remove side ventilator assembly (LH). Refer to
2.
Remove side ventilator grille (LH) (1) using suitable tool (A).
3.
Remove side ventilator assembly (RH). Refer to
.
4.
Remove the side ventilator grille (RH) screw.
5.
Remove side ventilator grille (RH) (1) using suitable tool (A).
Installation
Installation is in the reverse order of removal.
DEFROSTER NOZZLE AND SIDE DEFROSTER DUCTS (LH/RH)
1.
Front floor duct
2.
Rear floor duct (left)
3.
Clip
4.
Rear floor duct (right)
ZJIA0661E
SJIA0658E
SJIA0659E