Mitsubishi Outlander XL. Manual - part 981
ZC5012170000
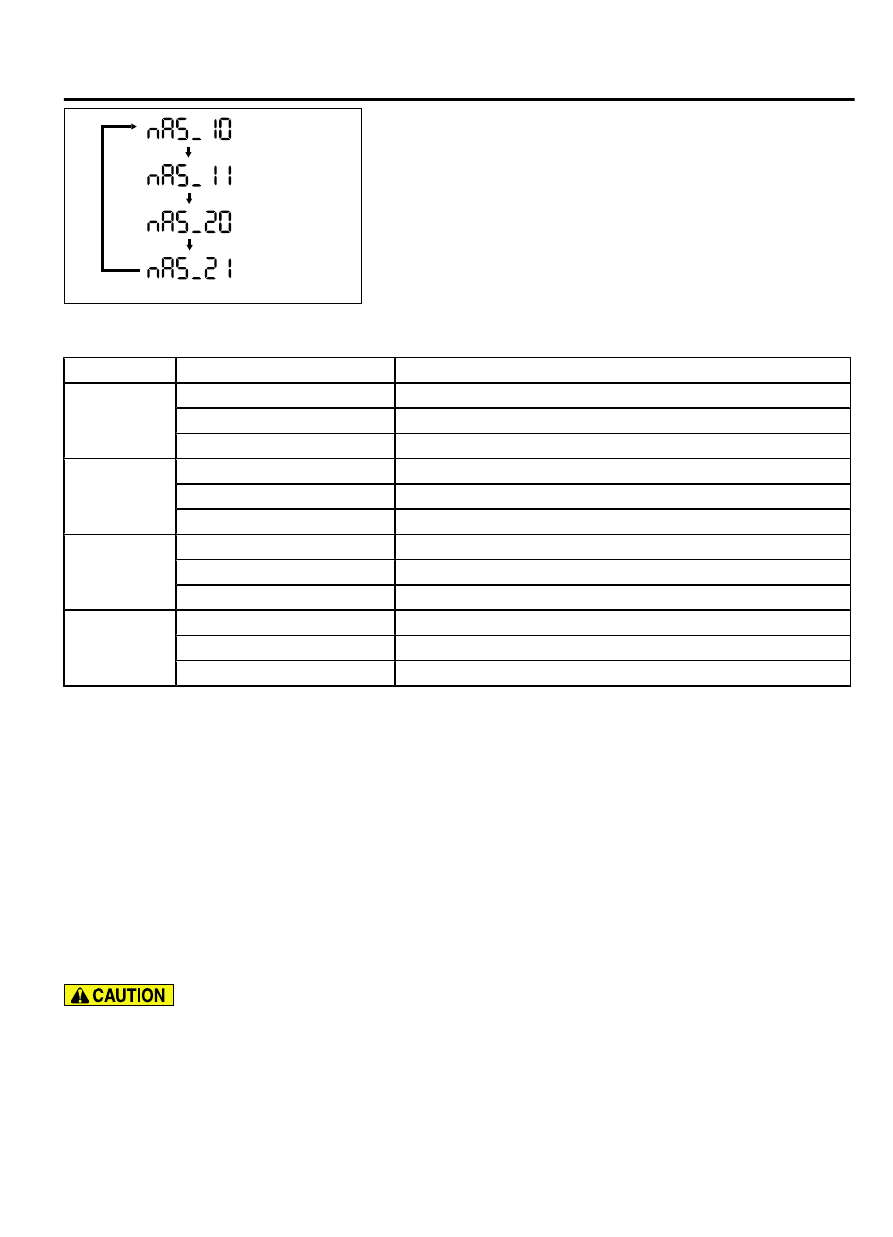
(NAS_10)
(NAS_11)
(NAS_20)
(NAS_21)
9.
When the meter information switch is pressed for less than 1.2
seconds, the schedule is shifted, and when the switch is
pressed for 1.2 seconds or longer, the displayed schedule is
set.
10.
The schedule set in Step 9 is displayed for 3 seconds, and
the warning period to the next time is displayed.
Schedule table
Schedule
Warning types
Warning criteria
NAS 10 (initial
setting)
Elapsed time (month)
Every 6 elapsed months
Driving distance (miles)
Every 7,500 miles of driving distance
Driving distance (km)
Every 12,000 km of driving distance
NAS 11
Elapsed time (month)
Every 3 elapsed months
Driving distance (miles)
Every 3,750 miles of driving distance
Driving distance (km)
Every 6,000 km of driving distance
NAS 20
Elapsed time (month)
Every 5 elapsed months
Driving distance (miles)
Every 5,000 miles of driving distance
Driving distance (km)
Every 8,000 km of driving distance
NAS 21
Elapsed time (month)
Every 4 elapsed months
Driving distance (miles)
Every 3,750 miles of driving distance
Driving distance (km)
Every 6,000 km of driving distance
HOW TO INACTIVATE THE SERVICE
REMINDER FUNCTION
By setting to "OFF Display" or "Function OFF" when
the schedule is set, the service reminder function can
be inactivated.
When "OFF Display" is selected
⦆
Even when the check warning period is reached,
the service reminder display is not displayed.
⦆
Even if the service reminder screen is displayed by
the meter information switch operation, "OFF" is
displayed.
When "Function OFF" is selected
⦆
Even when the check warning period is reached,
the service reminder display is not displayed.
⦆
Even with the meter information switch operation,
the service reminder screen is not displayed.
COMBINATION METER ASSEMBLY
REMOVAL AND INSTALLATION
M15410100043USA0000010000
When the combination meter is required to be
replaced, the current driving distance and number
of elapsed days must be entered into the meter
after the replacement in order to be used for
service reminder function. Therefore, read
COMBINATION METER
54Ab-77
COMBINATION METER ASSEMBLY