Mitsubishi Outlander XL. Manual - part 740
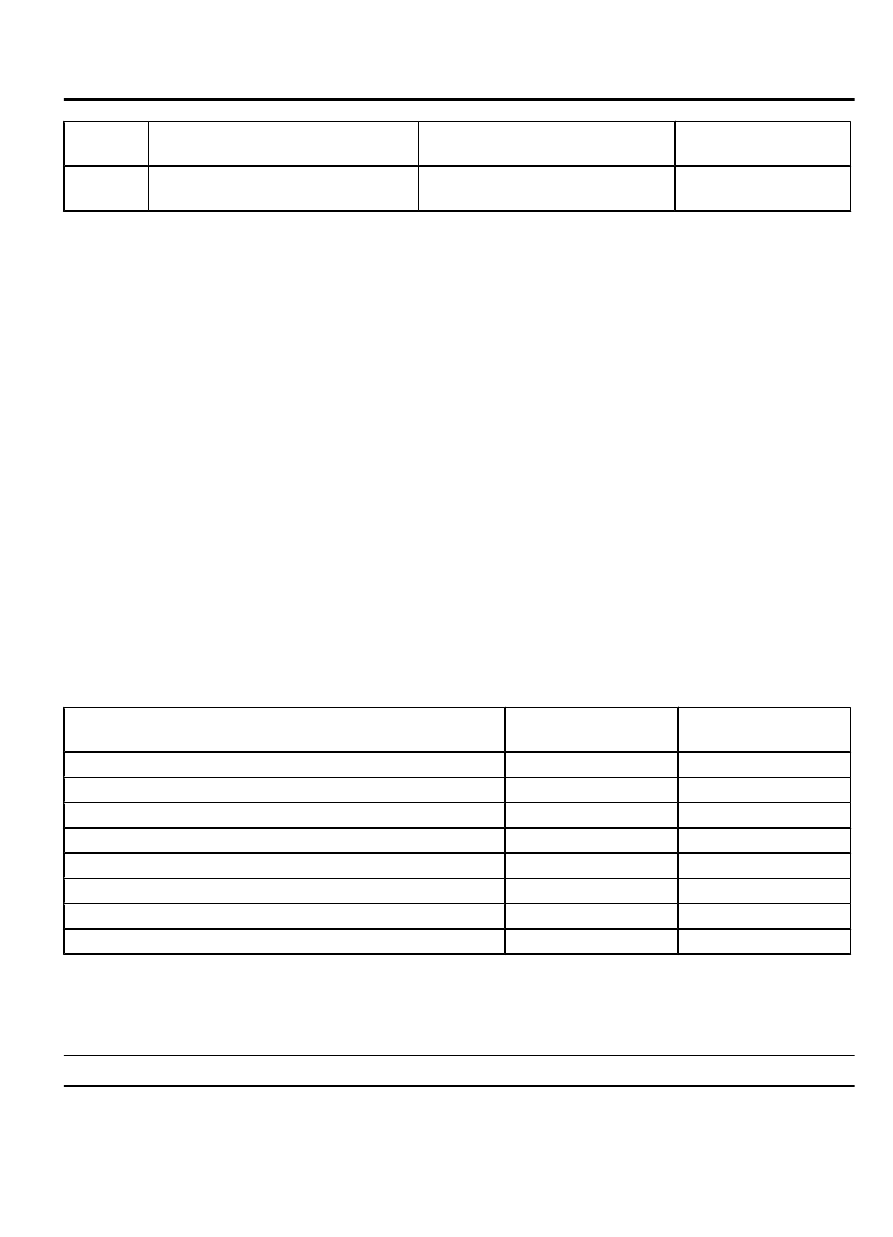
Terminal
No.
Check items
Check conditions
Normal conditions
19
Output to power window motor
(Rear left side)
-
-
DOOR DIAGNOSIS
INTRODUCTION TO GLASS AND DOOR
DIAGNOSIS
M14203000073USA0000010002
Glass and door faults include water leaks and improper opening
and closing. Causes for these faults can include faults in the
glass, weatherstrip, drain hole or door installation.
GLASS AND DOOR DIAGNOSTIC
TROUBLESHOOTING STRATEGY
M14203000067USA0000010002
Use these steps to plan your diagnostic strategy. If you follow
them carefully, you will be sure that you have exhausted most
of the possible ways to find a glass and door fault.
1.
Gather information from the customer.
2.
Verify that the condition described by the customer exists.
3.
Find the malfunction by following the Symptom Chart.
4.
Verify malfunction is eliminated.
SYMPTOM CHART
M14203000070USA0000010002
SYMPTOM
INSPECTION
PROCEDURE
REFERENCE PAGE
Water leak through door window glass
1
Door window glass malfunction
2
Water leak through door edge
3
Water leak from door center
4
Door hard to open
5
Door does not open or close completely
6
Uneven gap between body
7
Wind noise around door
8
SYMPTOM PROCEDURES
INSPECTION PROCEDURE 1: Water Leak Through Door Window Glass
M14203000078USA0000010000
DIAGNOSIS
DOOR
42Ab-79
DOOR DIAGNOSIS