Content .. 1765 1766 1767 1768 ..
Mitsubishi Outlander GS45X. Manual - part 1767
TRANSAXLE
TSB Revision
AUTOMATIC TRANSAXLE OVERHAUL
23D-75
CAUTION
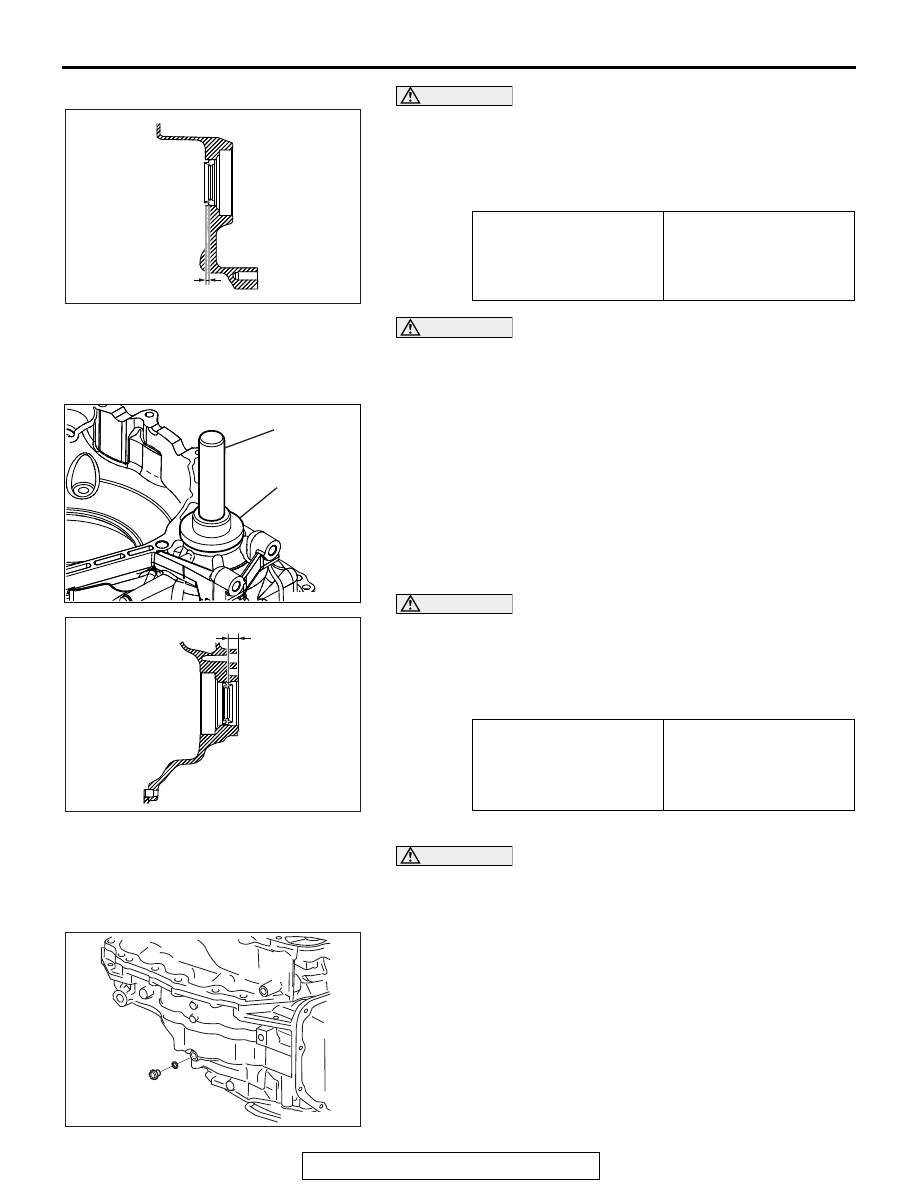
• Ensure that the side oil seal is installed to the specified
depth shown in the table below.
• Measure the installed depth of the seal at four locations
diagonally. Any difference between the measurements
should be no more than 0.3 mm.
CAUTION
• Never reuse the side oil seal.
• Apply transmission fluid to the side oil seal before
installation.
74.Using the special tools MB992198 and MB992075, install a
side oil seal.<F6AJ>
CAUTION
• Ensure that the side oil seal is installed to the specified
depth shown in the table below.
• Measure the installed depth of the seal at four locations
diagonally. Any difference between the measurements
should be no more than 0.3 mm.
CAUTION
• Never reuse the O-rings.
• Apply transmission fluid to the O-rings before installa-
tion.
75.Install an O-ring on the ATF adjusting bolt.
76.Install the ATF adjusting bolt on the transaxle case. Refer to
the following or the exploded view for the tightening torque.
Tightening torque: 7.4
± 2.4 N⋅m (65 ± 21 in-lb)
On the transaxle case
side
Seal depth (A) from
case end face: 4.0
± 0.5
mm (0.2
± 0.02 in) or
less
On the converter
housing case side
Seal depth (A) from
housing end face: 14.0
± 0.5 mm (0.6 ± 0.02 in)
or less
AK603437AD
A
AK700768
MB992075
MB992198
AB
AK700769
A
AB
AK603246