Content .. 1081 1082 1083 1084 ..
Mitsubishi Outlander GS45X. Manual - part 1083
DOOR
TSB Revision
BODY
42A-135
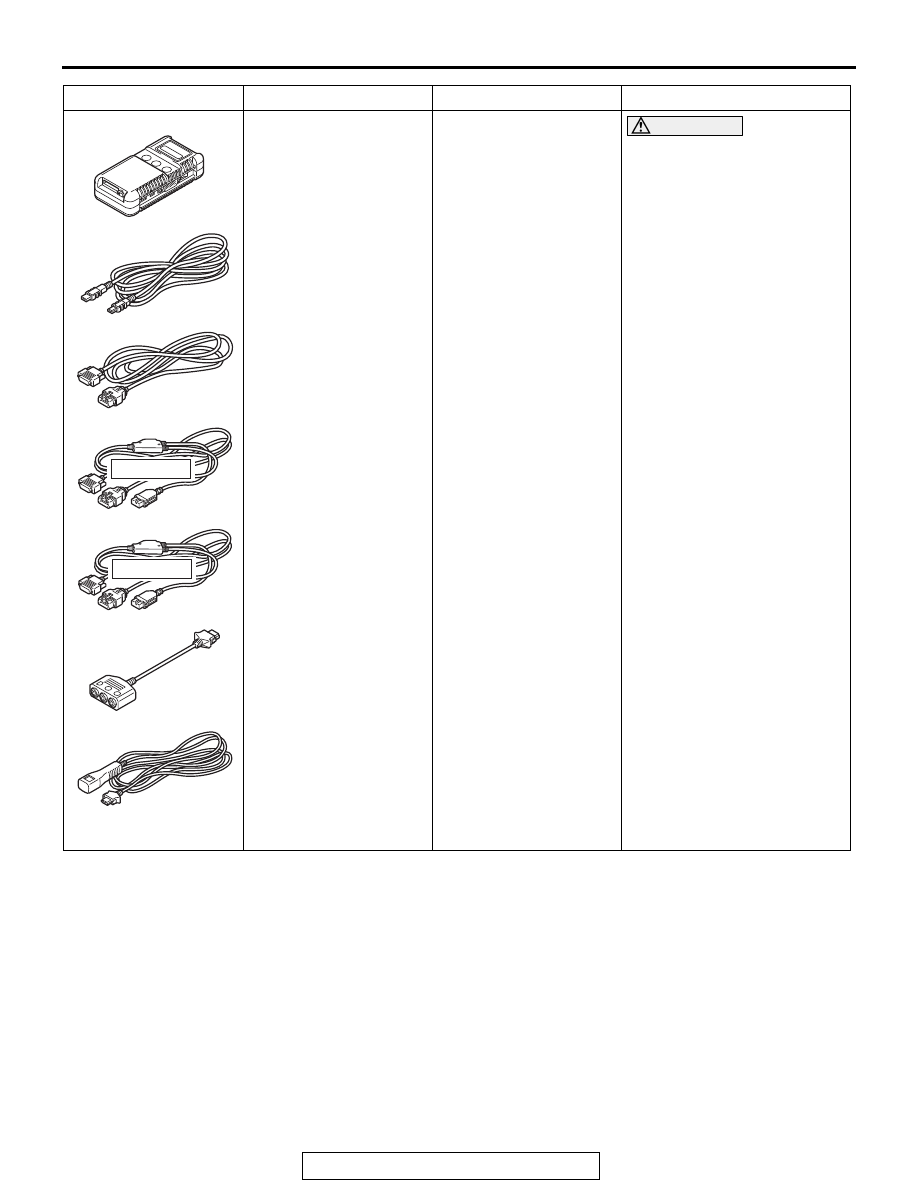
MB991958
a: MB991824
b: MB991827
c: MB991910
d: MB991911
e: MB991914
f: MB991825
g: MB991826
Scan tool (M.U.T.-III sub
assembly)
a: Vehicle
communication
interface (V.C.I.)
b: M.U.T.-III USB cable
c: M.U.T.-III main
harness A (Vehicles
with CAN
communication
system)
d: M.U.T.-III main
harness B (Vehicles
without CAN
communication
system)
e: M.U.T.-III main
harness C (for
Daimler Chrysler
models only)
f: M.U.T.-III
measurement
adapter
g: M.U.T.-III trigger
harness
MB991824-KIT
NOTE: G: MB991826
M.U.T.-III Trigger
Harness is not
necessary when
pushing V.C.I. ENTER
key.
CAUTION
For vehicles with CAN
communication, use
M.U.T.-III main harness A to
send simulated vehicle
speed. If you connect
M.U.T.-III main harness B
instead, the CAN
communication does not
function correctly.
Communication line check
(ECU check and service data)
Tool
Tool number and name Supersession
Application
MB991910
MB991826
MB991958
MB991911
MB991914
MB991824
MB991827
MB991825
Do not use
a
b
c
d
e
f
g
Do not use