Mitsubishi Outlander (2013+). Manual - part 571
WINDSHIELD WIPER AND WASHER
EXTERIOR
51-43
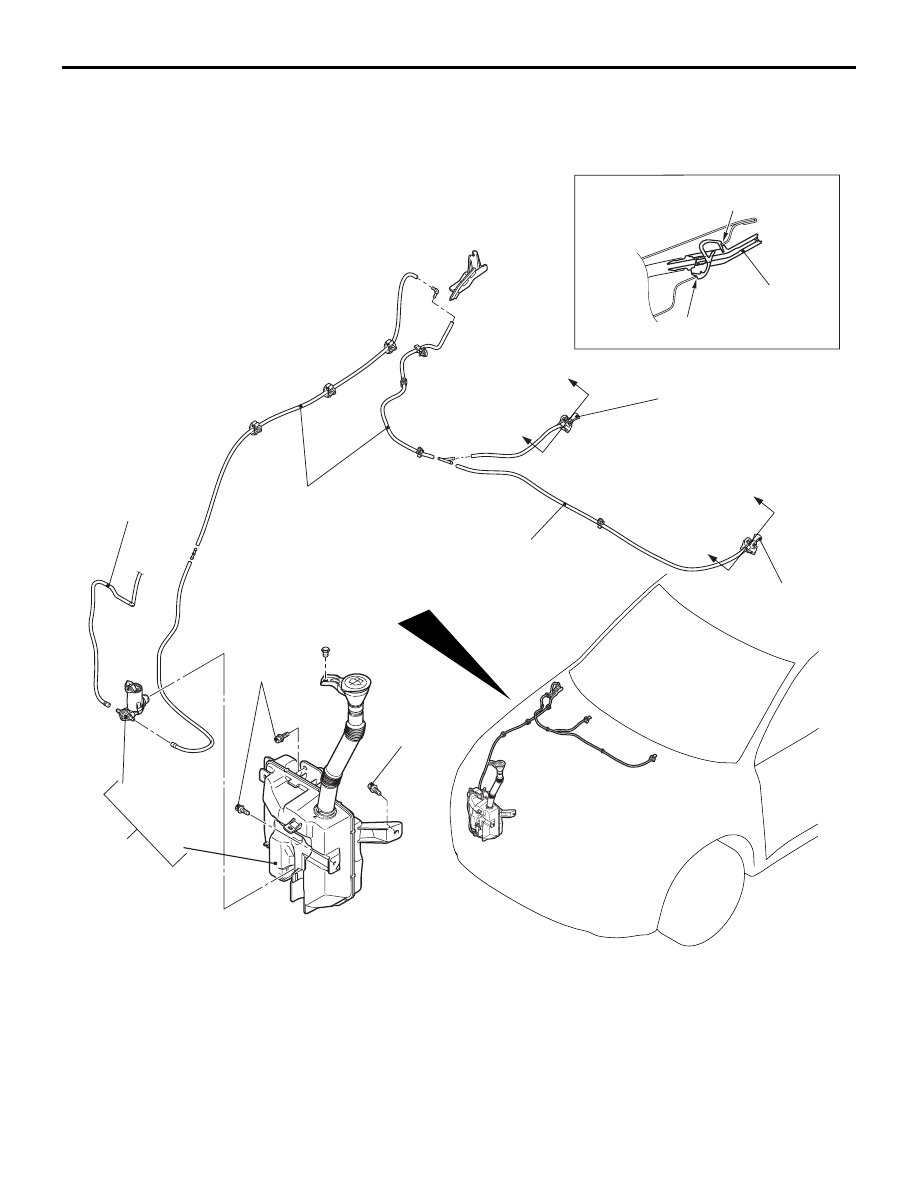
WINDSHIELD WASHER
REMOVAL AND INSTALLATION
M1511008201626
ACC00346
1,2
3
2
3
4
5
6
A
A
11 ± 2 N·m
AB
Section A – A
Claw
Claw
Rear washer hose
11 ± 2 N·m
1
A
A
Windshield washer nozzle removal
steps
•
Connection of windshield washer
hose
1. Windshield washer nozzle assembly
<LH>
2. Windshield washer nozzle assembly
<RH>
Washer hose removal steps
•
Splash shield (RH) mounting clips
•
Connection of washer nozzle/washer
motor
3. Windshield washer hose