Mitsubishi Outlander (2003+). Manual - part 8
ON-VEHICLE SERVICE
ENGINE MECHANICAL
11A-9
CAUTION
If the test is not cancelled, a forced driving will
continue for 27 minutes. Driving under this
condition may damage the engine.
9. Press the MUT-II clear key (Select a forced driving
cancel mode) to release the Actuator test.
10.Check that ignition timing is at the standard value.
Standard value: approximately 10
BTDC
NOTE:
.
The ignition timing may fluctuate within
7
BTDC. This is normal.
In higher altitude, the ignition timing is more
advanced than the standard value by
approximately 5
.
11.Remove the timing light.
12.Turn off the ignition switch and then remove the
MUT-II.
IDLE SPEED CHECK
M1111003500472
1. Before inspection, set the vehicle to the pre-
inspection condition.
2. Turn the ignition switch to "LOCK" (OFF) position.
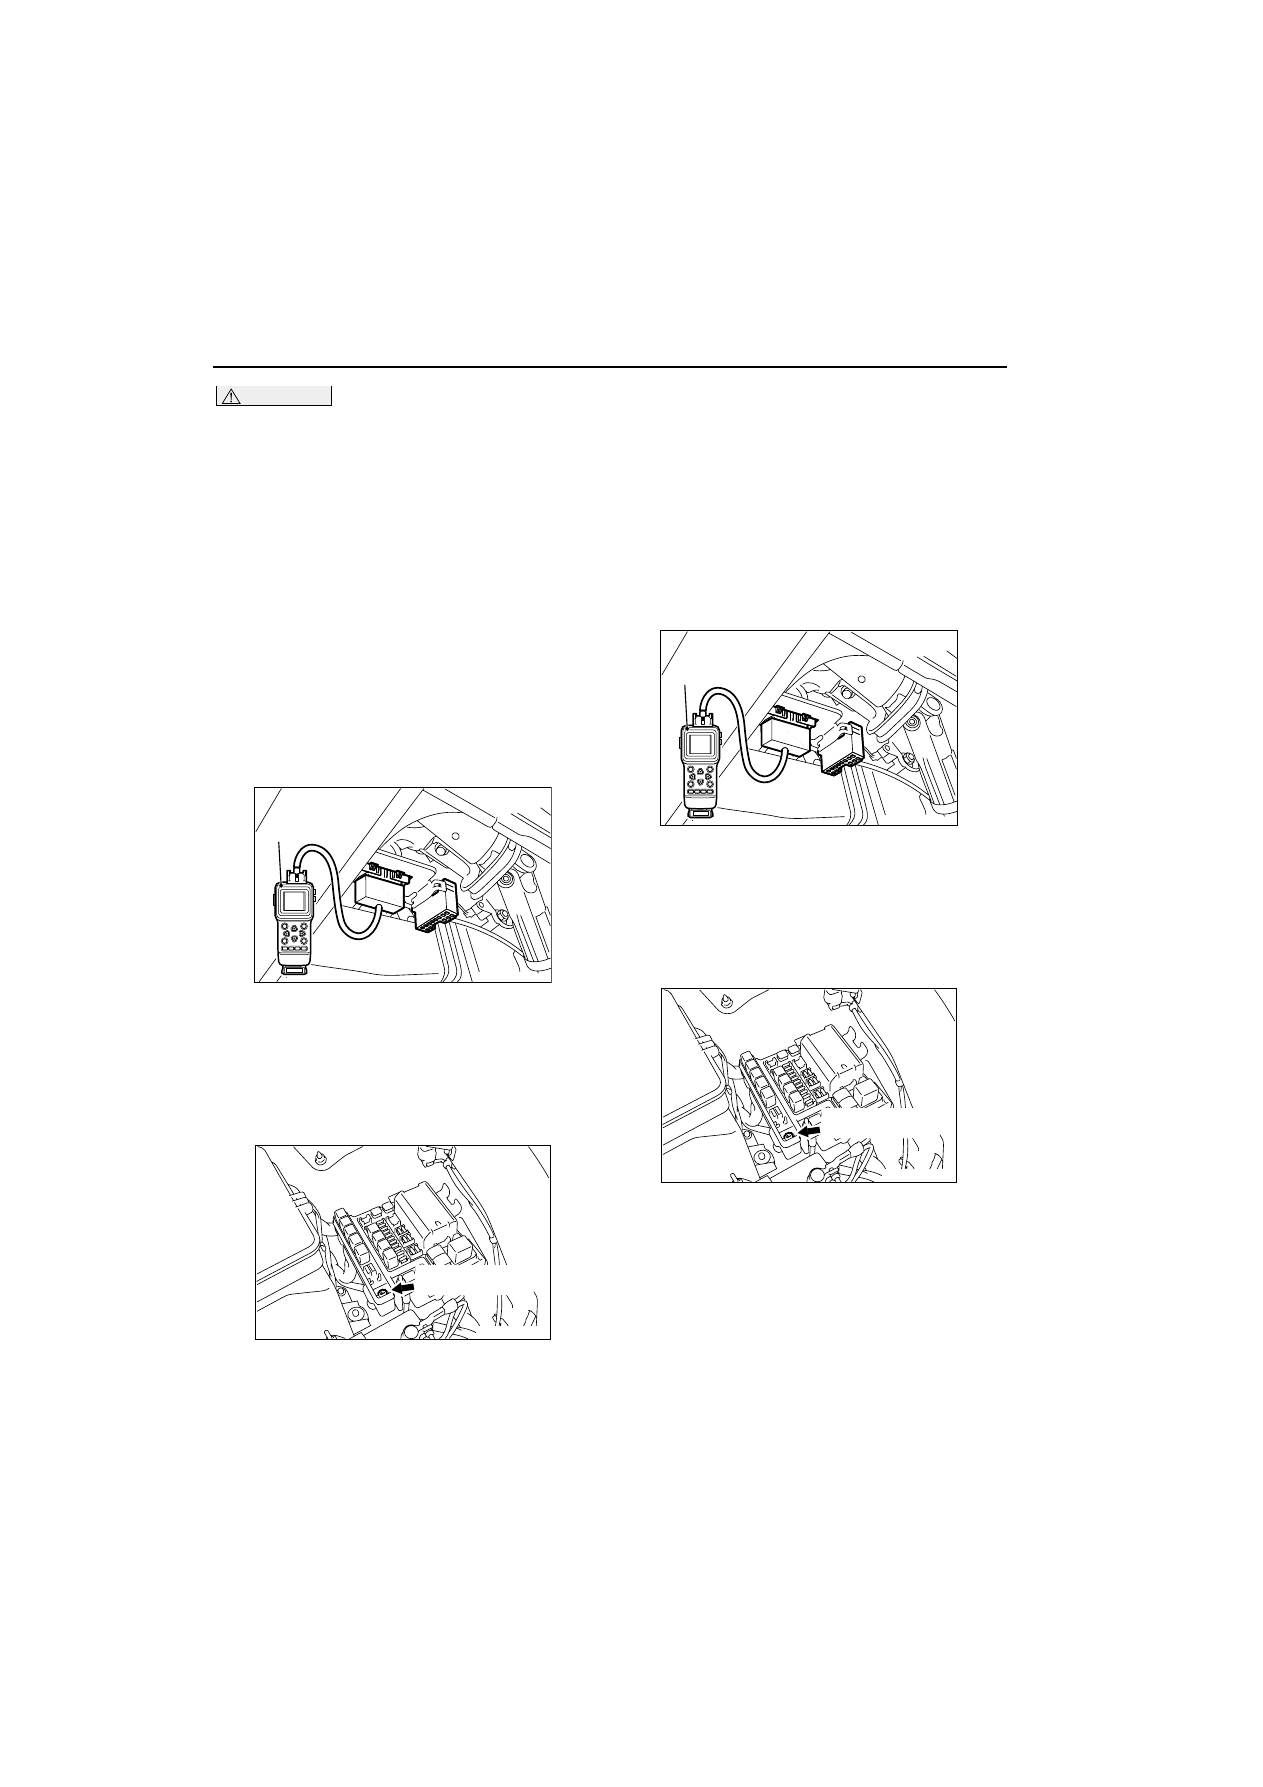
3. Connect the MUT-II to the diagnosis connector or
connect a tachometer to the engine speed
detection connector.
4. Connect a timing light.
5. Start the engine and let it run at idle.
6. Check that ignition timing is at the standard value.
Standard value: approximately 10
BTDC
7. Check the idle speed.
Standard value: 750
100 r/min
NOTE:
.
The idle speed is controlled automatically by
the idle speed control system.
When using the MUT-II, select item No. 22 and
take a reading of the idle speed.
8. If the idle speed is outside the standard value,
inspect the MPI system (Refer to
,
GROUP 13A
-
Troubleshooting
-
Inspection chart
for diagnosis code).
IDLE MIXTURE CHECK
M1111002100255
1. Before inspection, set the vehicle to the pre-
inspection condition.
2. Turn the ignition switch to "LOCK" (OFF) position.
3. Connect the MUT-II to the diagnosis connector or
connect a tachometer to the engine speed
detection connector.
4. Connect a timing light.
5. Start the engine and let it run at idle.
6. Check that ignition timing is at the standard value.
Standard value: approximately 10
BTDC
7. Run the engine at 2,500 r/min for 2 minutes.
8. Set the CO, HC tester.
9. Check the CO contents and the HC contents at
idle.
Standard value
CO contents: 0.5 % or less
HC contents: 100 ppm or less
10.If there is a deviation from the standard value,
check the following items:
AC102022
Y0195AU
AK000871
MUT-II
AC
AK000899
Engine speed
ditection connector
AC
AC102022
Y0195AU
AK000871
MUT-II
AC
AK000899
Engine speed
ditection connector
AC