Mitsubishi Outlander (2003+). Manual - part 7
SPECIAL TOOLS
ENGINE MECHANICAL
11A-5
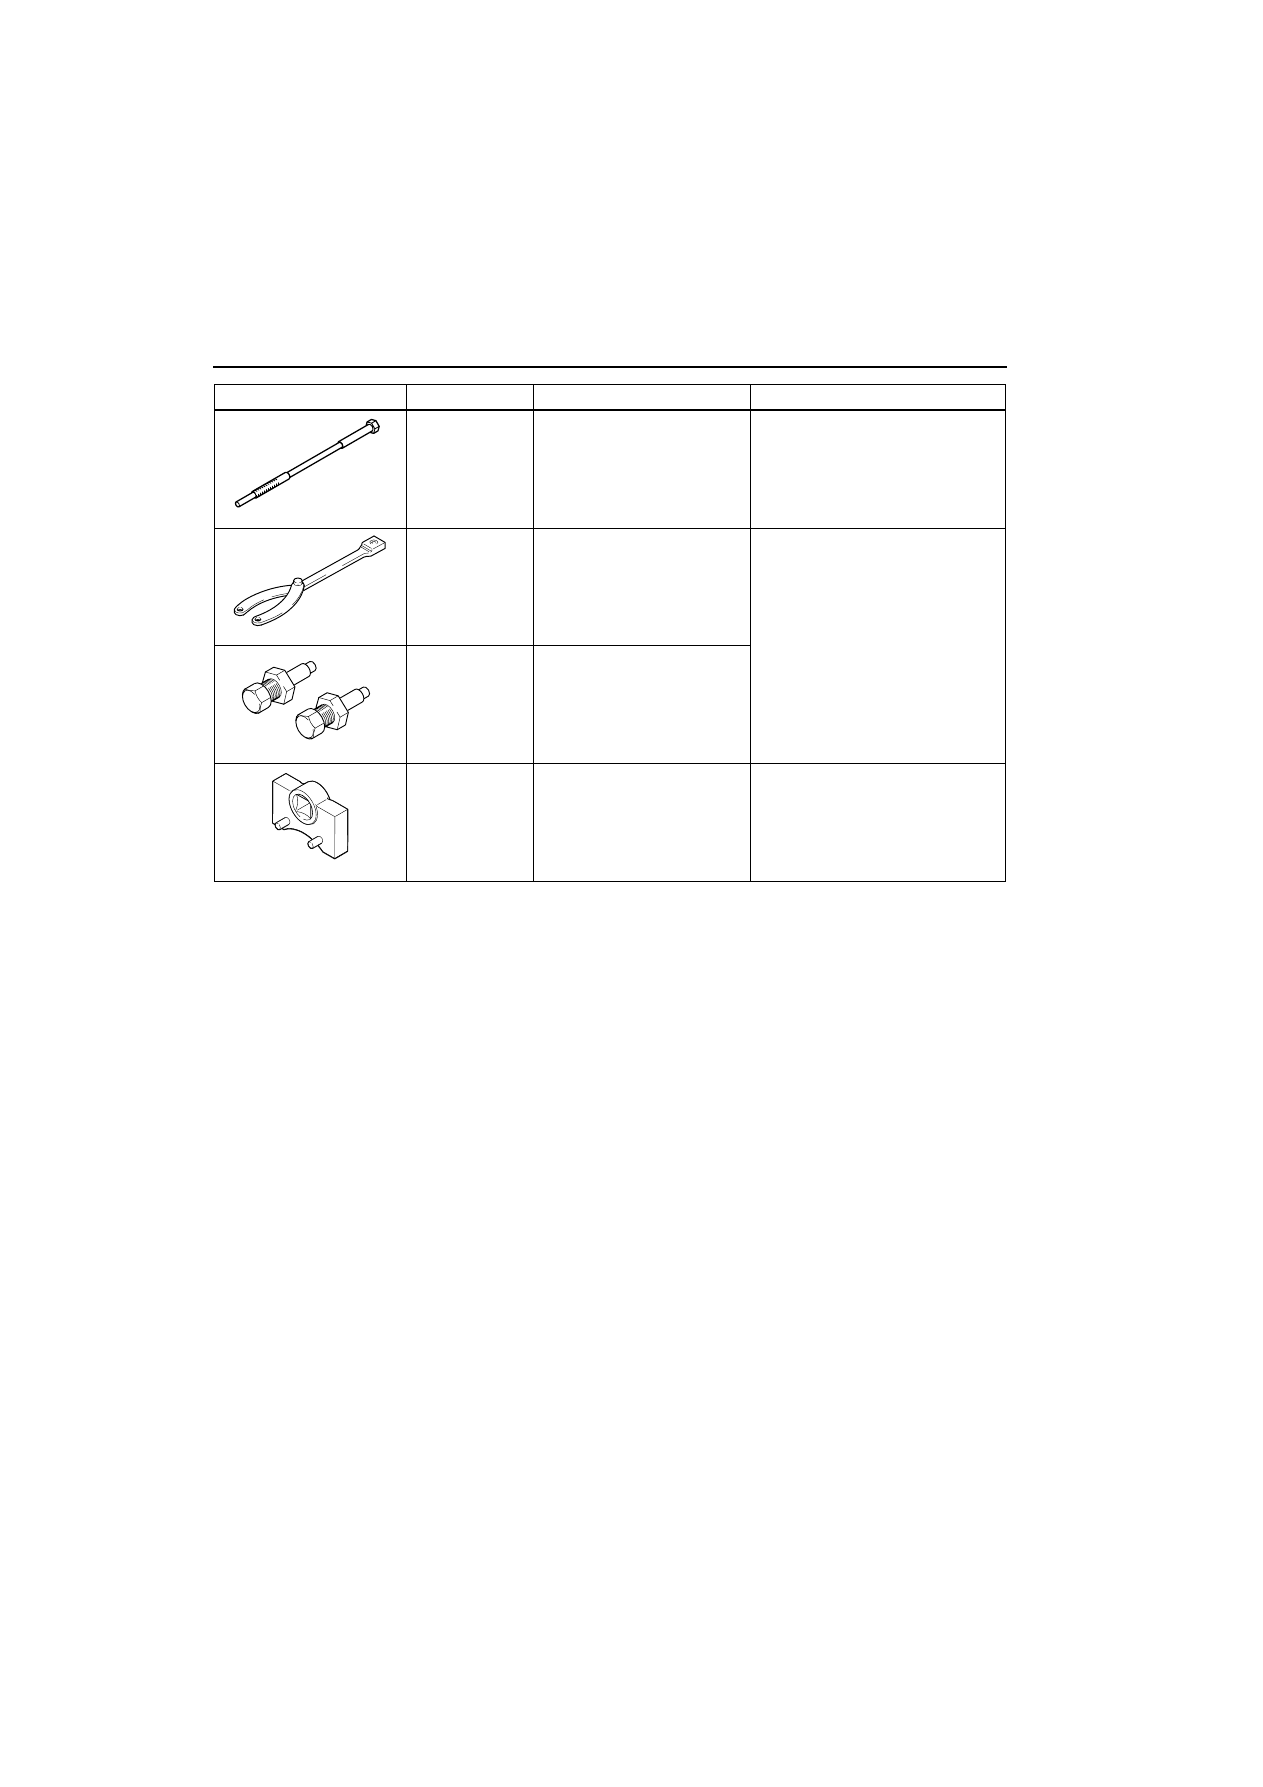
MD998738
Adjusting bolt
Supporting the timing belt
tensioner arm and timing belt
tensioner adjuster
MB991367
Special spanner
Holding the crankshaft camshaft
drive sprocket
MB991385
Pin
MD998767
Tensioner wrench
Valve timing belt tension
adjustment
Tool
Number
Name
Use
D998738
B991367
B991385
D998767