Mitsubishi Galant 9G. Manual - part 399
SUNROOF ASSEMBLY
TSB Revision
BODY
42-76
Basic operation
AC209094
AC306500
AC306368
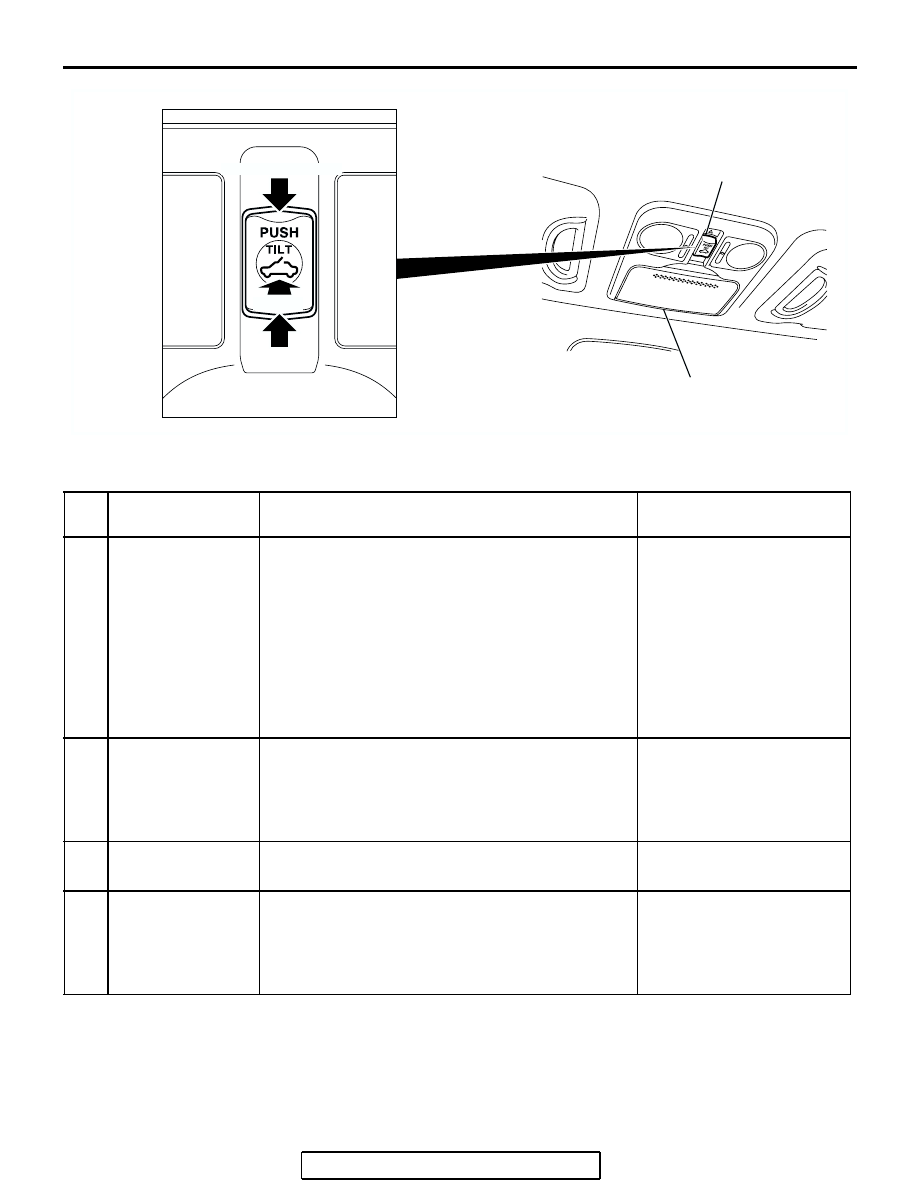
SUNROOF SWITCH
OPEN
TILT-UP
CLOSE/TILT-DOWN
OVERHEAD CONSOLE
AB
NO. SUNROOF
FUNCTION
REQUIREMENTS FOR THE SUNROOF TO
FUNCTION
NORMAL OPERATION
01
OPEN
1. Ignition switch: ON
2. Sunroof switch: OPEN
The sunroof opens fully and
automatically and stops
several centimeters forward
of the fully open position
(position for less wind
noise).
Then, when the sunroof
switch is operated again,
the sunroof opens further to
fully open position.
02
CLOSE
1. Ignition switch: ON
2. Sunroof switch: CLOSE/TILT-DOWN
The sunroof closes while
the sunroof switch is
pushed to the
CLOSE/TILT-DOWN
position.
03
TILT-UP
1. Ignition switch: ON
2. Sunroof switch: TILT-UP
The sunroof tilts up fully and
automatically.
04
TILT-DOWN
1. Ignition switch: ON
2. Sunroof switch: CLOSE/TILT-DOWN
The sunroof closes while
the sunroof switch is
pushed to the
CLOSE/TILT-DOWN
position.