Mitsubishi Galant 9G. Manual - part 387


  Index      Mitsubishi     Mitsubishi Galant 9G - service repair manual


Search            


Content   ..  385  386  387  388   ..


Mitsubishi Galant 9G. Manual - part 387


DOOR

TSB Revision

BODY

42-28

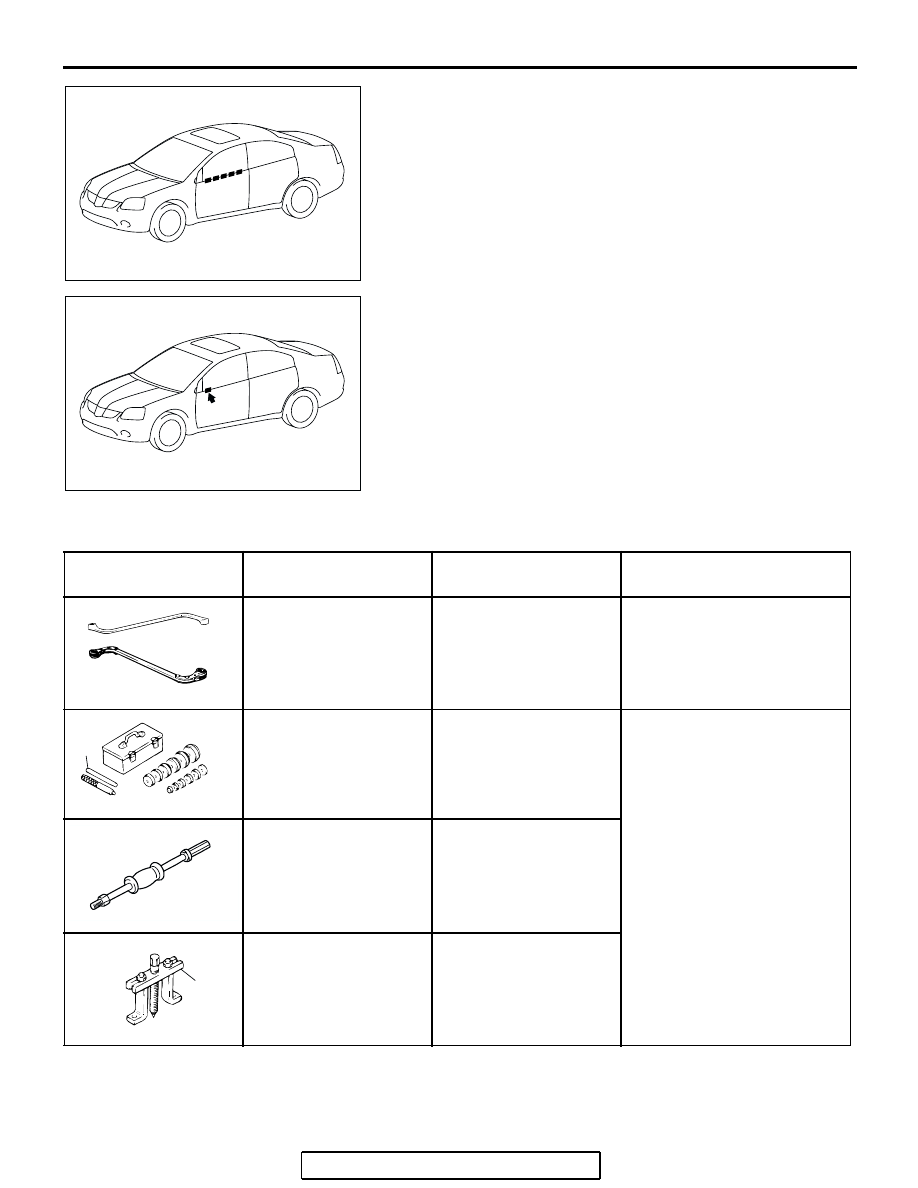
6. Cut the remaining piece of tape into smaller pieces, attach it 

again as it was before, and then remove the pieces one by 
one to narrow down the source.

7. Check that wind noise occurs when the last remaining tape 

is removed, and that noise does not occur when it is 
re-attached.

8. When the source(s) of the wind noise is finally located, 

attach butyl tape, body sealer or similar material to obstruct 
this source as much as possible.

SPECIAL TOOLS

M1423000600348

AC305100
AC305691

AC305693

AC305100

AC305693

AC305694

TOOL

TOOL NUMBER AND 
NAME

SUPERSESSION

APPLICATION

MB990900 or 
MB991164 Door 
adjusting wrench

MB990900-01

Adjustment of door fit

MB990925 Bearing and 
oil seal installer set

A: MB990939 Remover 

bar

MB990925-01 or 
General service tool

Adjustment of door striker

MB990211 Slider 
hammer

MB990211-01

MB990241 Axle shaft 
puller

A: MB990243 Body 

puller

MB990241-01 or 
General service tool

MB990900

MB990925AD

A

MB990211

MB990241

A

AC

DOOR

TSB Revision

BODY

42-29

MB990480 Glass holder General service tool

Removal of power window 
regulator assembly

MB991223 Harness set

A: MB991219 Test 

harness

B: MB991220 LED 

harness

C: MB991221 LED 

harness adapter

D: MB991222 Probe

General service tools

Measurement of terminal 
voltage

A: Connector pin contact 

pressure inspection

B: Power circuit inspection
C: Power circuit inspection
D: Commercial tester 

connection

MB990784 Ornament 
remover

General service tool

Removal of power window 
switch panel assembly

TOOL

TOOL NUMBER AND 
NAME

SUPERSESSION

APPLICATION

MB990480

MB991223

A

AB

B

C

D

MB990784

DOOR

TSB Revision

BODY

42-30

ON-VEHICLE SERVICE

DOOR FIT ADJUSTMENT

M1423001100380

Required Special Tools:

• MB990211: Slide Hammer

• MB990243: Body Puller

• MB990900 or MB991164: Door adjusting Wrench

• MB990939: Brass Bar

CAUTION

• Attach protection tape to the fender and door edges 

where the hinge is installed.

• Do not rotate special tool MB991164 with a torque of 

over 98 N

m (72 ft-lb).

1. Use special tool MB990900 or MB991164 to loosen the 

hinge mounting bolts on the body side, and then adjust the 
clearance around the door so that it is uniform on all sides.

2. If a door is not flush with its surrounding panels, loosen the 

door-side door hinge mounting bolts and adjust the door as 
necessary.
NOTE: 

If the door hinge mounting bolt washers are welded, 

grind off the welding according to the procedure below 
beforehand.

.

1. Remove the door hinge. (Refer 

P.42-37

.)

2. Use a chisel or grinder to release the door hinge mount-

ing bolt washer, which is welded to the door hinge.

3. On completion, paint the affected area with touch-up 

paint to prevent corrosion.

4. Install the door hinge. (Refer 

P.42-37

.)

3. If the door is stiff to lock and unlock:

(1) Adjustment by using the striker (vertically or toward the 

inside of the vehicle)
Install an temporary bolts instead of the striker mounting 
bolt, and use special tool MB990939 and a hammer to 
tap the bolt in the desired direction.

AC000592

MB990900

OR

MB991164

AB

AC206498

WASHER

BOLT

WASHER

DOOR HINGE

AD

WELD POINT

WELD POINT

AC006109 AG

TEMPORARY

BOLTS

STRIKER

MB990939

DOOR

TSB Revision

BODY

42-31

(2) Adjustment by using the striker (toward the outside of the 

vehicle)
Use special tools MB990211 and MB990243 to pull the 
striker toward the outside of the vehicle.

(3) Adjustment by using shims (forward and rearward)

Increase or decrease the number of shims so that the 
striker engages with the door latch properly.

DOOR WINDOW GLASS ADJUSTMENT

M1423001000349

Check that the door glass moves while contacting the door 
glass channel when it is raised and lowered fully. If not, adjust 
the door window according to the following procedures.
1. Remove the door trim assembly (Refer to GROUP 52A, 

Door trim 

P.52A-13

).

2. Remove the waterproof film (Refer to 

P.42-52

).

3. Loosen the door window glass mounting bolts.
4. Adjust the position of the door window glass so that it is 

aligned with the runchannel. On completion, tighten the door 
window glass mounting bolts.

AC006110

STRIKER

MB990211

MB990243

AB

AC006111AB

SHIM

STRIKER

AC306504

AC306505

AC307037

<FRONT DOOR>

<REAR DOOR>

AB


Content   ..  385  386  387  388   ..