Mitsubishi Evolution X. Manual - part 479
WINDOW GLASS
TSB Revision
BODY
42A-19
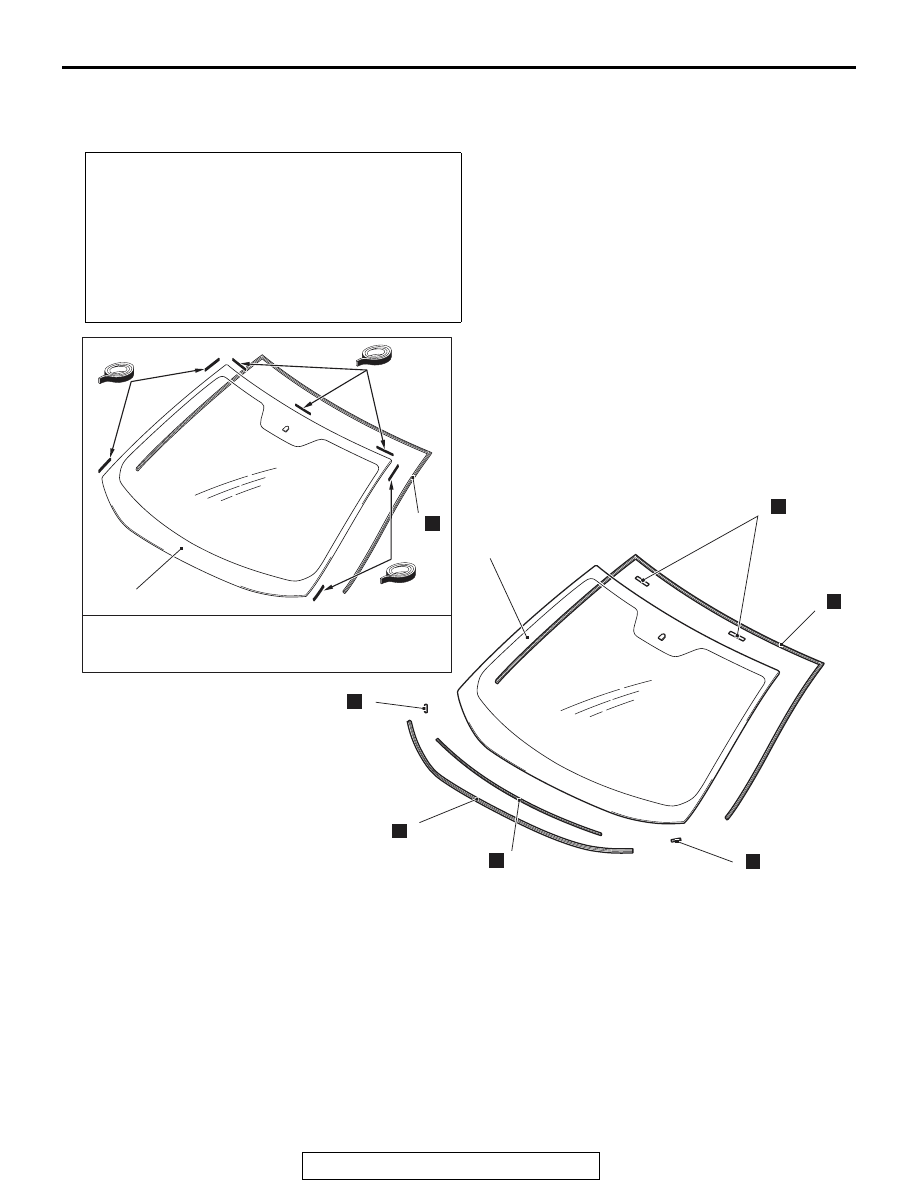
WINDSHIELD
REMOVAL AND INSTALLATION
M1422001001071
Pre-removal and Post-installation Operation
• Front Deck Garnish Removal and Installation (Refer to
GROUP 51, Windshield Wiper
).
• Front Pillar Trim Removal and Installation (Refer to
GROUP 52A, Interior Trims
).
• Inside Rear View Mirror Removal and Installation (Refer
to GROUP 52A, Inside Rear View Mirror
• Lighting control sensor Removal and Installation <Vehi-
cles with automatic light> (Refer to GROUP 54A, Head-
light
AC606771
AC609364
AC608855
1
2
3
4
N
N
N
1
2
3
AB
1
N
6
N
N
5
N
N
N
6
N
N
2
N
2
N
N
Adhesive tape: Double-sided tape [6.5 mm
(0.25 in) width, 100 mm (3.93 in) length and
0.4 mm (0.015 in) thickness].