Mitsubishi Lancer Evolution 7. Manual - part 206


  Index      Mitsubishi     Mitsubishi Lancer Evolution 7 - service repair manual


Search            


Content   ..  204  205  206  207   ..


Mitsubishi Lancer Evolution 7. Manual - part 206


MPI -

Troubleshooting

13A-123

IGNITION COIL AND POWER TRANSISTOR
D

Ignition coil primary signal

Refer to GROUP 16 - Ignition system.

D

Power transistor control signal

Measurement Method
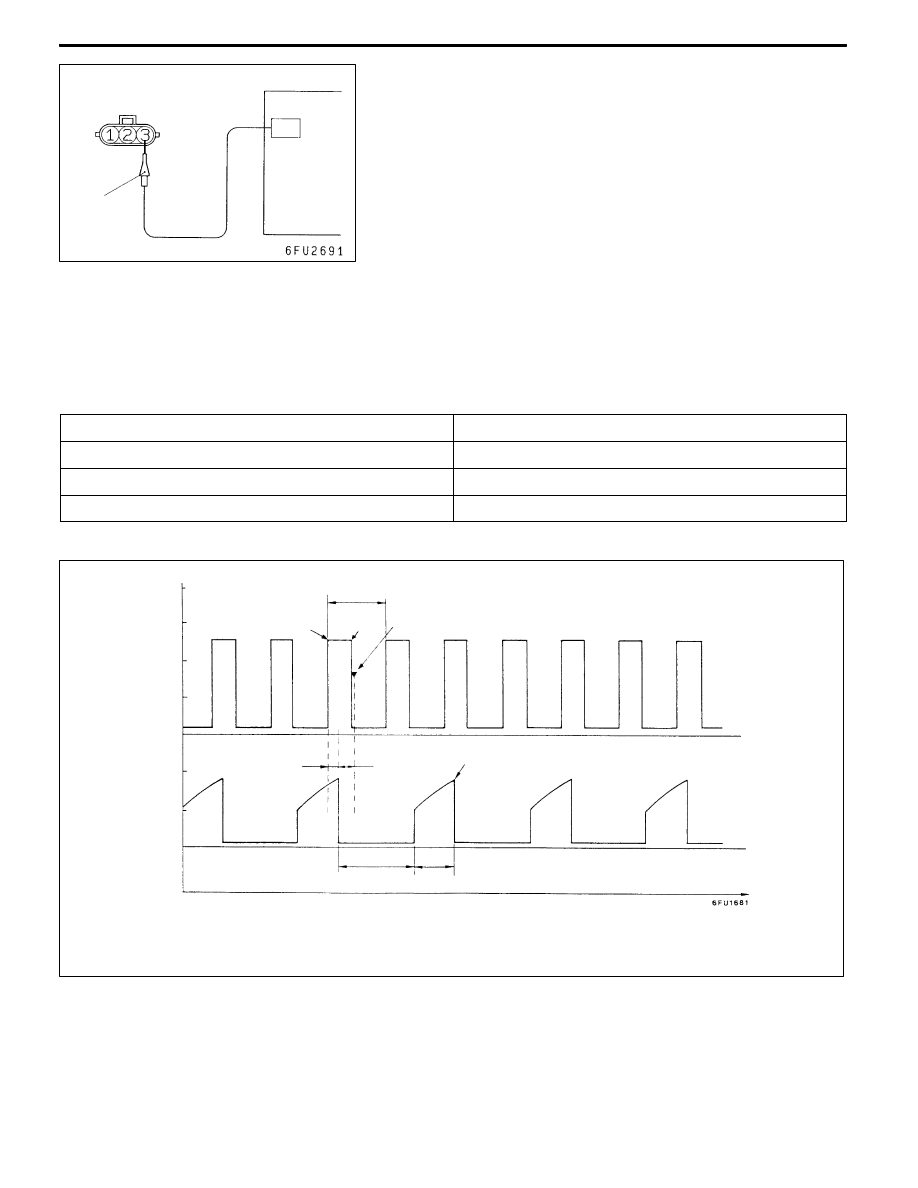
1. Disconnect the ignition coil connector, and connect the

special tool (test harness: MB991658) in between. (All

terminals should be connected.)

2. Connect the analyzer special patterns pickup to terminal

No. 3 of each ignition coil connector in turn.

Alternate Method (Test harness not available)
1. Connect the analyzer special patterns pickup to

engine-ECU terminal No. 10 (No. 1 - No. 4), terminal

No. 23 (No. 2 - No. 3) respectively.

Standard Wave Pattern
Observation condition

Function

Special patterns

Pattern height

Low

Pattern selector

Display

Engine r/min

Approximately 1,200 r/min

Standard wave pattern

Crank angle

sensor output

wave pattern

Power transistor

control signal

wave pattern

(V)

75_BTDC

5_BTDC

T: Revolution time corresponding to a crank angle of 180_

Compression top dead center

θ: Spark

advance

angle

Ignition period

OFF

ON

Dwell section

T1: Time computed by the engine-ECU

Time

θ

T1

T

6

4

2

0

4

2

0

Special

patterns

pickup

Analyzer

MPI -

Troubleshooting

13A-124

Wave Pattern Observation Points
Point: Condition of wave pattern build-up section and maximum voltage (Refer to abnormal wave pattern

examples 1 and 2.)

Condition of wave pattern build-up section and maximum voltage

Probable cause

Rises from approximately 2 V to approximately 4.5 V at the

top-right

Normal

2 V rectangular wave

Open-circuit in ignition primary circuit

Rectangular wave at power voltage

Power transistor malfunction

Examples of Abnormal Wave Patterns
D

Example 1
Wave pattern during engine cranking
Cause of problem
Open-circuit in ignition primary circuit
Wave pattern characteristics
Top-right part of the build-up section cannot be seen,

and voltage value is approximately 2 V too low.

D

Example 2
Wave pattern during engine cranking
Cause of problem
Malfunction in power transistor
Wave pattern characteristics
Power voltage results when the power transistor is ON.

--- Normal wave pattern

2 V

V

B

--- Normal wave pattern

MPI -

On-vehicle Service

13A-125

ON-VEHICLE SERVICE

FUEL PUMP CONNECTOR DISCONNECTION

(HOW TO REDUCE THE FUEL PRESSURE)

When removing the fuel pipe, hose, etc., since fuel pressure

in the fuel pipe line is high, do the following operation so

as to release the fuel pressure in the line and prevent fuel

from running out.

1. Remove the rear seat assembly. (Refer to GROUP 52A.)

2. Remove the protector.

3. Disconnect the fuel pump module connector.

4. After starting the engine and letting it run until it stops

naturally, turn the ignition switch to “LOOK” (OFF) position.

5. Connect the fuel pump module connector.

6. Install the protector and rear seat assembly.

(Refer to GROUP 52A.)

FUEL PUMP OPERATION CHECK

1. Check the operation of the fuel pump by using the MUT-II

to force-drive the fuel pump.

2. If the fuel pump will not operate, check by using the

following procedure, and if it is normal, check the drive

circuit.

(1) Turn the ignition switch to “LOOK” (OFF) position.

(2) Remove the rear seat assembly. (Refer to GROUP

52A.)

(3) Remove the protector.

(4) Disconnect the fuel pump module connector.
(5) When the fuel pump drive connector is attached

directly to the battery, check if the sound of the fuel

pump operation can be heard.
NOTE

As the fuel pump is an in-tank type, the fuel pump

sound is hard to hear, so remove the fuel filler cap

and check from the tank inlet.

(6) Check the fuel pressure by pinching the fuel hose

with the fingertips.

(7) Connect the fuel pump module connector.

(8) Install the protector and rear seat assembly. (Refer

to GROUP 52A.)

MPI -

On-vehicle Service

13A-126

THROTTLE BODY (THROTTLE VALVE AREA)

CLEANING

1. Remove the air intake hose from the throttle body.

2. Spray cleaning fluid on a clean cloth.

3. Wipe off the dirt around the throttle valve with the cloth

sprayed with cleaning fluid.
Caution

(1) Do not spray the cleaning fluid directly to the

throttle valve.

(2) Make sure the cleaning fluid does not enter the

motor from the bypass line. Also make sure it

does not enter the sensor through the shaft.

(3) Be careful not to rub off the molybden applied

around the throttle valve shaft.

4. Attach the air intake hose.

5. Adjust the basic idle speed. (Refer to P.13A-127.)

THROTTLE POSITION SENSOR ADJUSTMENT

1. Connect the MUT-II to the diagnosis connector.

When not using the MUT-II, proceed as follows:

(1) Disconnect the throttle position sensor connector, and

connect the special tool (test harness: MB991536)

between the disconnected connector taking care not

to confuse the terminal to be connected.

(2) Connect digital voltmeter between the terminal No.

2 and the terminal No. 4 of the throttle position sensor

connector.

2. Turn the ignition switch to “ON” position (but do not start

the engine).

3. Check the output voltage of the throttle position sensor.

Standard value: 535 - 735 mV

Throttle valve molybdenum

application section

15 mm

15 mm

Equipment side connector

Throttle

position

sensor

Throttle

body

MB991536

Throttle position sensor


Content   ..  204  205  206  207   ..