Mitsubishi L200. Manual - part 731
RADIO AND CD PLAYER
CHASSIS ELECTRICAL
54A-291
STEP 3. Check the wiring harness between radio
and CD player connector C-125 (terminal 11) and
fusible link 20 (battery).
• Check the power supply line for open circuit and
short circuit.
NOTE:
Prior to the wiring harness inspection, check junction
block connectors C-209, C-213 and joint connector
C-132, and repair if necessary.
Q: Are the wiring harness between radio and CD
player connector C-125 (terminal 11) and fusible
link 20 (battery) in good condition?
YES :
Repair or replace the radio and CD player.
Check that a memory is retained.
NO :
Repair or replace the damage
component(s). Check that a memory is
retained.
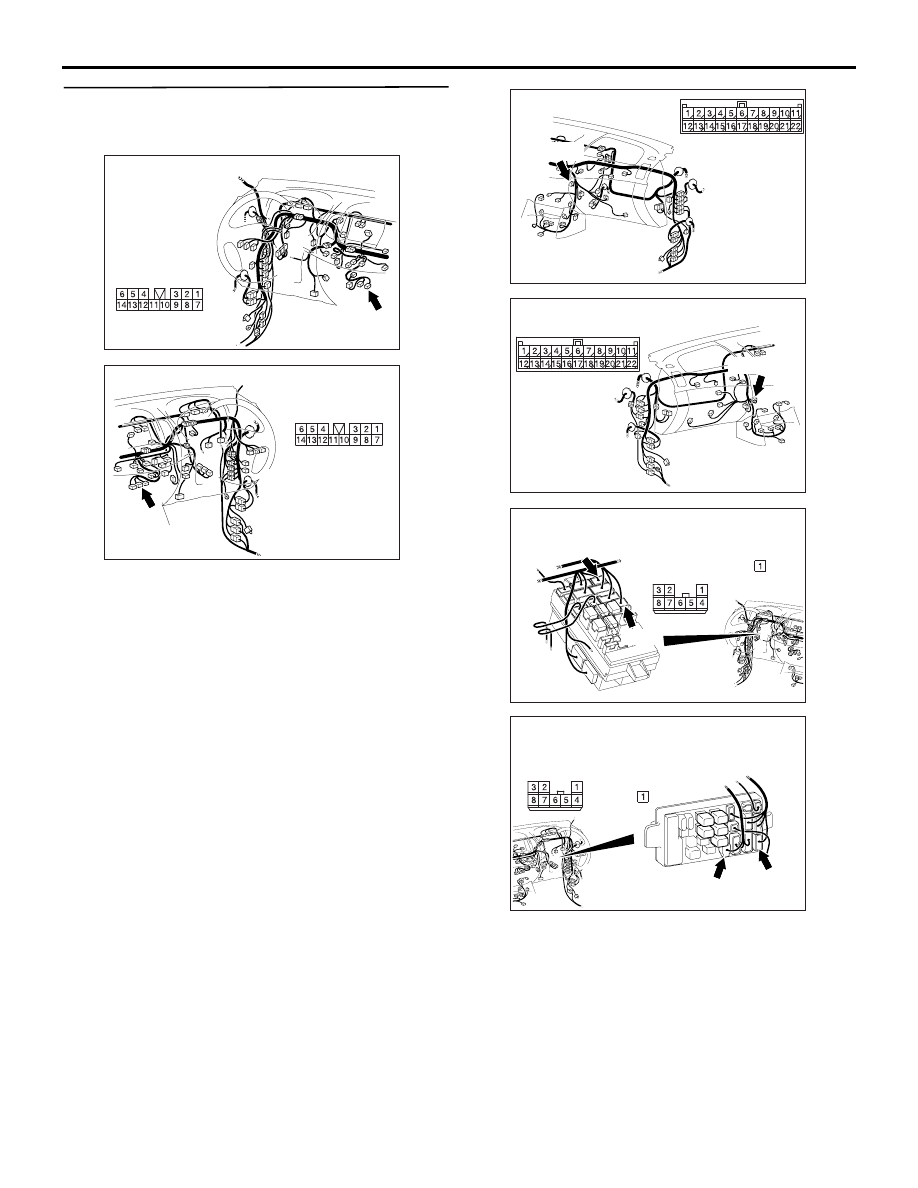
AC903856AE
Harness side
Connector: C-125 <LHD>
AC903868
AE
Harness side
Connector: C-125 <RHD>
AC903853
Connector: C-132 <LHD>
AC
C-132 (GR)
AC903865
Connector: C-132 <RHD>
AB
C-132 (GR)
AC509934
Connectors: C-209, C-213 <LHD>
Junction block (Front view)
C-213
C-209
C-213
C-209
AC
Harness side
Harness side
AC509936
Connectors: C-209, C-213 <RHD>
C-213
C-209
AC
Junction block
(Front view)
C-213
C-209
Harness side Harness side