Mitsubishi L200. Manual - part 208
ON-VEHICLE SERVICE
ENGINE COOLING
14-4
ENGINE COOLANT REPLACEMENT
M1141001201921
WARNING
When removing the radiator cap, use care to
avoid contact with hot coolant or steam.
Place a shop towel over the cap and turn the
cap anti-clockwise a little to let the pressure
escape through the vinyl tube. After relieving
the steam pressure, remove the cap by
slowly turning it anti-clockwise.
1. Drain the water from the radiator, heater core and
engine after unplugging the radiator drain plug
and removing the radiator cap.
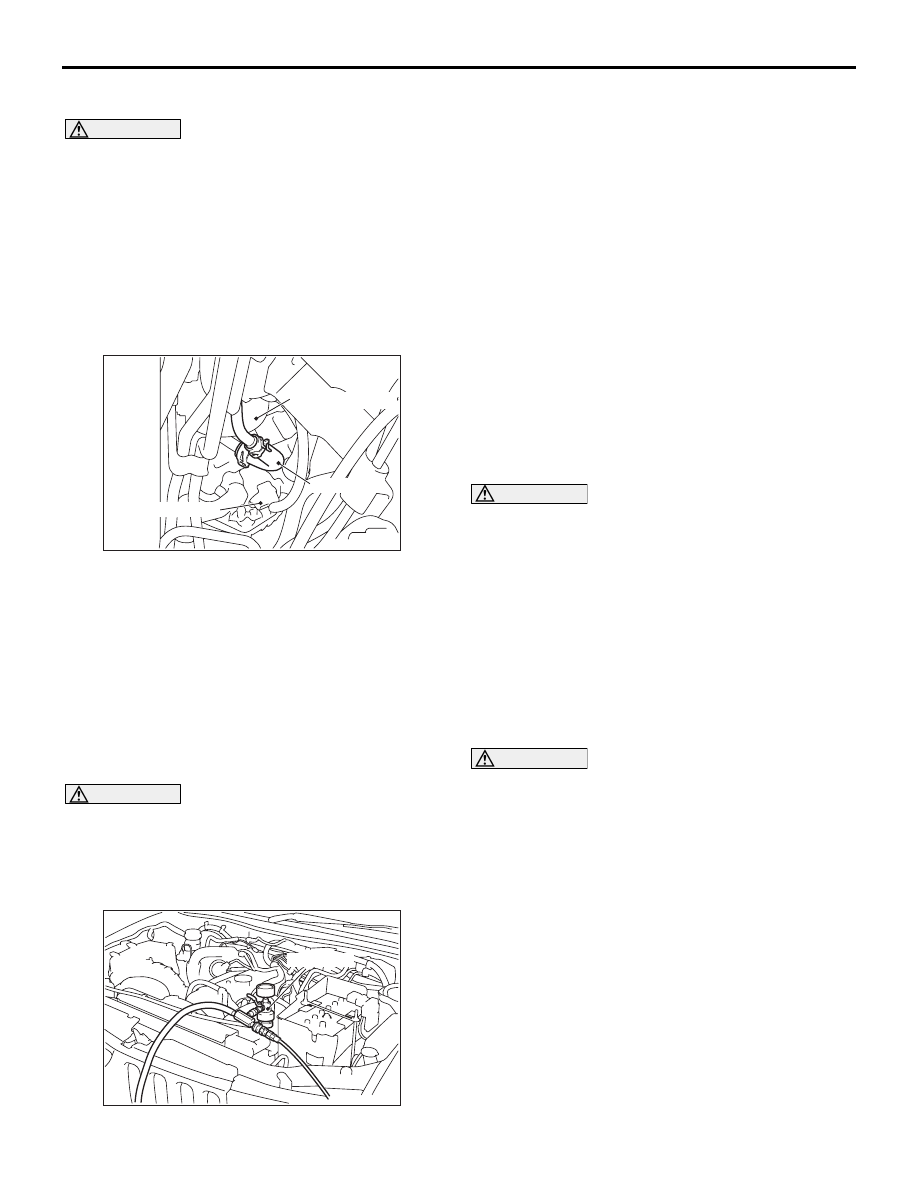
AC503674AC
Engine oil cooler
Water hose
Alternator
2. Drain the water in the water jacket by disconnect
the engine oil cooler water hose.
3. Remove the radiator condenser tank and drain
the coolant.
4. Drain the coolant then clean the path of the
coolant by injecting water into the radiator from
the radiator cap area.
5. Connect the engine oil cooler water hose.
6. Securely tighten the drain plug of the radiator.
7. Reinstall the radiator condenser tank.
CAUTION
Do not use alcohol or methanol anti-freeze or any
engine coolants mixed with alcohol or methanol
anti-freeze. The use of an improper anti-freeze
can cause corrosion of the aluminium compo-
nents.
AC503144
MB991871
AB
8. By referring to the section on coolant, select an
appropriate concentration for safe operating
temperature within the range of 30 to 60%. Use
special tool LLC changer (MB991871) to refill the
coolant. A convenient mixture is a 50% water and
50% antifreeze solution (freezing point:
−31°C).
Recommended antifreeze: DIA QUEEN SUPER
LONG LIFE COOLANT or equivalent
Quantity: 8.2 L
NOTE: For how to use special tool MB991871,
refer to its manufacturer’s instructions.
9. Reinstall the radiator cap.
10.Start the engine and let it warm up until the
thermostat opens.
11.After repeatedly revving the engine up to 3,000 r/
min several times, then stop the engine.
12.Remove the radiator cap after the engine has
become cold, and pour in coolant up to the brim.
Reinstall the cap.
CAUTION
Do not overfill the radiator condenser tank.
13.Add coolant to the radiator condenser tank
between the "F" and "L" mark if necessary.
CONCENTRATION MEASUREMENT
M1141001100631
Measure the temperature and specific gravity of the
engine coolant to check the antifreeze concentration.
Standard value: 30
− 60% (allowable concen-
tration range)
Recommended antifreeze: DIAQUEEN SUPER
LONG LIFE COOLANT or equivalent
CAUTION
If the concentration of the anti-freeze is below
30%, the anti-corrosion property will be
adversely affected. In addition, if the concentra-
tion is above 60%, both the anti-freezing and
engine cooling properties will decrease, affecting
the engine adversely. For these reasons, be sure
to maintain the concentration level within the
specified range.
WATER PUMP COOLANT LEAK CHECK
M1141008600392
If a residue of the coolant draining is found on the
drain hole, the vapour hole and the installation sur-
face of the water pump, check the water pump leak-
age by following method.
1. Wipe off the residue of the coolant draining on the
water pump.