Infiniti Q60 Coupe (2014 year). Manual - part 3
1-22
Safety
— Seats, seat belts and supplemental restraint system
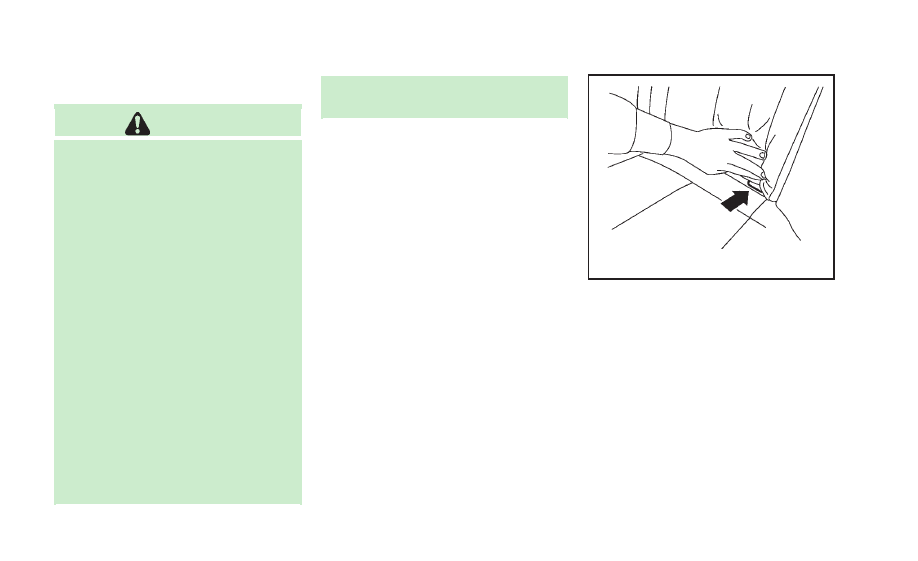
Lower anchor
WARNING
. Failure to follow the warnings and
instructions for proper use and installa-
tion of child restraints could result in
serious injury or death of a child or other
passengers in a sudden stop or collision:
— Attach LATCH system compatible
child restraints only at the locations
shown in the illustration.
— Do not secure a child restraint in the
center rear seating position using
the lower anchors. The child restraint
will not be secured properly.
— Inspect the lower anchors by insert-
ing your fingers into the lower
anchor area. Feel to make sure there
are no obstructions over the anchors
such as seat belt webbing or seat
cushion material. The child restraint
will not be secured properly if the
lower anchors are obstructed.
. This vehicle is not equipped with upper
tethers. A child restraint system requir-
ing the use of a top tether strap cannot
be properly installed and should not be
used in this vehicle.
SSS0637
Lower anchor location
The lower anchors are located at the rear of
the seat cushion near the seatback. A label
is attached to the seatback to help you
locate the lower anchors.