Great Wall Florid. Manual - part 61
GWFLORID Maintenance Manual
242
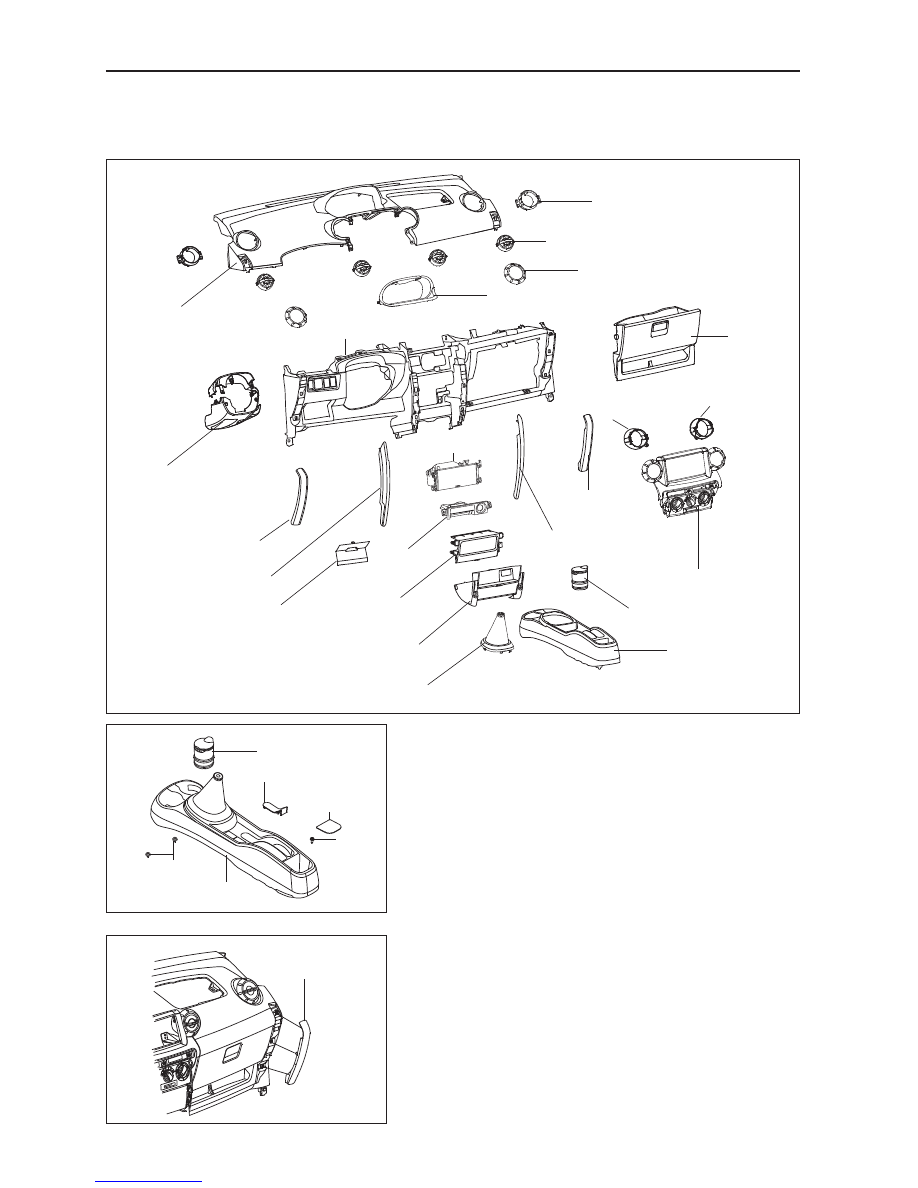
Dashboard
Components
Dashboard removal
1. Remove the auxiliary facia console.
(a) Take down the front ash tray assembly
(b) Take down the auxiliary facia console decorative carpet.
(c) Remove one screw.
(d) Remove the parking brake lever panel.
(e) Remove the shift lever cap.
(f) Remove the auxiliary facia console assembly.
2. Remove the left & right trim strip assembly of the dash-
board.
Front ash tray assembly
Dashboard top assembly
Combination switch
cover assembly
Dashboard lower framework
assembly
Glove box
assembly
Fuse box
Dashboard left trim strip
Dashboard center console
left trim strip
Ash tray
assembly
Coin box bottom
Coin box cover
Front ash tray assembly
Dashboard center console right
trim strip assembly
Small glove
box assembly
Shift handle cover assembly
Auxiliary facia console
Dashboard center console assembly
Air-conditioner
center right air outlet
tray assembly
Combination meter hood assembly
Side air outlet decorative cap
Air-conditioner air outlet wind-ball assembly
Air-conditioner air outlet tray assembly
Air-conditioner left air
outlet tray assembly
Dashboard right
trim strip
Parking brake lever panel
Auxiliary facia console
decorative carpet
Screw
Buckle
Auxiliary facia console
Dashboard right trim
strip assembly