Dodge Caliber. Manual - part 277
1. Measure the voltage at the battery posts with a
voltmeter, accurate to 1/10 (0.10) volt. Refer to Bat-
tery Removal and Installation for access instruc-
tions. If the reading is below ten volts, the battery
charging current will be low. It could take several
hours before the battery accepts a current greater
than a few milliamperes. Such low current may not
be detectable on the ammeters built into many bat-
tery chargers.
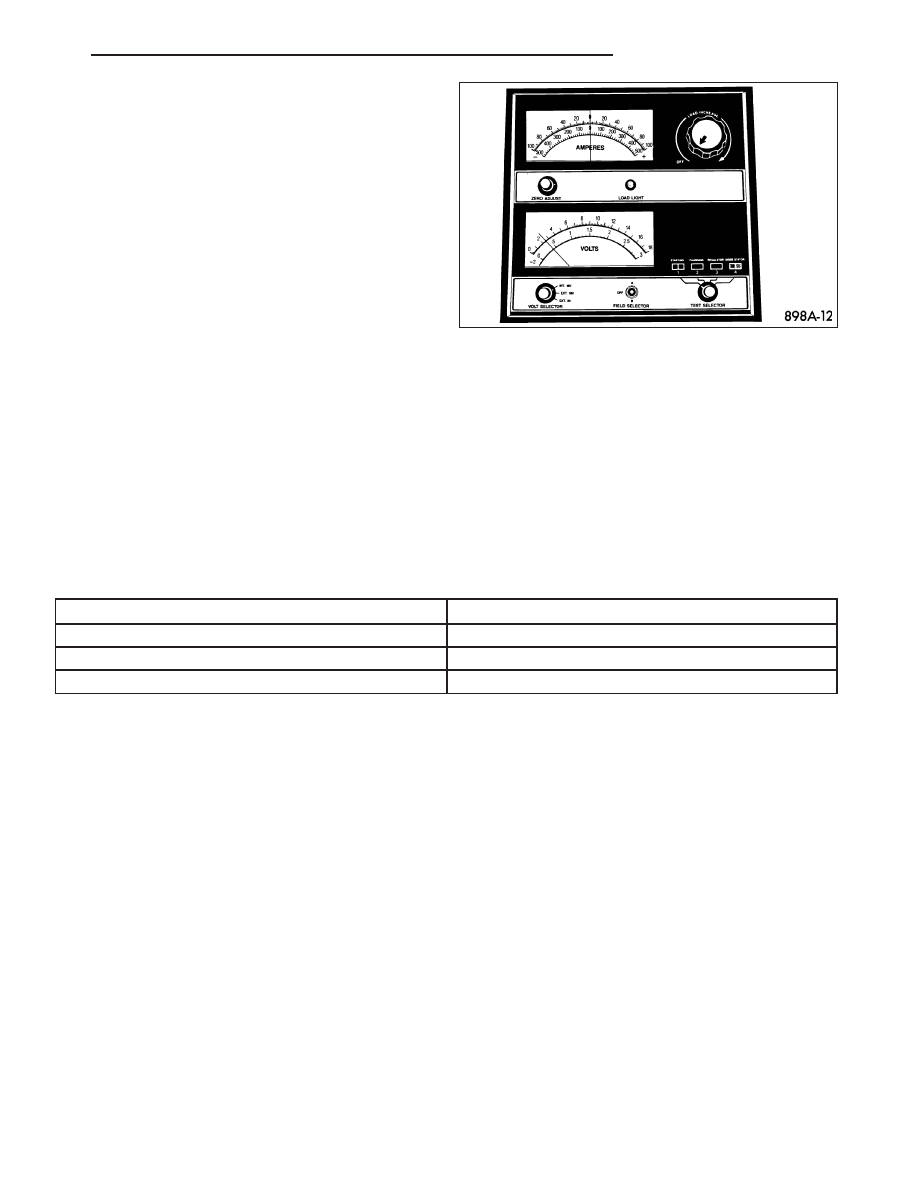
2. Disconnect and isolate the battery negative cable.
Connect the OTC One Step Battery Analyzer and
Charger special tool number OT-3641 or equiva-
lent.
NOTE: Some battery chargers are equipped with
polarity-sensing circuitry. This circuitry protects the battery charger and the battery from being damaged if
they are improperly connected. If the battery state-of-charge is too low for the polarity-sensing circuitry to
detect, the battery charger will not operate. This makes it appear that the battery will not accept charging
current. See the instructions provided by the manufacturer of the battery charger for details on how to
bypass the polarity-sensing circuitry.
3. Battery chargers vary in the amount of voltage and current they provide. The amount of time required for a bat-
tery to accept measurable charging current at various voltages is shown in the Charge Rate Table. If the charg-
ing current is still not measurable at the end of the charging time, the battery is faulty and must be replaced. If
the charging current is measurable during the charging time, the battery may be good and the charging should
be completed in the normal manner.
SPIRAL-PLATE BATTERY CHARGE RATE TABLE
Voltage
Minutes
14.4 volts maximum
up to 10 minutes
13.0 to 14 volts
up to 20 minutes
12.9 volts or less
up to 30 minutes
CHARGING TIME REQUIRED
The time required to charge a battery will vary, depending upon the following factors:
•
Battery Capacity - A completely discharged heavy-duty battery requires twice the charging time of a small
capacity battery.
•
Temperature - A longer time will be needed to charge a battery at -18° C (0° F) than at 27° C (80° F). When
a fast battery charger is connected to a cold battery, the current accepted by the battery will be very low at
first. As the battery warms, it will accept a higher charging current rate (amperage).
•
Charger Capacity - A battery charger that supplies only five amperes will require a longer charging time. A
battery charger that supplies eight amperes will require a shorter charging time.
•
State-Of-Charge - A completely discharged battery requires more charging time than a partially discharged
battery. Electrolyte is nearly pure water in a completely discharged battery. At first, the charging current
(amperage) will be low. As the battery charges, the specific gravity of the electrolyte will gradually rise.
The Battery Charging Time Table gives an indication of the time required to charge a typical battery at room tem-
perature based upon the battery state-of-charge and the charger capacity.
PM
BATTERY SYSTEM
8F - 13