Content .. 1081 1082 1083 1084 ..
Dodge Caliber. Manual - part 1083
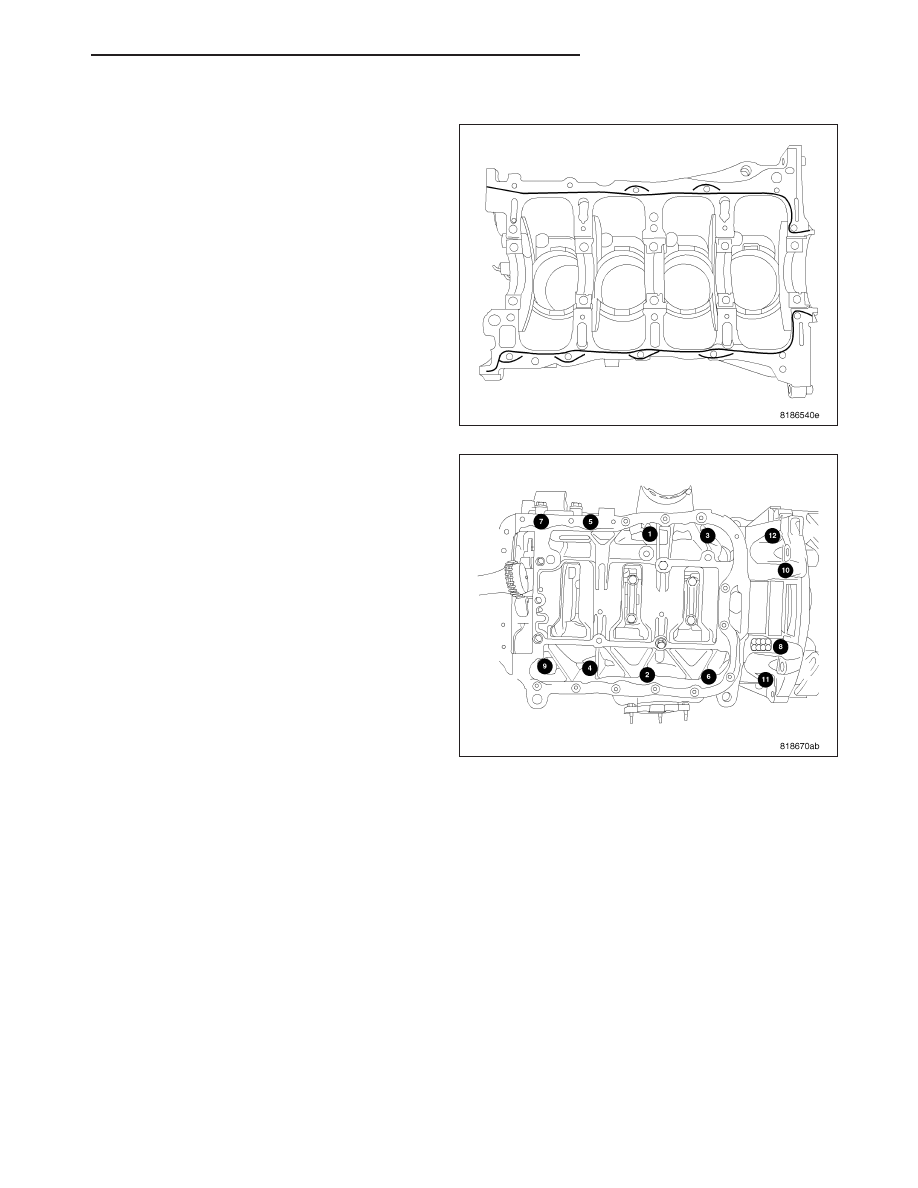
INSTALLATION
1. Apply a 2 mm bead of sealant as shown.
2. Install bolts and torque shown following a three
step method.
•
First: All to 20 N·m (15 ft. lbs.)
•
Second: All to 49 N·m (36 ft. lbs.)
•
Third: All to 49 N·m (36 ft. lbs.)
3. Install oil pan (Refer to 9 - ENGINE/LUBRICATION/
OIL PAN - INSTALLATION).
PM
ENGINE 2.0L WORLD
9 - 1619