Daewoo Korando. Manual - part 41


  Index      Daewoo     Daewoo Korando - service repair manual


Search            


Content   ..  39  40  41  42   ..


Daewoo Korando. Manual - part 41


1B1-100  M162 ENGINE MECHANICAL

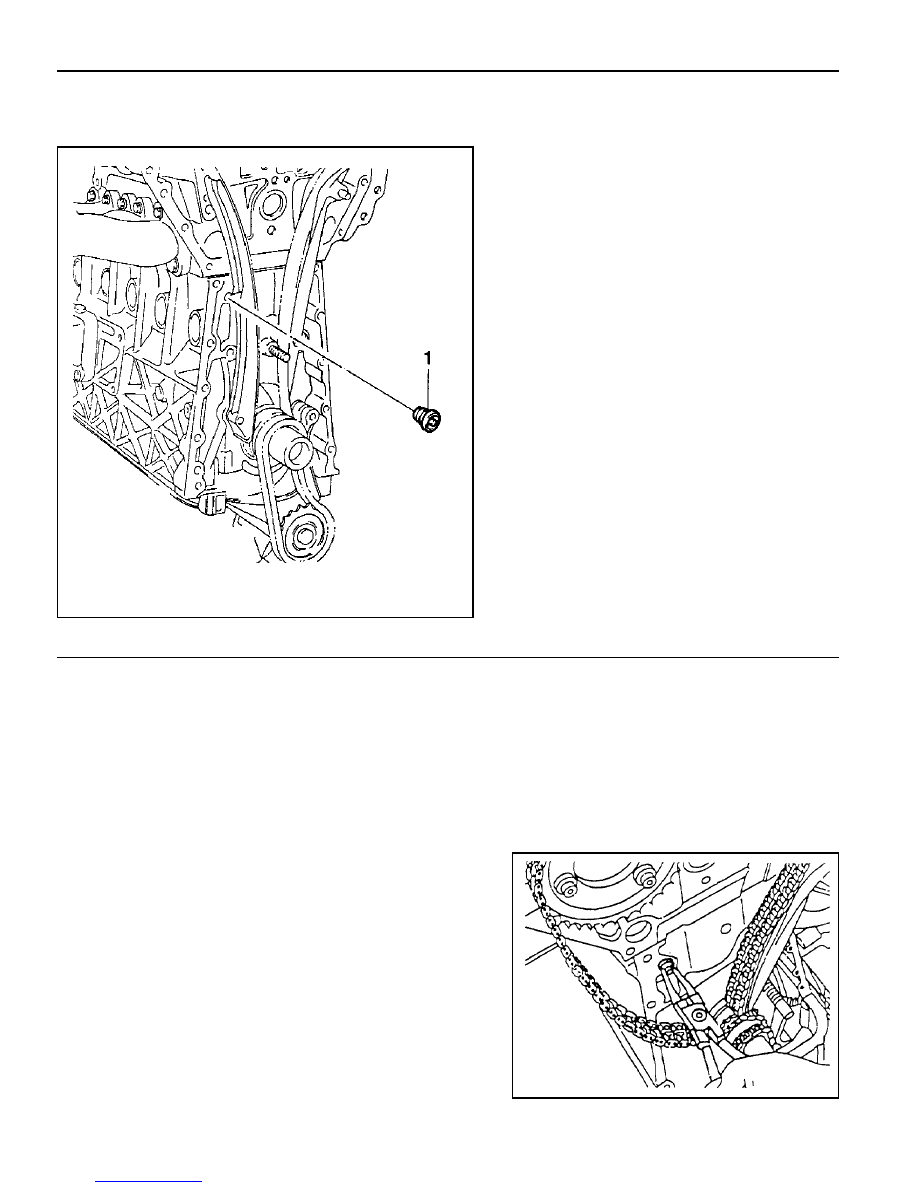
OIL NON-RETURN VALVE

Preceding Work : Removal of timing gear case cover

1 Oil Non-return Valve

Functions

The non-return valve prevents the oil in the chain tensioner
from drying up. In other words, it stops oil-returning in order to
prevent the oil in the chain tensioner from getting dry. As a
result, the chain tensioner can be activated with oil in itself.

Replacement Procedure

1. Remove the non-return valve using a pliers.

2. Insert new non-return valve with hand.

M162 ENGINE MECHANICAL  1B1-101

OIL DIPSTICK GUIDE TUBE

1 Oil Dipstick Level Gauge
2 Oil Dipstick Guide Tube

Removal & Installation Procedure

1. Pull out the oil dipstick level gauge (1).

2. Remove the bolt (4) in the upper intake manifold and remove

the oil dipstick guide tube.

Installation Notice

3. Install new O-ring to the dipstick guide tube.

4. Installation should follow the removal procedure in the

reverse order.

5. Check for leaks by starting the engine.

3 O-ring
4 Bolt (M6 x 12, 1 piece) ........................... 9-11 Nm

Tightening  Torque

9 - 11 Nm

1B1-102  M162 ENGINE MECHANICAL

UNIT REPAIR

OIL GALLERY IN CRANKCASE

Preceding Work : Removal of crankshaft, removal of oil spray nozzle

1 Plug
2 Steel Ball

Cleaning Procedure

1. Remove the plug (1) with a screwdriver.

2. Using a round bar (3) and hammer, remove the steel ball

(2).

3. Using the compressed air, blow into the oil galleries and

clean it off.

3 Round Bar ...................................

f

11 x 750 mm

M162 ENGINE MECHANICAL  1B1-103

1 Plug ....................................................... Replace
2 Main Oil Gallery

Tools Required

102 589 12 15 00 Drift

Sealing Procedure

1. Enlarge the end of main oil gallery (4) to be diameter of

16mm, depth of 15mm.

2. Using an M16 x 1.5 thread (tap), make the thread at the

end of main oil gallery (4).

3. Throughly clean the oil gallery with compressed air and

tighten the screw plug (M16 x 1.5) after applying sealing
bond on it.

4. Apply Loctite 270 on new plug and tighten to the hole until

the drift is stopped after inserting new plug into the drift.

3 Screw Plug


Content   ..  39  40  41  42   ..