DAF CF65, CF75, CF85 Series . Manual - part 384
3
CF65/75/85 series
Inspection and adjustment
PTO
3-7
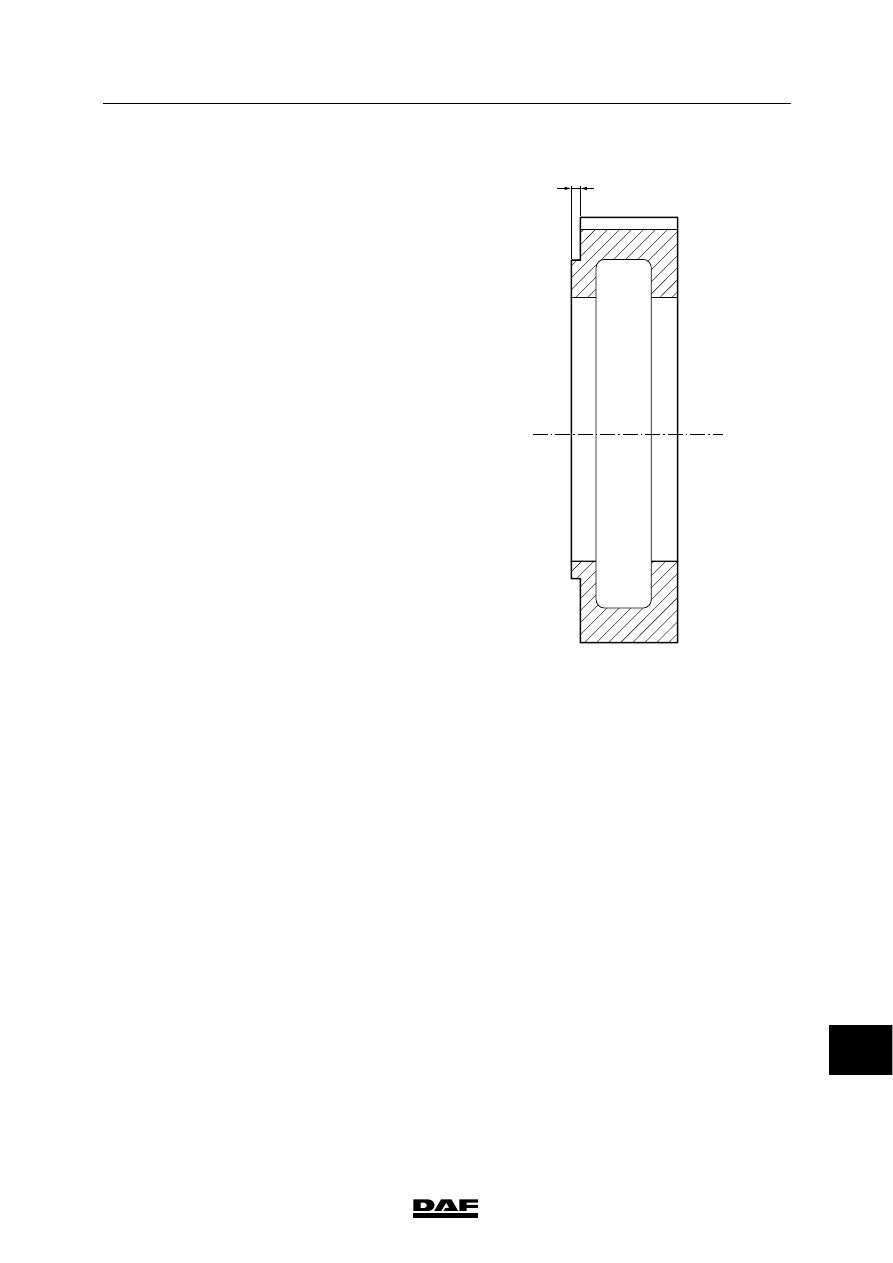
4.
Use a depth gauge to determine the
distance from the centring edge to the
gasket, distance B.
Calculate the axial play. The axial play
equals distance A -- distance B
5.
Compare the calculated value with the
maximum allowable axial play. See
“Technical data”.
6.
If necessary, adjust the axial play by means
of another shim (5).
B
V300231
13
ᓻ 200337