Chrysler Crossfire. Manual - part 903
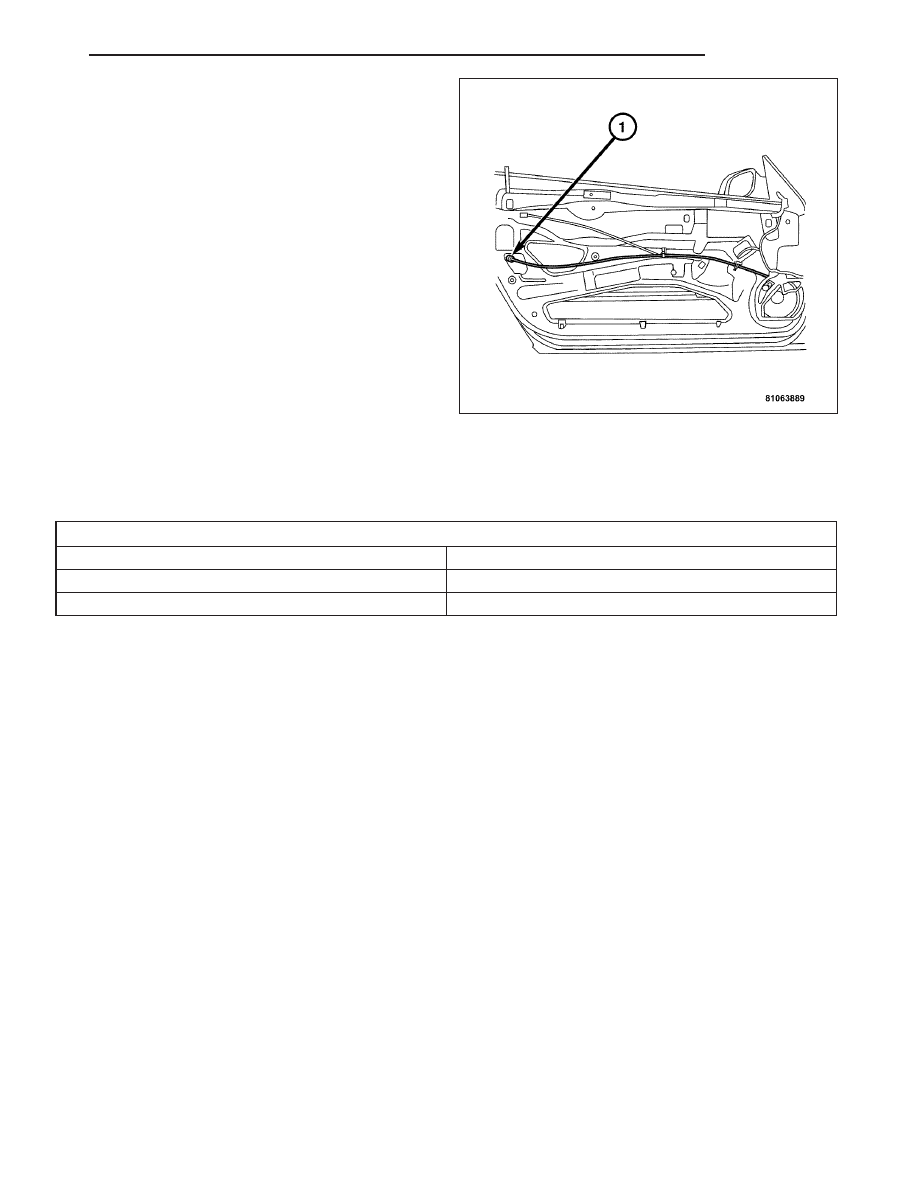
5. Connect and install the lock air line (1) to the door.
6. Adjust the door for fit and function. (Refer to 23 -
BODY/DOOR - FRONT/DOOR - ADJUSTMENTS).
ADJUSTMENTS
ADJUSTMENT
Test and adjustment values for gaps on hoods, doors and lids
Front Door to Front Fender
4.0 ±0.5 mm
Front Door to Rear Quarter Panel
4.0 ±0.5 mm
Roof to Windshield Frame
9.0 (+0/-2) mm
CAUTION: Use care when removing any component that is attached to the vehicles painted surface. Take
the necessary precautions to avoid paint damage while servicing the vehicle.
1. Remove the lock striker.
2. Inspect the gap sizes of the door in accordance to the table.
3. Loosen the bolts on the door side, then adjust the gap dimensions by moving the front door up, down; front and
back, then tighten to 32 N·m (24 ft. lbs.).
4. Loosen the bolts on the hinge side, adjust, then tighten with the centering screw on the hinge. Adjust contour of
driver’s door at the hinge side. Tighten to 32 N·m (24 ft. lbs.).
5. Install the lock striker. Tighten to 28 N·m (21 ft. lbs.).
6. Insert a centering gauge into the door lock until lock completely catches (catch stage 2).
7. Position a depth stop at the height of the striker on the outside of the door and then close the door until the
depth stop makes contact on both sides.
8. Press the striker into the center gauge from the inside through the open window and then tighten the bolts.
9. Pull the outer door handle and then remove the centering gauge.
10. Check the door for easy motion.
11. Check the window for proper adjustment. If necessary adjust the window. (Refer to 23 - BODY/DOOR - FRONT/
DOOR GLASS - ADJUSTMENTS).
ZH
DOOR
23 - 283