Content .. 1793 1794 1795 1796 ..
Chrysler 300/300 Touring/300C, Dodge Magnum. Manual - part 1795
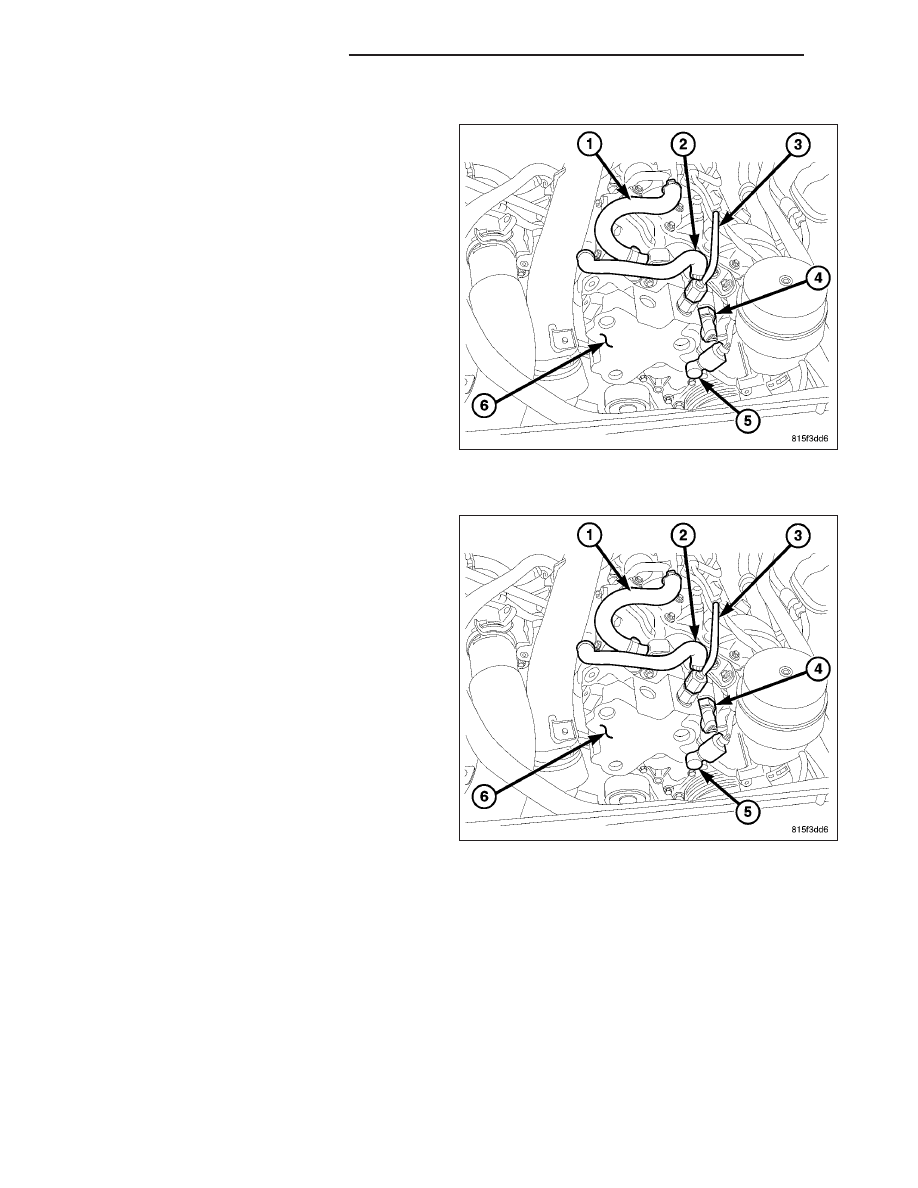
REMOVAL
1. Disconnect the negative battery cable.
2. Disconnect the fuel quantity solenoid wiring har-
ness connector.
3. Remove the solenoid fasteners and remove the
solenoid.
INSTALLATION
1. Clean sealing surfaces.
2. Install new seal on sensor.
3. Position the solenoid on to the high pressure pump
and install fasteners.
4. Connect wiring harness connector to the solenoid.
5. Connect negative battery cable.
6. Start the engine, allow to run, turn engine off and
inspect for leaks (Refer to 14 - FUEL SYSTEM/
FUEL INJECTION - WARNING).
14 - 254
FUEL INJECTION - DIESEL
LX