Chrysler 300/300 Touring/300C, Dodge Magnum. Manual - part 173
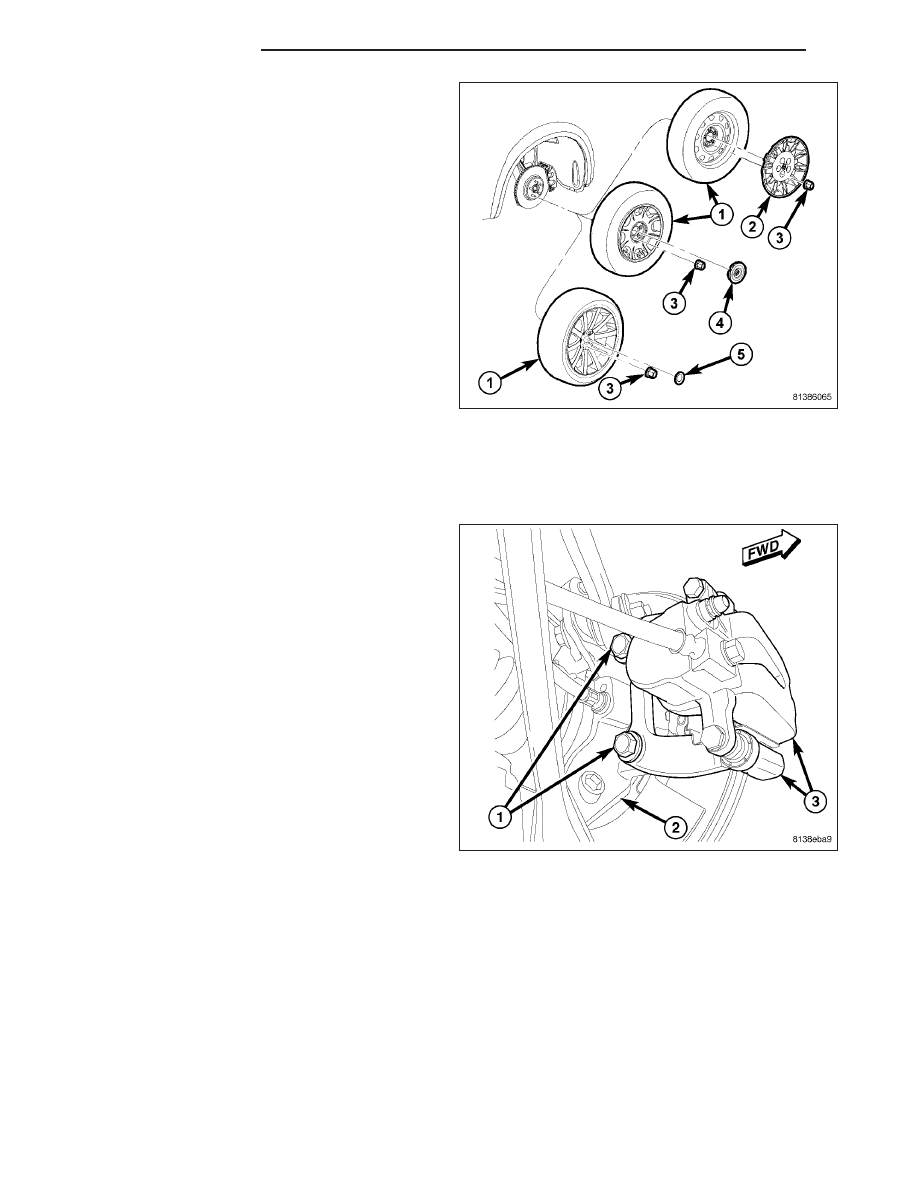
2. Remove wheel mounting nuts (3), then tire and
wheel assembly (1).
NOTE: In some cases, it may be necessary to retract caliper piston in its bore a small amount in order to
provide sufficient clearance between shoes and rotor to easily remove caliper from knuckle. This can usu-
ally be accomplished before guide pin bolts are removed, by grasping rear of caliper and pulling outward
working with guide pins, thus retracting piston. Never push on piston directly as it may get damaged.
3. Remove two bolts (1) securing disc brake caliper
adapter (3) to knuckle (2).
4. Remove disc brake caliper and adapter (3) from
knuckle as an assembly. Hang assembly out of
way using wire or a bungee cord. Use care not to
overextend brake hose when doing this.
5 - 134
BRAKES - BASE
LX