Content .. 1668 1669 1670 1671 ..
Chrysler 300/300 Touring/300C, Dodge Magnum. Manual - part 1670
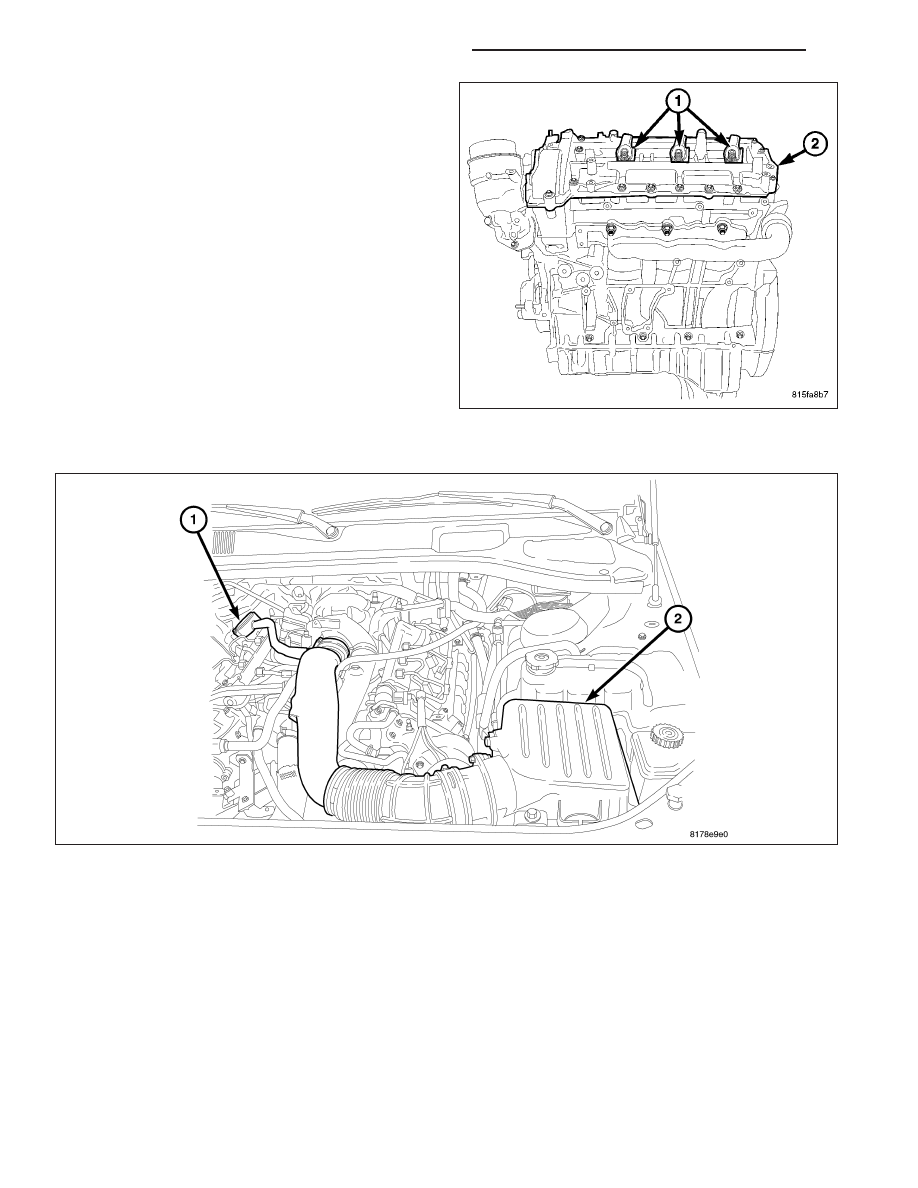
CAUTION: Care must be taken when removing the
cylinder head cover. The cover is the camshaft
retainer and end play interface. Do not pry on the
cylinder head cover tabs.
NOTE: Note the different length cylinder head
cover bolts and their position for assembly pur-
poses.
21. Remove the cylinder head cover (2) fasteners and
cover.
RIGHT
1. Disconnect negative battery cable. (Refer to 8 - ELECTRICAL/BATTERY SYSTEM/CABLES - REMOVAL)
2. Remove engine cover and bracket.
3. Remove air cleaner cover and inlet tube to turbocharger.
9 - 2704
ENGINE - 3.0L TD SERVICE INFORMATION
LX